Knowledge base
1000 FAQs, 500 tutorials and instructional videos. Here, there are only solutions!
Segment and filter newsletter contacts
This guide presents the conditions available for segmenting and filtering your contact lists when sending an Infomaniak Newsletter.
Introduction
- Filtering subscribers based on certain criteria allows you to send Newsletters only to specific people among your subscribers.
- The criteria can be their subscription date, custom fields, or actions performed or not performed during previous sends.
- You can combine multiple conditions and add "
OR" conditions to refine your filters.
Segmenting sends based on…
Access your Newsletter:
- Click here to access the management of your product on the Infomaniak Manager (need help?).
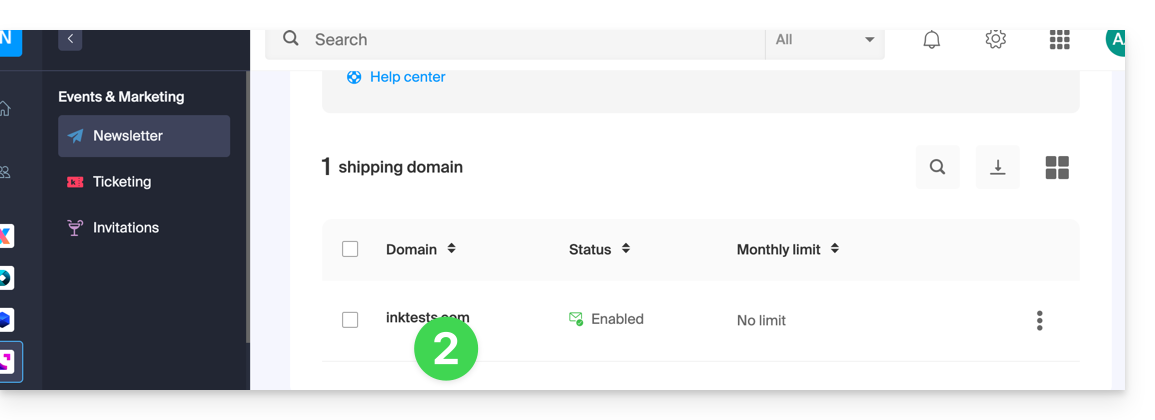
- Click on the domain name concerned in the table that appears:
… subscriber specifics
Here is an example of a Newsletter subscription form with additional fields that allow you to ask the person who is subscribing for custom information: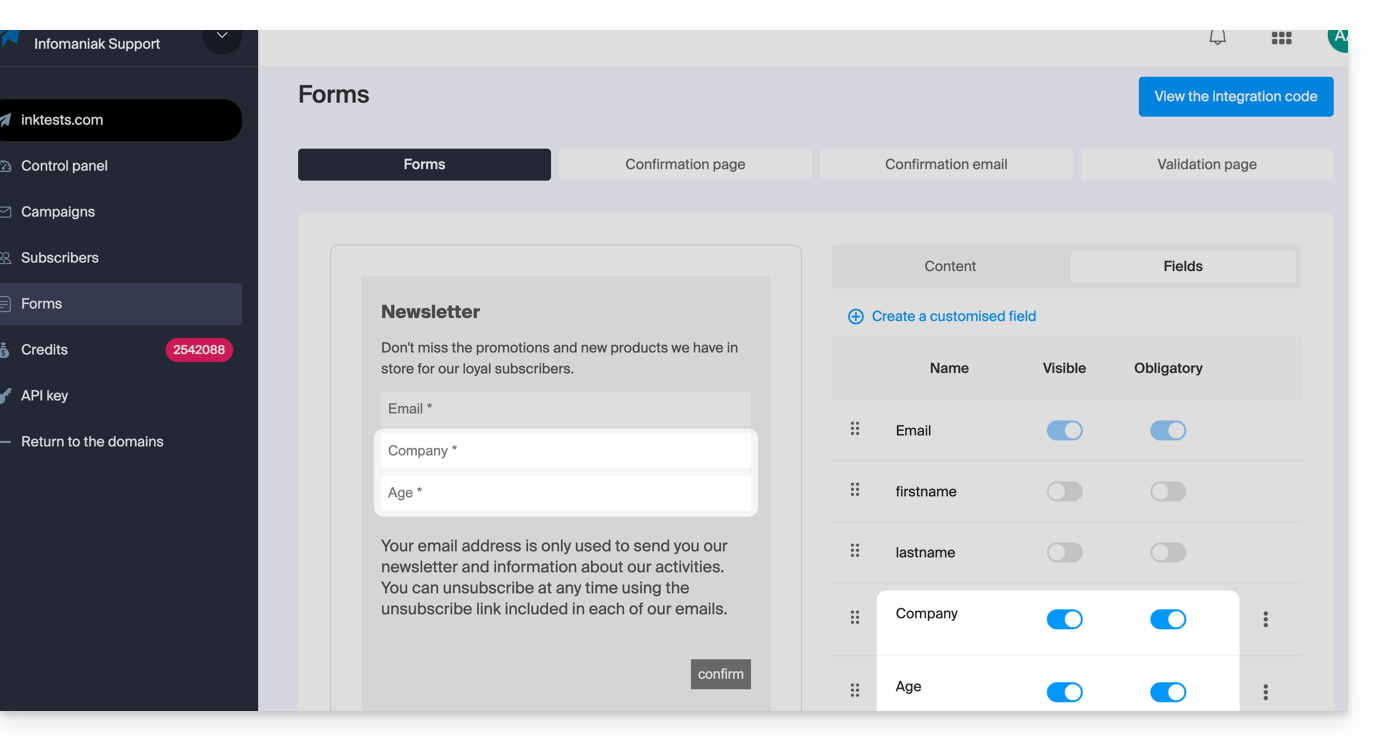
Once some users enter this information, you can find it in the details of their contact profile: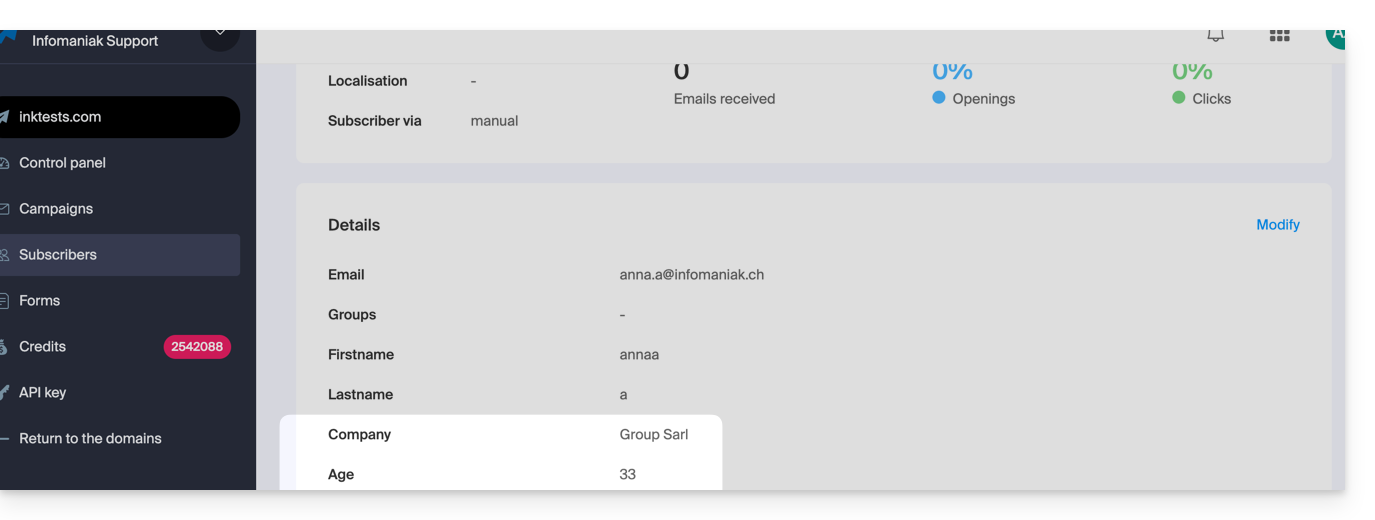
This type of information can be used to segment your subscriber list and send emails only to a portion of it. Refer to Chapter 4 of this other guide.
… the subscriber's past actions
Information about a previous mailing can be used to segment your next email campaign. Example: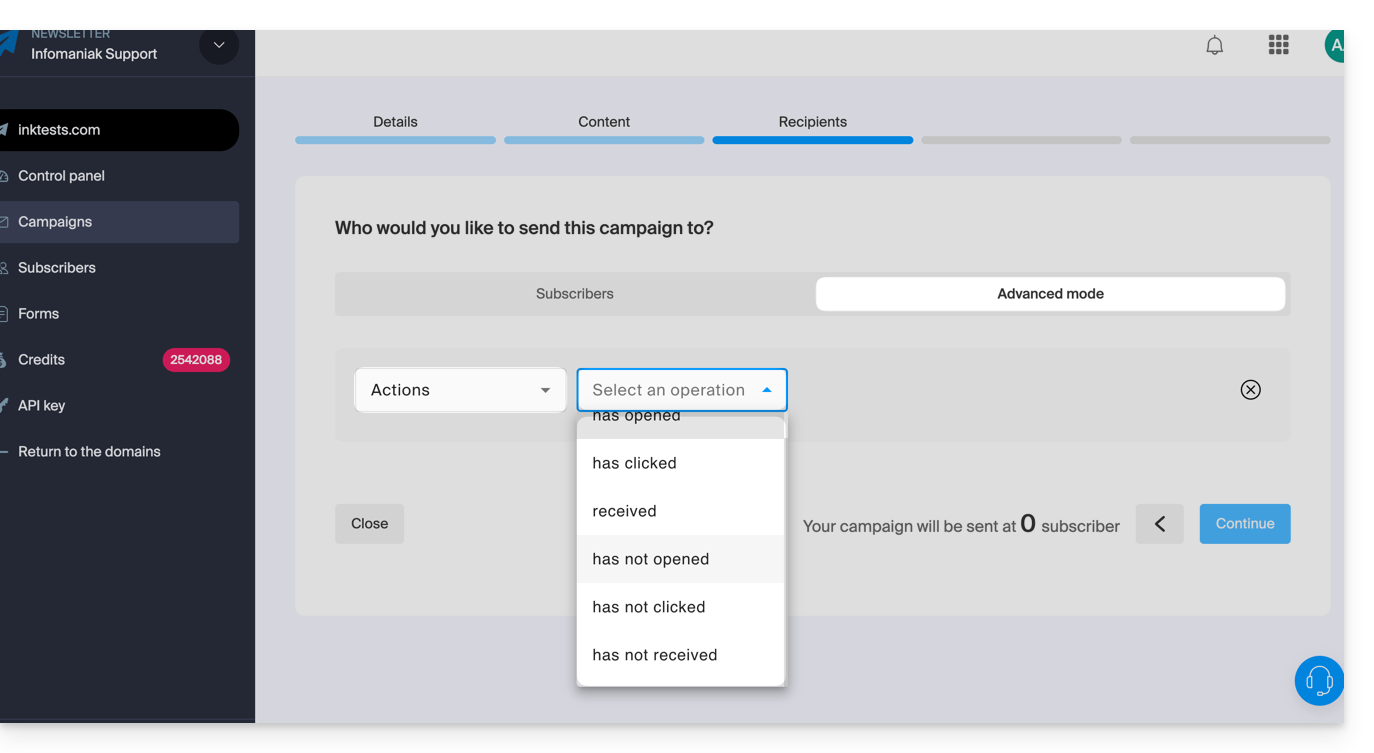
- Send only to subscribers who have opened the last 5 campaigns.
- Send only to subscribers who have never clicked on the specific newsletter sent 1 month ago.
- etc.
To do this:
- Refer to Chapter 4 of this other guide.
- Choose Actions instead of custom field to select the criteria that define the people who should receive this next newsletter.
- This same drop-down menu also allows you to segment an email campaign based on the subscription dates of subscribers (e.g., send only to subscribers who signed up in a specific month).
Link to this FAQ: https://faq.infomaniak.com/2184
Has this FAQ been helpful?