Knowledge base
1000 FAQs, 500 tutorials and instructional videos. Here, there are only solutions!
Customize Infomaniak Mail
This guide explains how to configure and customize the overall display of the Infomaniak Mail web app (online service ksuite.infomaniak.com/mail) using various options.
Introduction
- The general settings affect all email addresses currently associated with your account in the Mail app.
- They are specific to your user and do not affect other users (even within the same Organization, for example).
- The same email address accessed via the Mail app by another user will have its own settings, independently of yours.
Accessing the general settings
To do this:
- Click here to access your emails on your Infomaniak kSuite (❓: help).
- Click on Settings in the top right corner.
- Navigate through the various generic menus on the left:
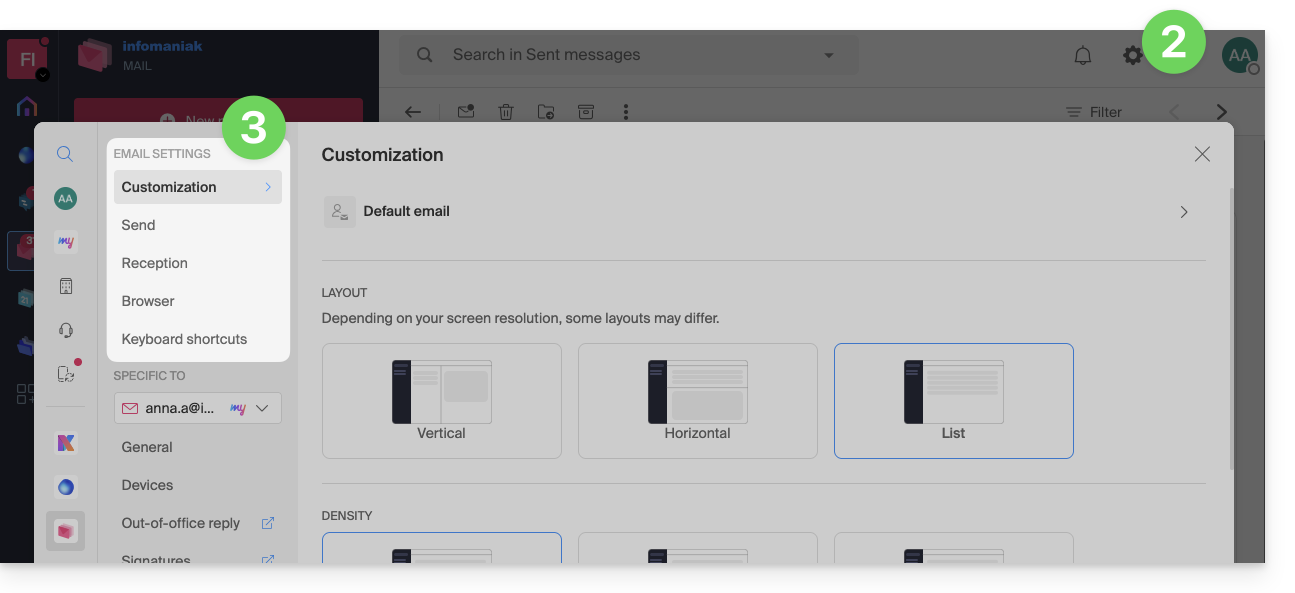
To manage the light / dark theme of the interface: refer to this other guide for more information.
Customization: Default email address
This section allows you to choose which email address, among all your associated addresses, should be considered the primary address and open by default when accessing the Infomaniak Mail web app (online service ksuite.infomaniak.com/mail):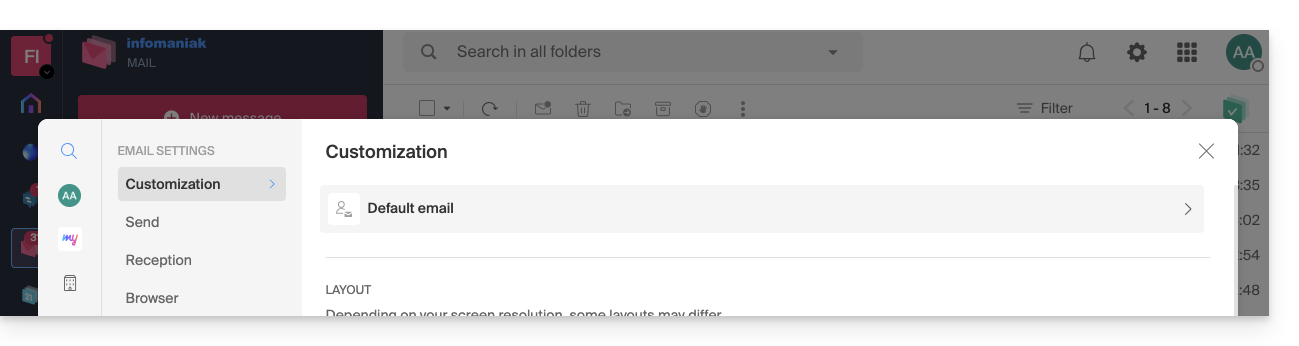
Customization: Modify the display density of your inbox
You can change the layout of your inbox, so that it is divided into several sections displaying your emails, or simply in a list version. The density setting allows you to group or space out your emails: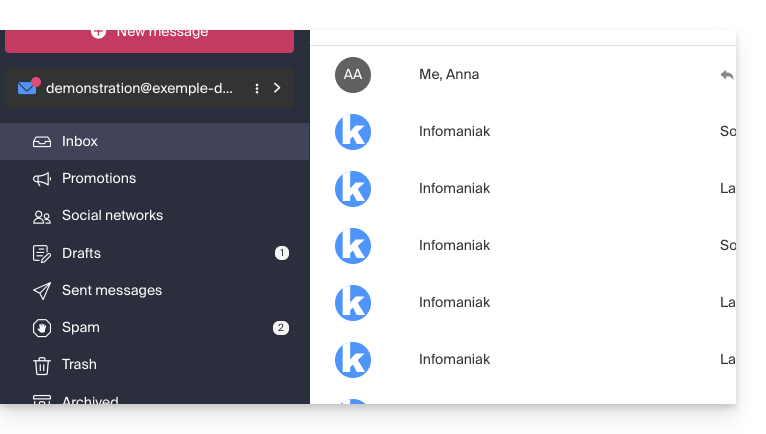
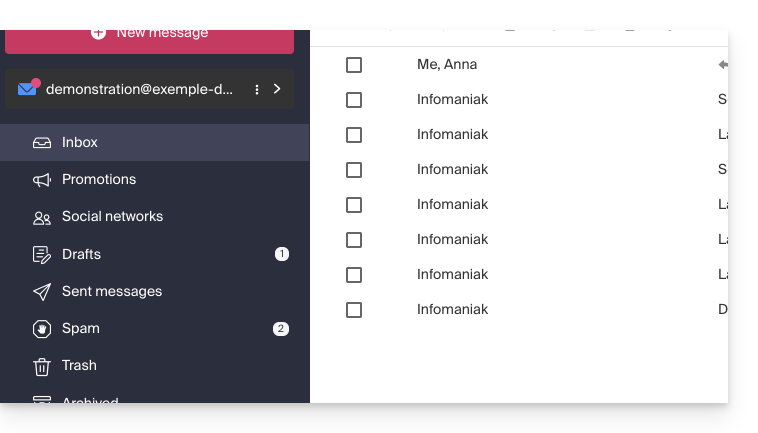
Customization: manage the buttons displayed on an email page
This section allows you to choose the icons that will be displayed on the email reading window, allowing you to take quick action instead of navigating through a drop-down menu: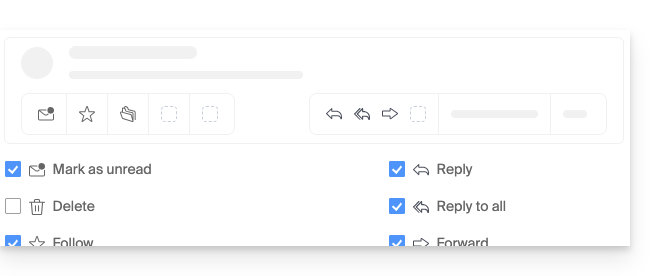
- Mark as unread
- Delete
- Follow
- Translate
- Remind me later
- Schedule an event
- Report as spam
- Upload to kDrive
- Archive
- Reply
- Reply to all
- Forward
- Reply on kChat
Customization: manage the buttons displayed on hover over an email list
This section allows you to choose the icons that will be displayed when you hover over an email in a list (e-mails from the inbox, for example):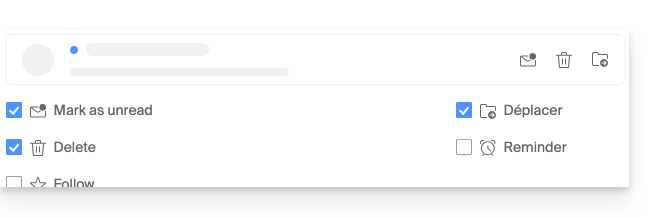
- Mark as unread
- Delete
- Follow
- Move
- Remind me later
Customization: manage the buttons displayed when text is selected
This section allows you to choose the actions that are visible when text is selected:
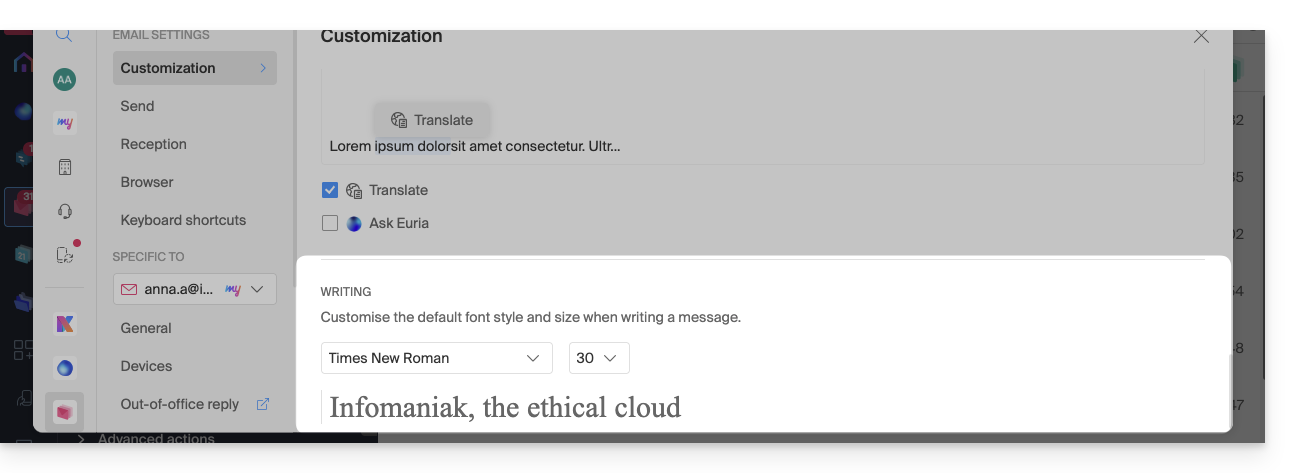
Customization: Define the default font for all your new messages
- Choose the desired font, as well as the text size, for all new messages you create:
Sending: cancellation deadline for sending
Sending: forward emails in the message body or as an attachment
Sending: include the original message when replying
Sending: always write in a full-screen window
Activate the toggle switch to the right of the “Write emails in full screen” item to always write in a large window instead of the usual lower right-hand panel.
Sending: request a read receipt
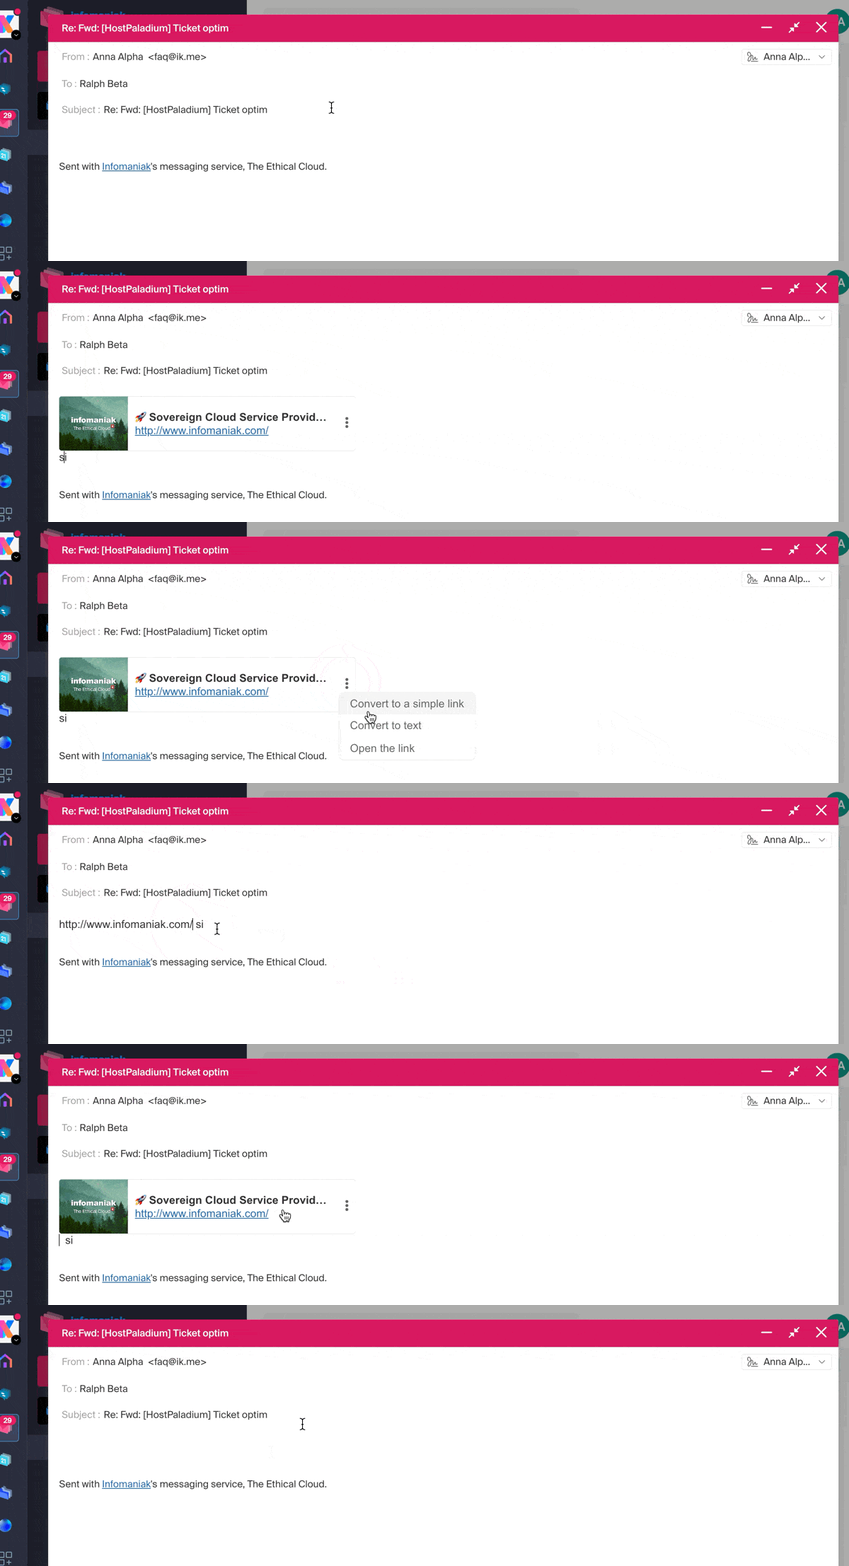
Sending: include a preview of website links
To enable or disable link previews (a feature that automatically generates a visual box (with title, description, and image) when you insert a URL into an email), activate the toggle switch to the right of the “Include website link previews” item.
Once enabled, here is the result when composing content with a URL:
Inbox: Message display mode
This mode allows you to group your emails by subject/sender, i.e., group received emails according to the subject of the discussion. This makes the inbox display cleaner and makes it easier to follow messages from the different participants in the conversation:
- Click here to access your emails on your Infomaniak kSuite (❓: help).
- Click on Settings in the top right corner.
- Click on Inbox in the left-hand menu.
- Choose a Message display mode:
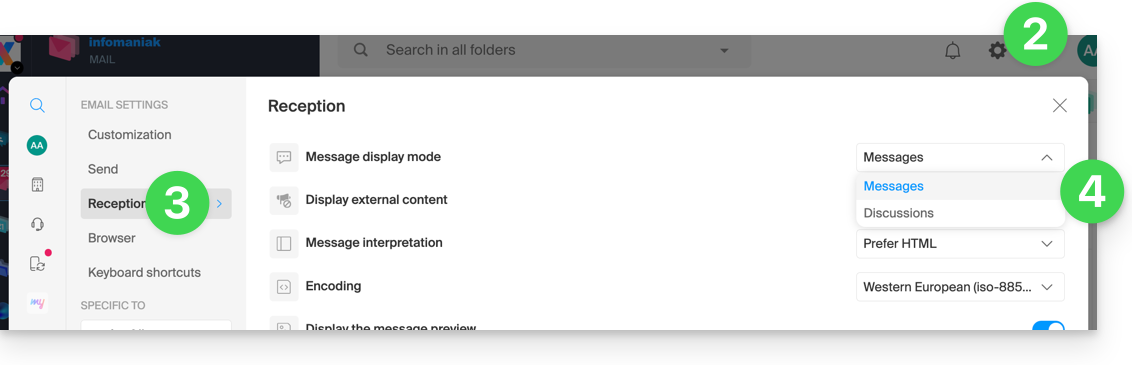
When Conversation mode is not enabled, you read your emails one by one:
When it is enabled, you read the different messages in the same window, chronologically, one after the other:
In your inbox, you can directly see the number of emails contained in a single conversation:
Incoming: Display external content
This section allows you to choose whether to automatically display all external content within an incoming email that you are reading, or whether you prefer to hide it and only display it on demand: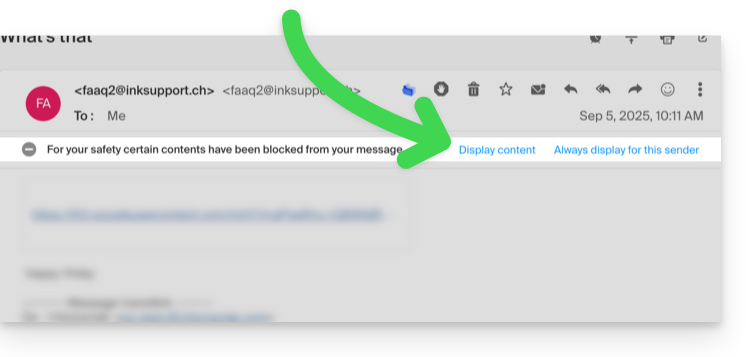
Reception: Interpreting messages
This section allows you to define the display priority for a received message: either in its simplified plain text version or in its enhanced HTML version (this setting only takes effect when both formats are present in the email; if only one version is available, it will be displayed by default).
Incoming: Encoding
This section allows you to modify the encoding of incoming messages (it is recommended to leave Unicode (utf-8) selected).
Inbox: Display message previews
This section allows you to show or hide the first few words of the email in all message lists (e.g., the inbox). For example, with the preview enabled, the beginning of the message is visible on the same line next to its subject:
If the preview is hidden, only the subject of each email is displayed:
Note for users of the Infomaniak Newsletter service: you can manage the content that will be displayed when the preview is enabled, by completing the required information as indicated in section 1.4 of this other guide.
Reception: Mark an email as read…
This section allows you to choose after how much reading time a message should be considered as read(immediately, after 3 seconds, or 5, or 20, or never).
Reception: When a message is archived or deleted…
This section allows you to choose the action to be performed after an email is archived or deleted: open the next message, or the previous one, or return to the message list.
Reception: number of emails displayed on a single page
Choose the number of items to display to increase or decrease the number of emails displayed on a single page, up to a maximum of 200 items.
Browser: set Infomaniak as the default email provider
Browser: email address in a new tab
Browser: message receipt notification
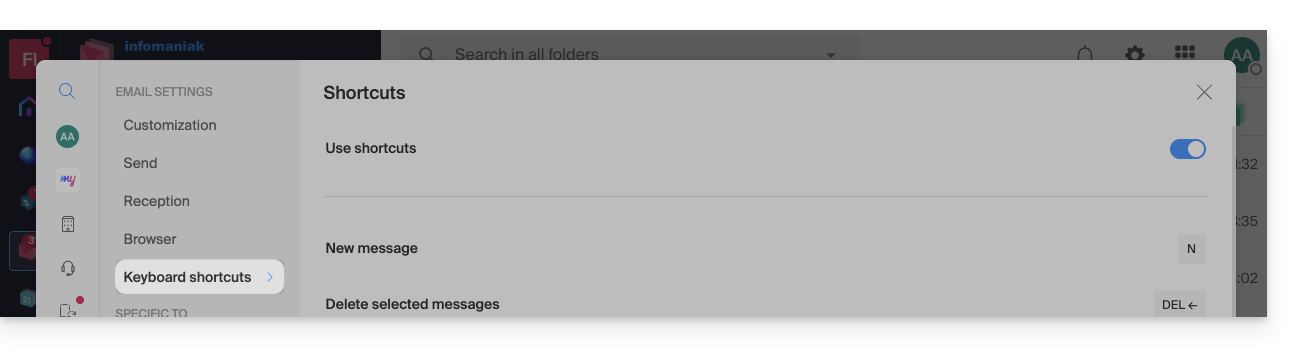
Keyboard shortcuts
Modify settings specific to email addresses
To access the signature, alias, and other settings specific to each of your Infomaniak email addresses:
- Click here to access your emails in your Infomaniak kSuite (❓: help).
- Click on Settings in the top right corner.
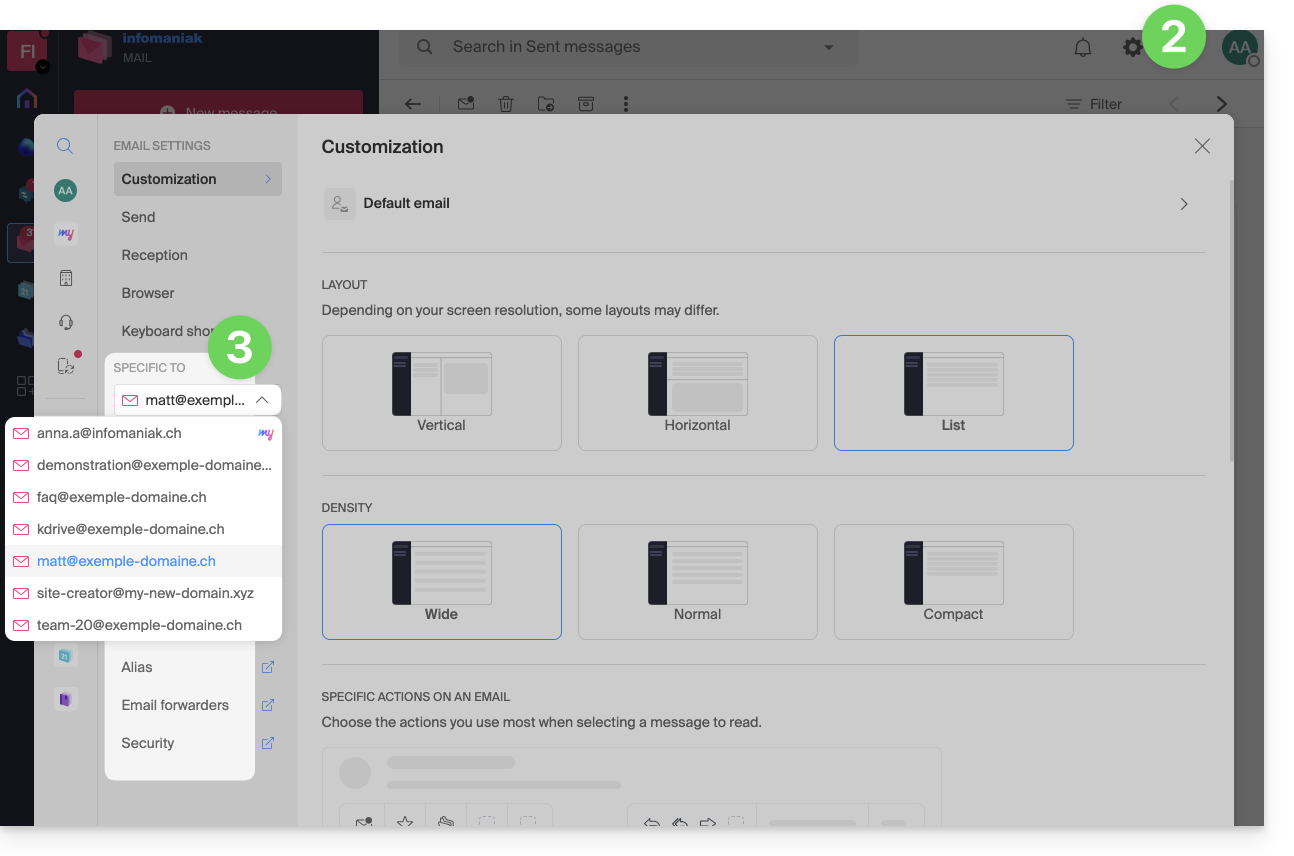
- Check or select the relevant email address in the dropdown menu on the left sidebar:
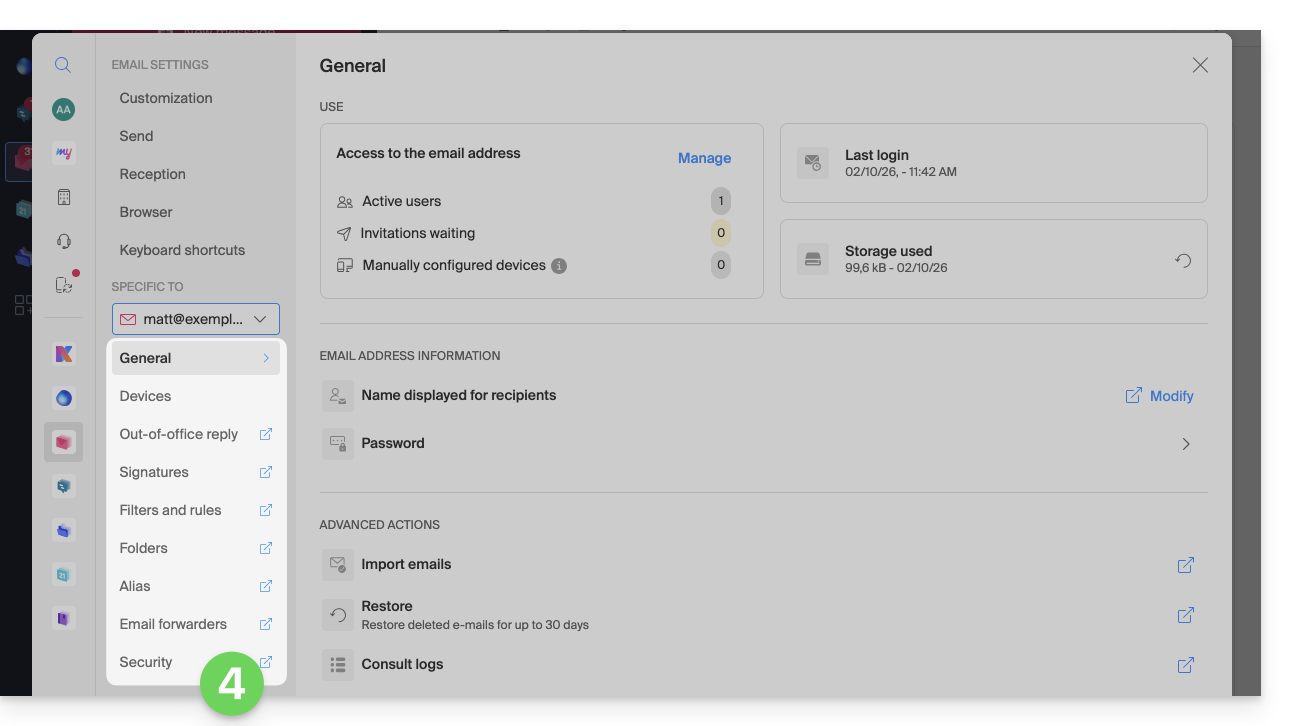
- Click on the various items in the secondary left-hand menuto configure your email address:
Feel free to browse the FAQ to find the relevant guides.
Link to this FAQ: https://faq.infomaniak.com/2481
Has this FAQ been helpful?