Knowledge base
1000 FAQs, 500 tutorials and instructional videos. Here, there are only solutions!
Save a kMeet meeting to kDrive
Update 10/08/2026
This guide explains how to start recording an online meeting organized with kMeet, Infomaniak's ethical and free video conferencing solution, to obtain a video recording of the session stored on kDrive Infomaniak.
Introduction
- Video recording
- takes place on the server side
- does not generate any load on the participant's computer that initiated it
- is in
.mp4video format - has a maximum duration of 3 hours.
- The video will not be available until someone manually stops the recording.
Record a kMeet meeting as a video on kDrive
Prerequisites
- Own a kDrive (standalone or as part of a kSuite, my kSuite, etc. offer).
- Do not create an encrypted video conference using a custom key (❓: help).
To record the meeting on kDrive:
- Click here to access kMeet on your Infomaniak kSuite (or launch the mobile/desktop app — ❓: help).
- Start a meeting (❓: help).
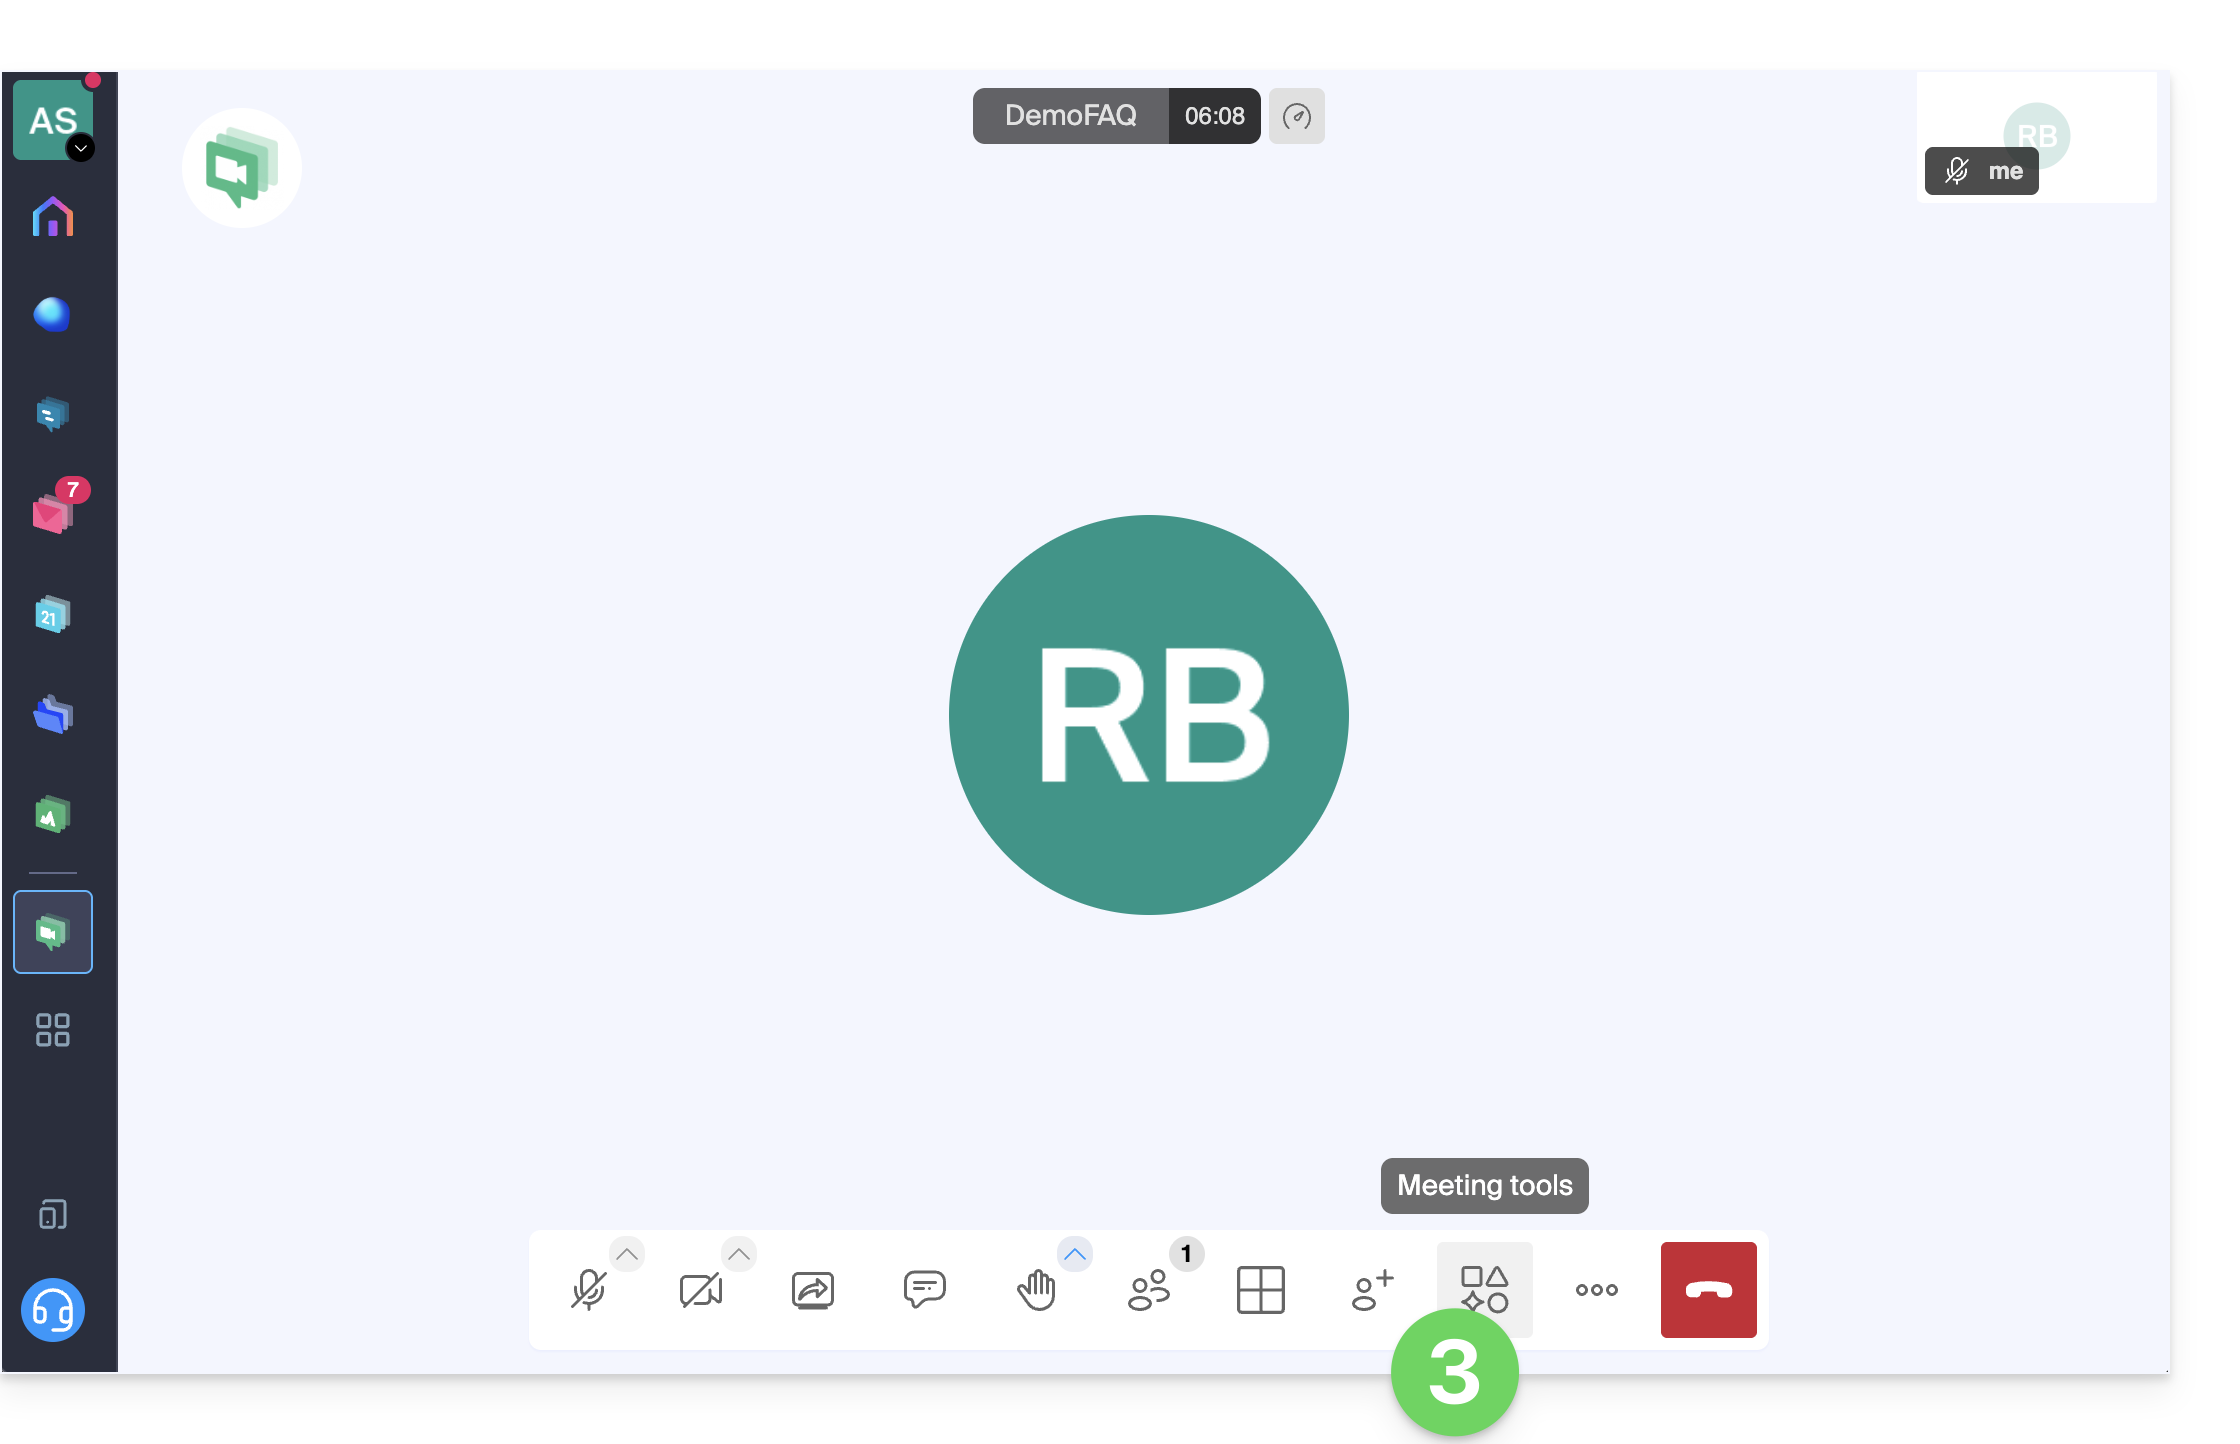
- Click on Meeting tools in the bottom toolbar:
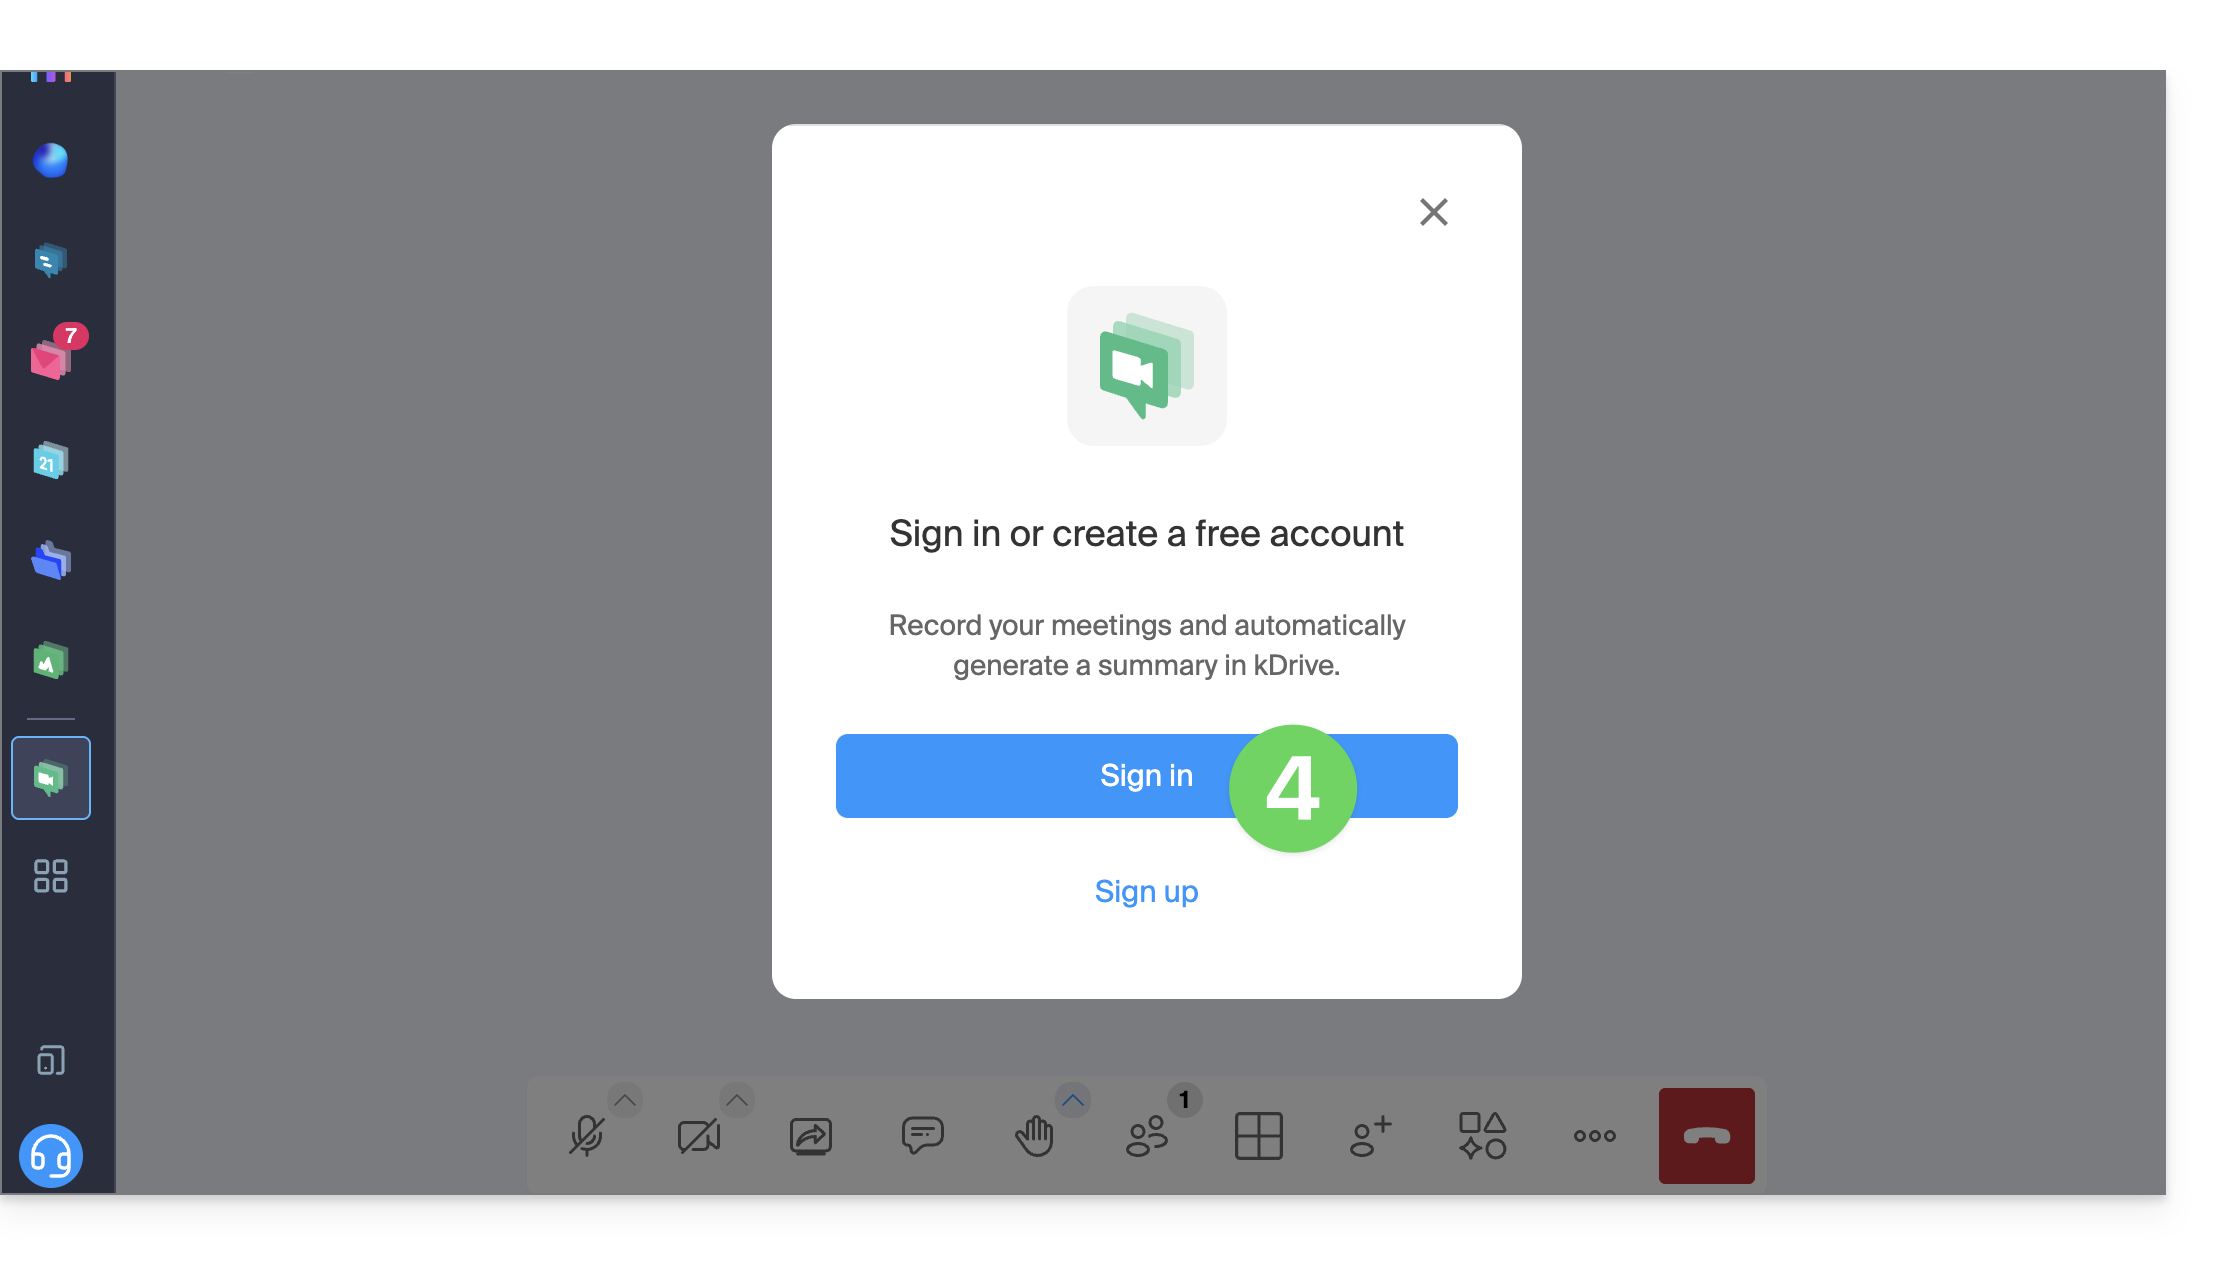
- If needed, click to log in:
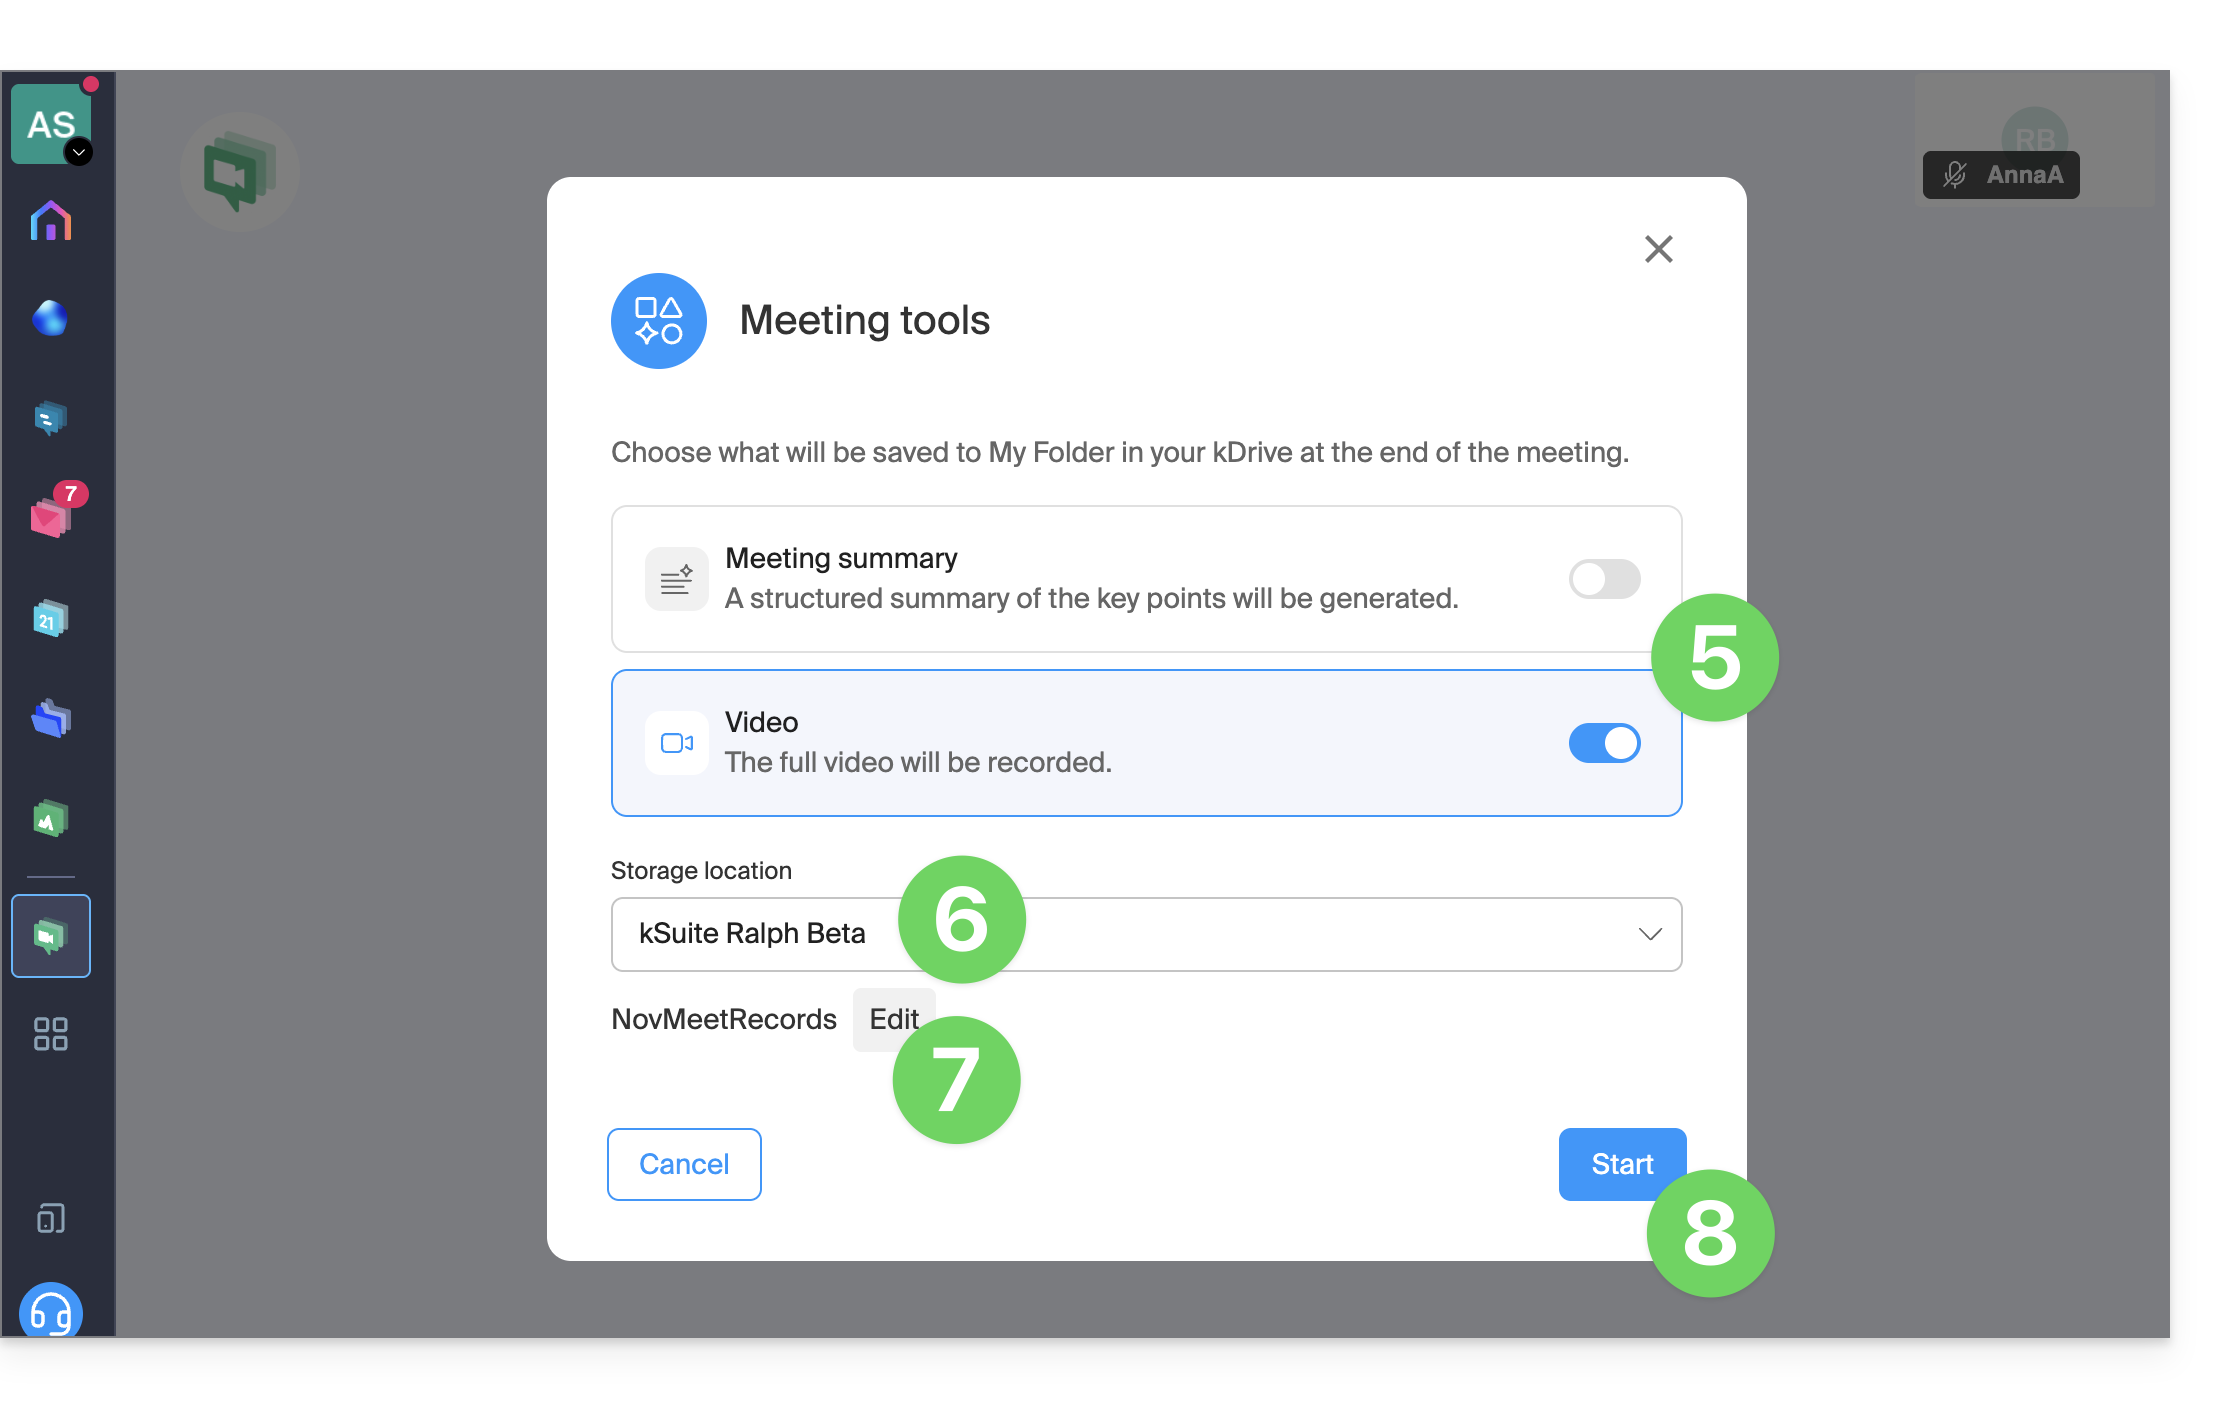
- Enable video recording (and/or the text summary feature — ❓: help).
- Select a kDrive to save the video conference to.
- Edit the location within the kDrive where future recordings will be saved.
- Then, click the button to start the recording – an audio message will inform participants that the recording has begun:
- If a participant joins the meeting later, they will also receive an audio message upon joining, warning them that a recording is in progress.
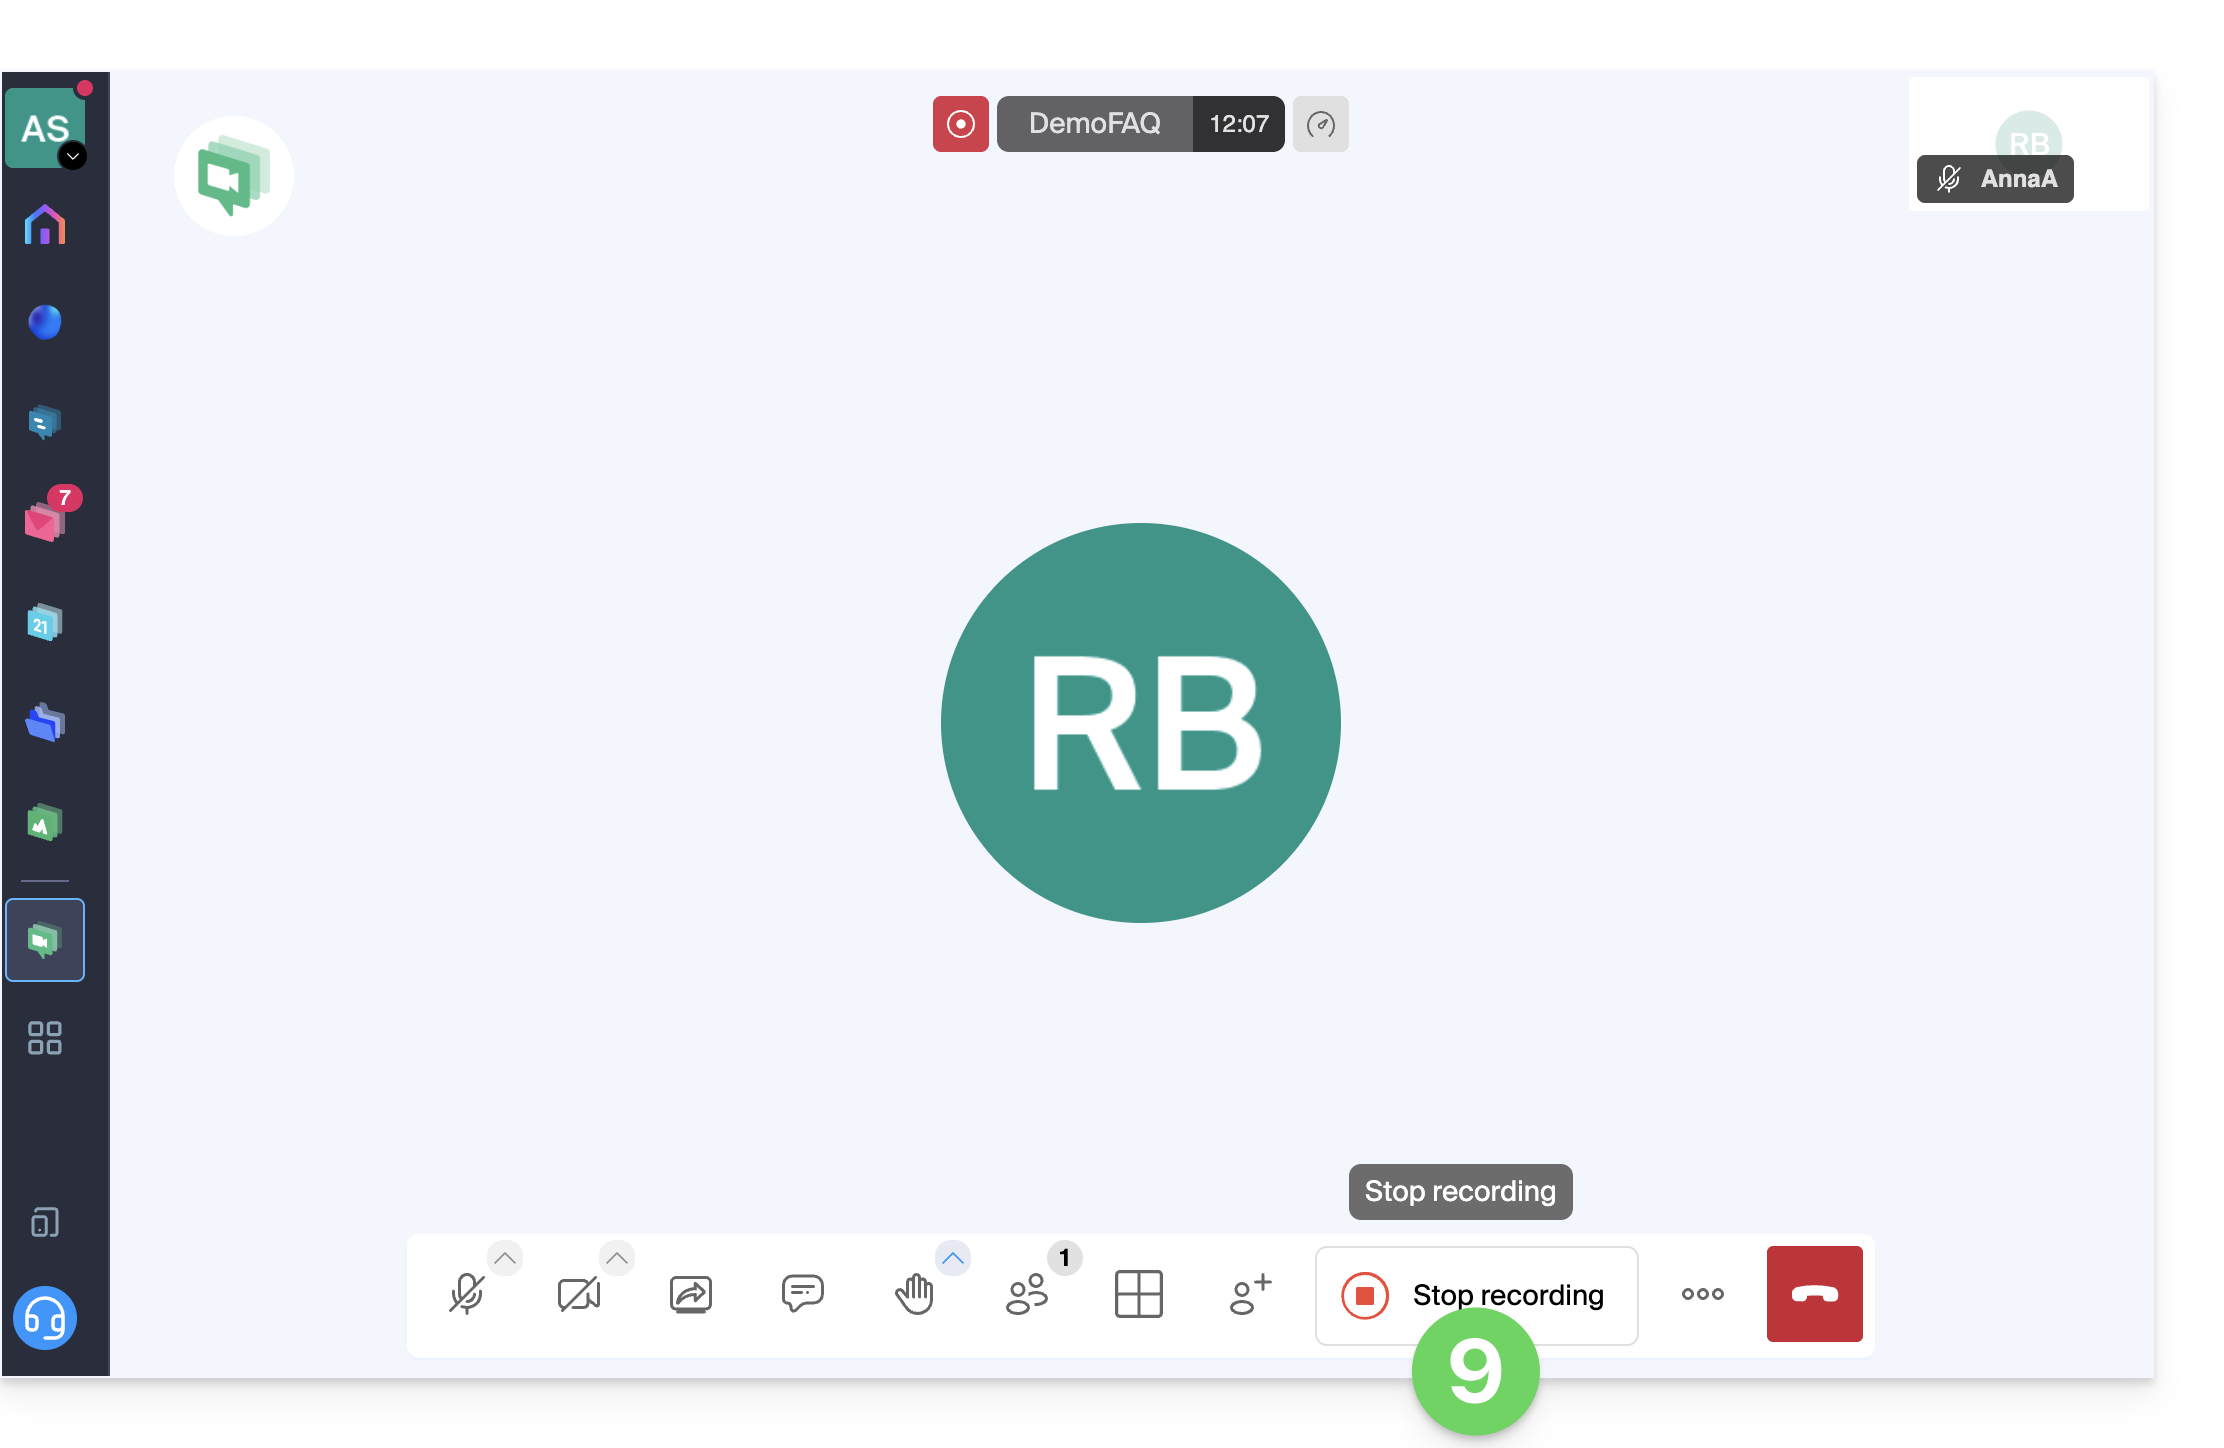
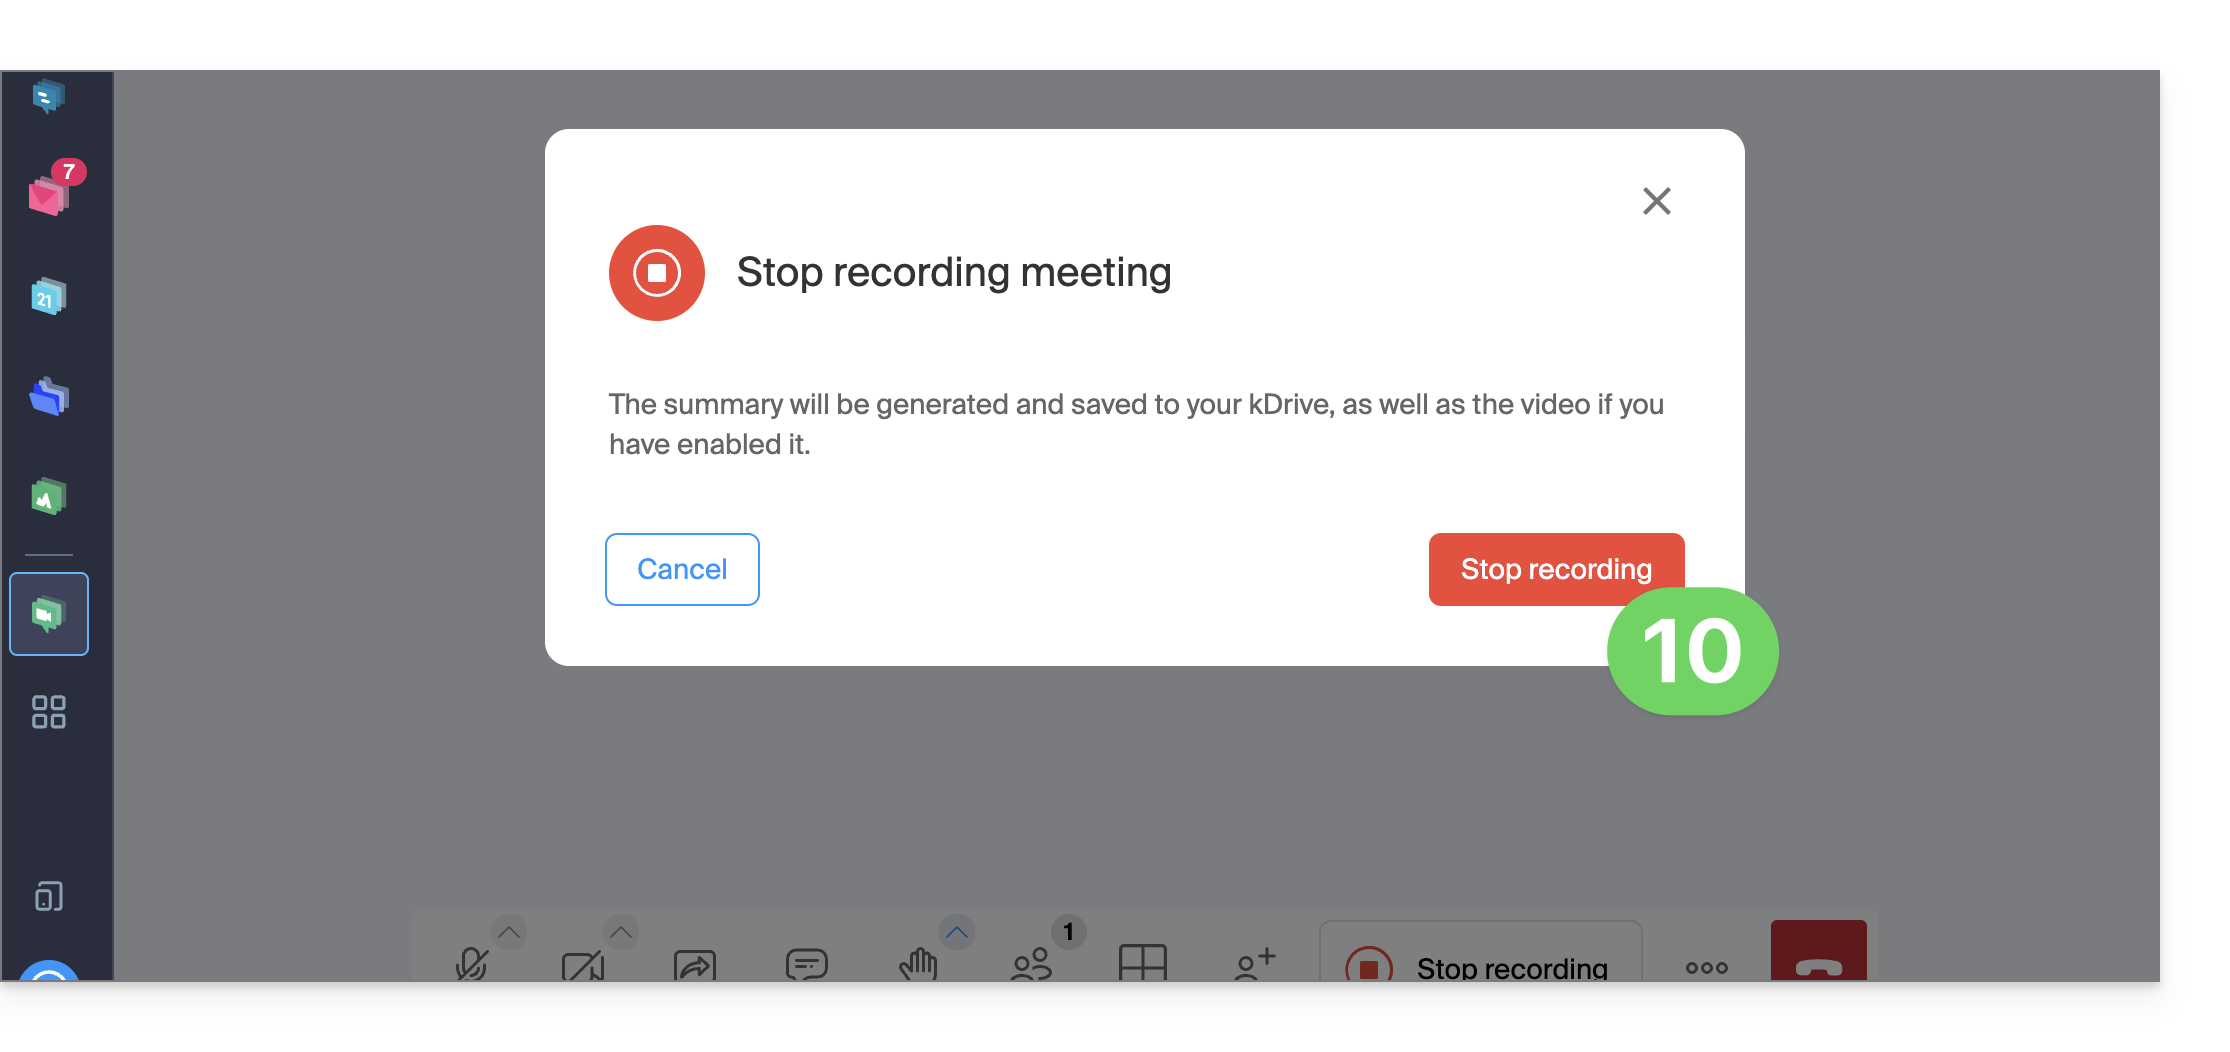
- To stop the video recording, click Stop recording:
- Confirm:
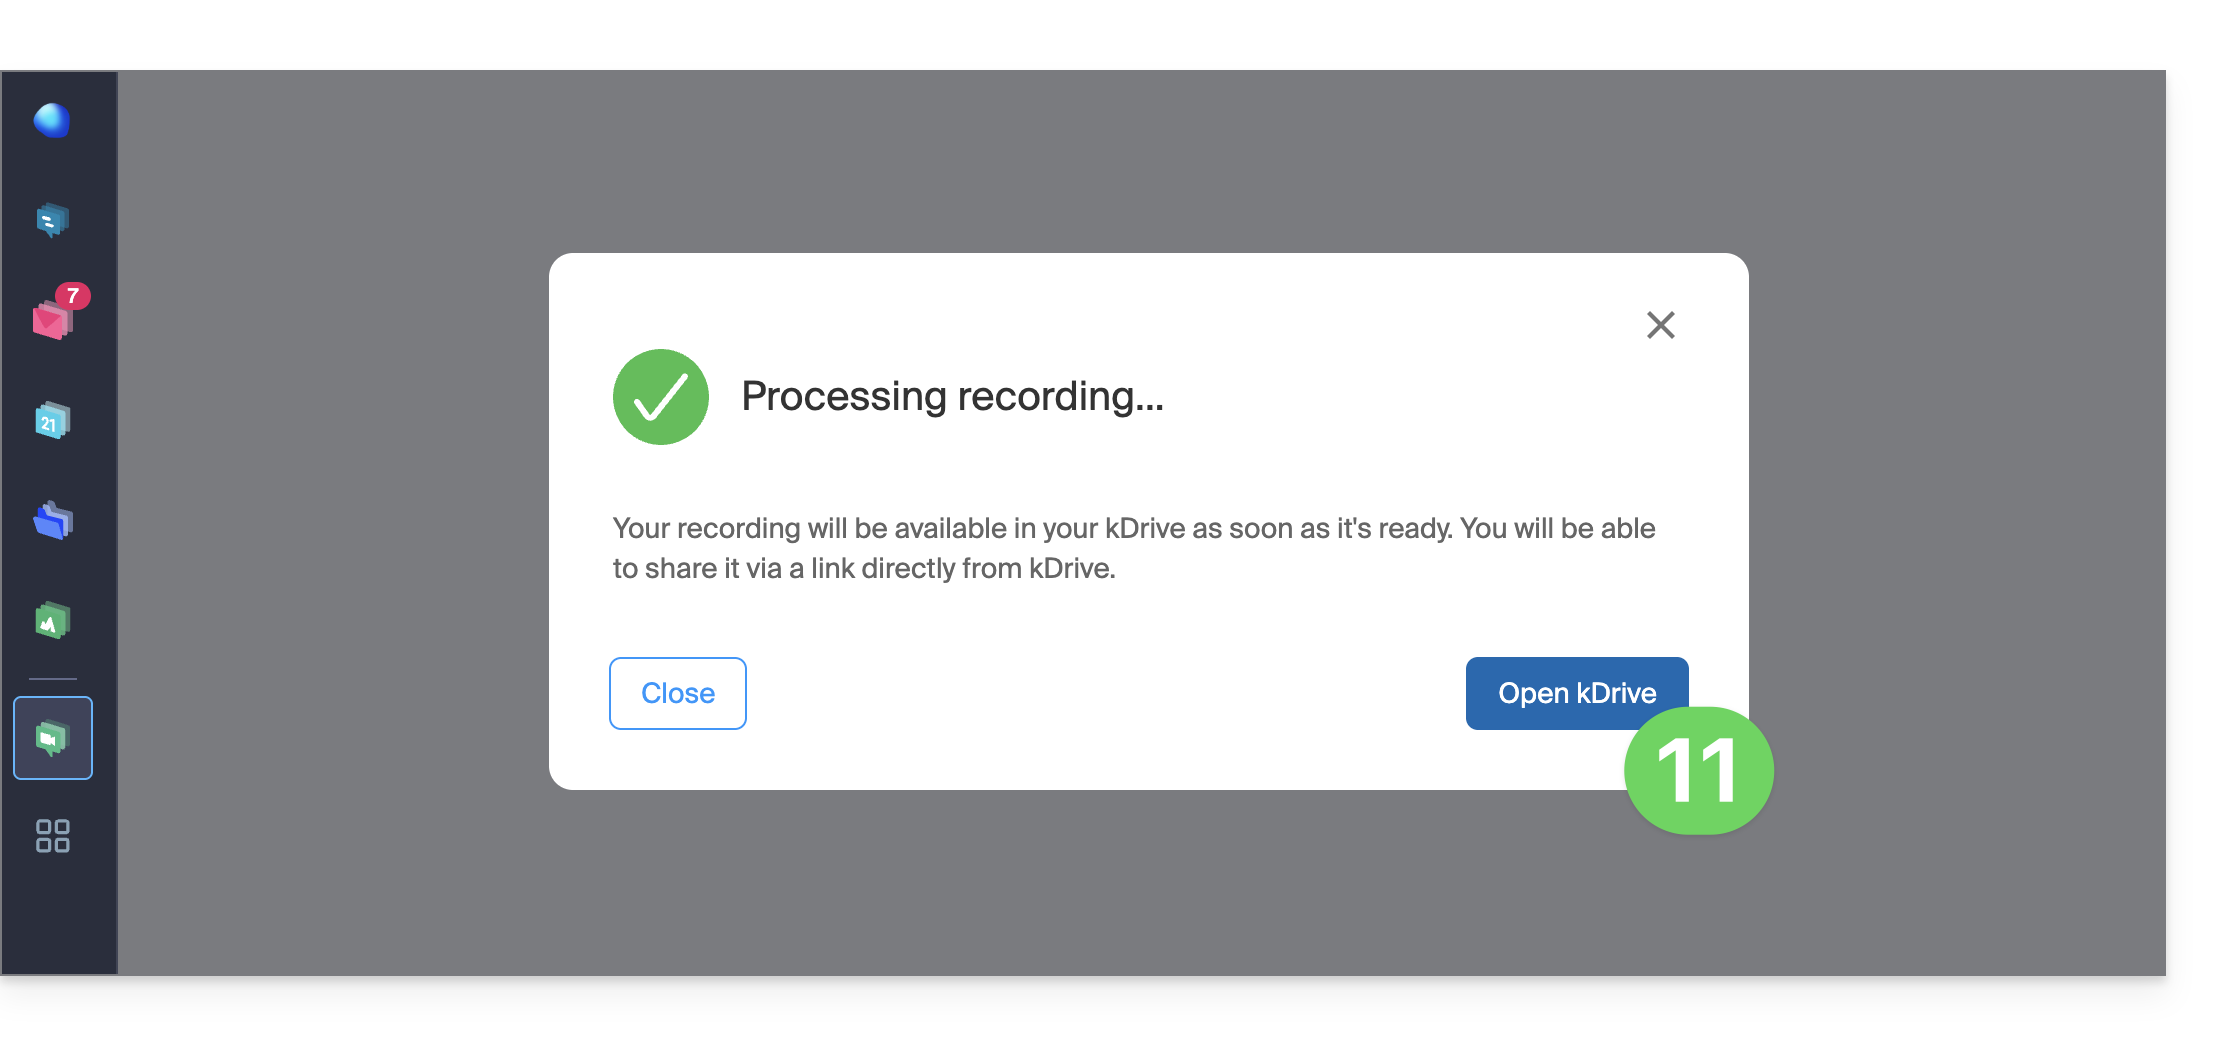
- Choose whether you want to go to the location of the recording on kDrive:
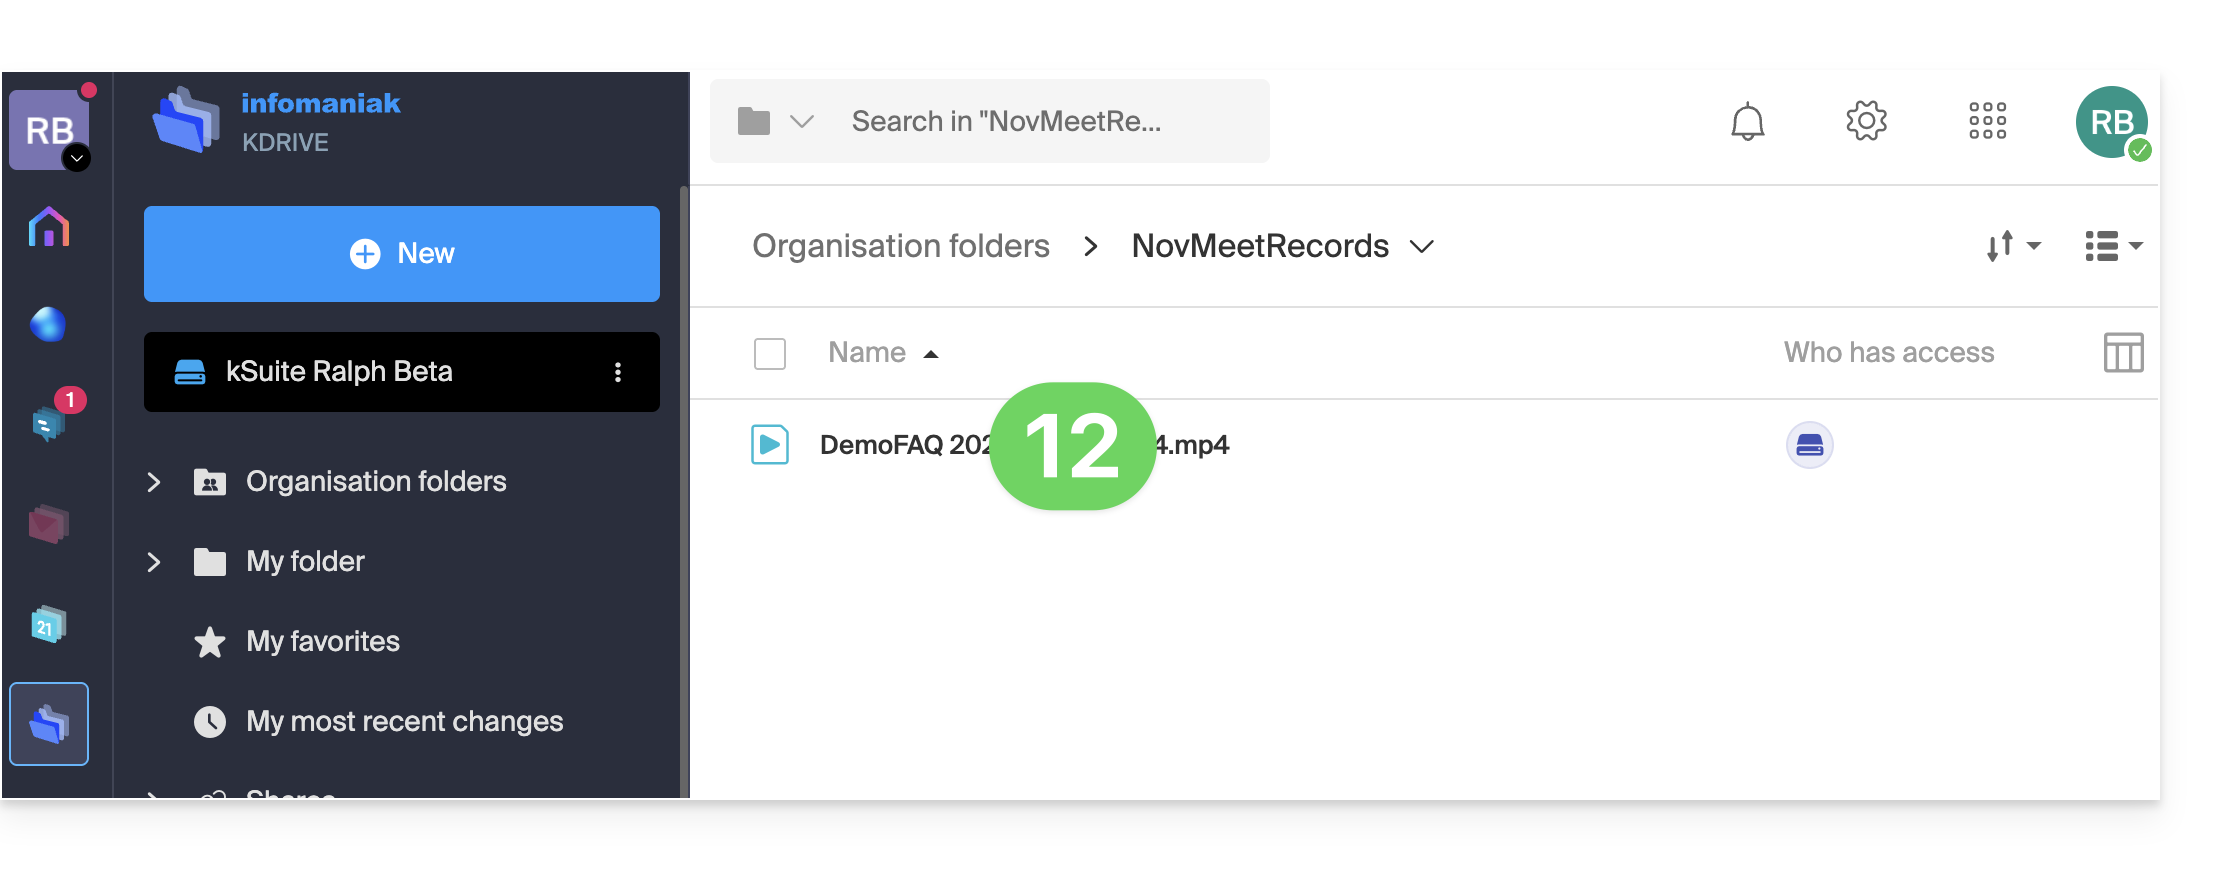
- The file is saved in the root directory of the selected kDrive:
Link to this FAQ: https://faq.infomaniak.com/2472
Has this FAQ been helpful?