Knowledge base
1000 FAQs, 500 tutorials and instructional videos. Here, there are only solutions!
Send large files with kSuite / SwissTransfer Pro
Update 10/15/2026
This guide details the use of SwissTransfer / SwissTransfer Pro, the Infomaniak service that you will find within kSuite & my kSuite+.
Introduction
- Registering for SwissTransfer allows you to access the transfer history; however, some limitations apply (❓: help).
- The history is available from the registration date; transfers made before this date will not be retroactively retrieved and will therefore not appear in the history.
- An active transfer that is still in the history can be deleted so that it is no longer available for download.
- You can go even further by customizing your transfers (❓: help) with SwissTransfer Pro.
- You can also use SwissTransfer via the mobile app (application for iOS/Android smartphones or tablets); thanks to its integration, it offers quick file sharing options for your files, photos, PDFs, etc., directly from the file explorer:
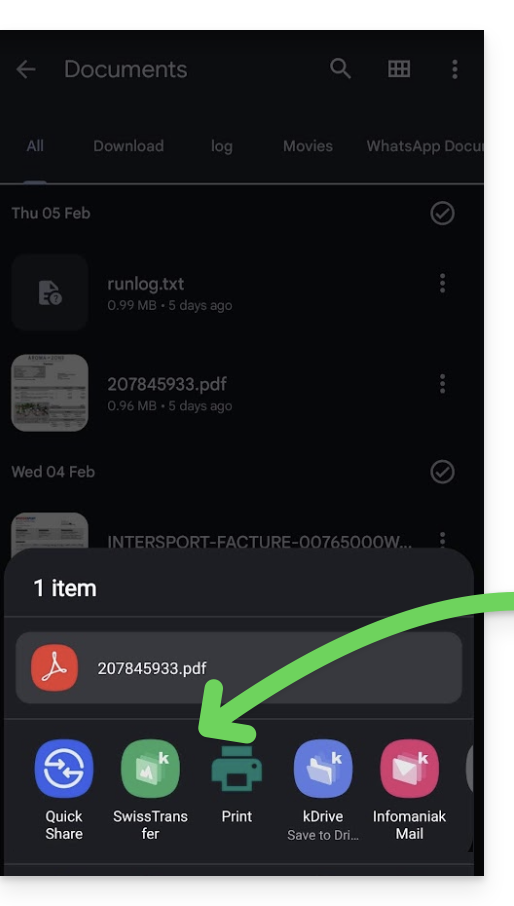
Transfer data while connected to Infomaniak
To send files and keep a history of transfers:
- Click here to access the Infomaniak SwissTransfer web app (online service swisstransfer.com) and click the button to log in:
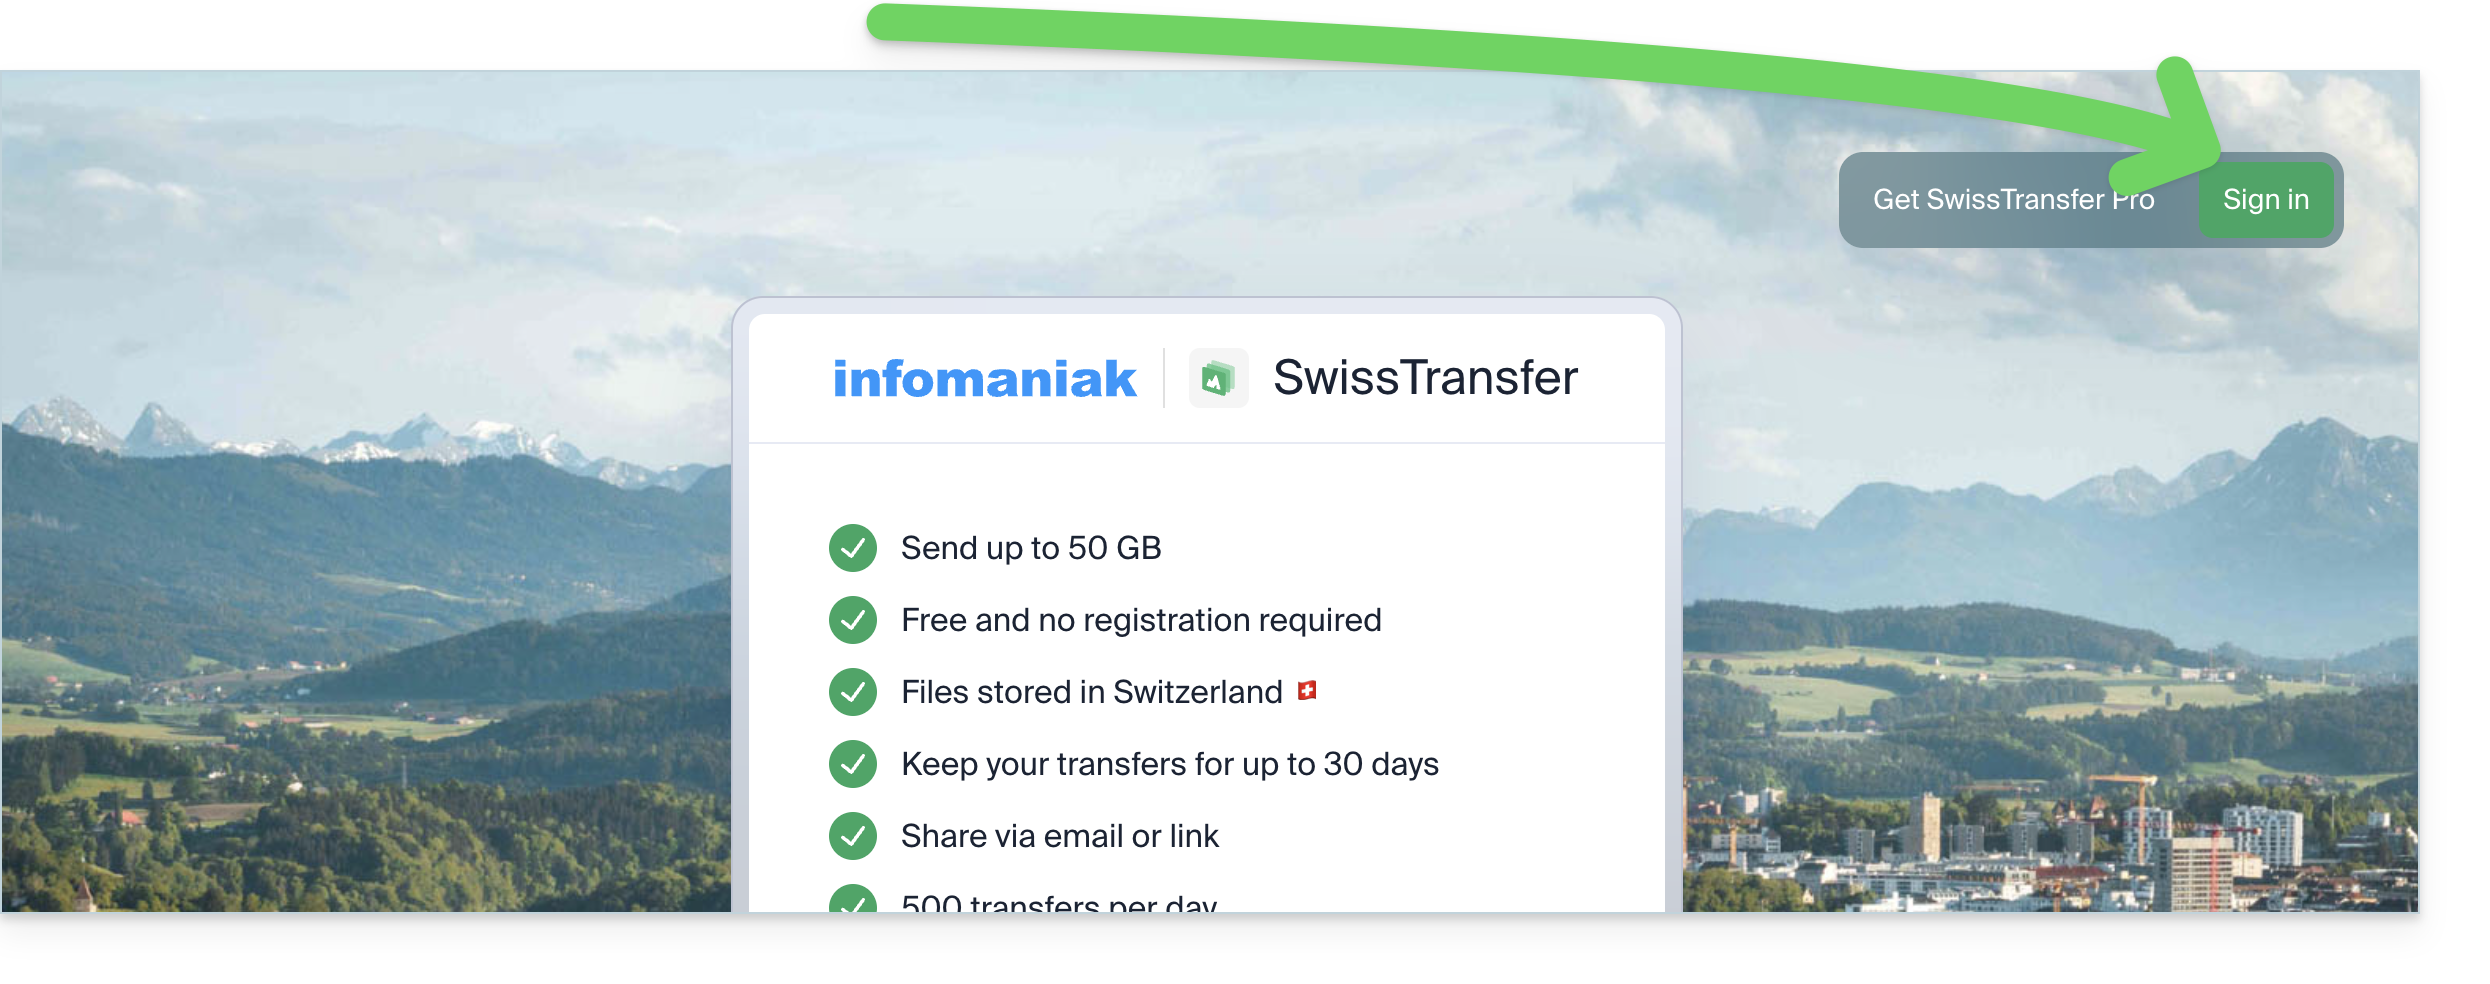
- Enter your login ID and password, and complete the two-factor authentication if necessary.
- Once logged in, click the button to add the documents to transfer (the service accepts large files up to 50 GB); you can also drag and drop your data into this area:
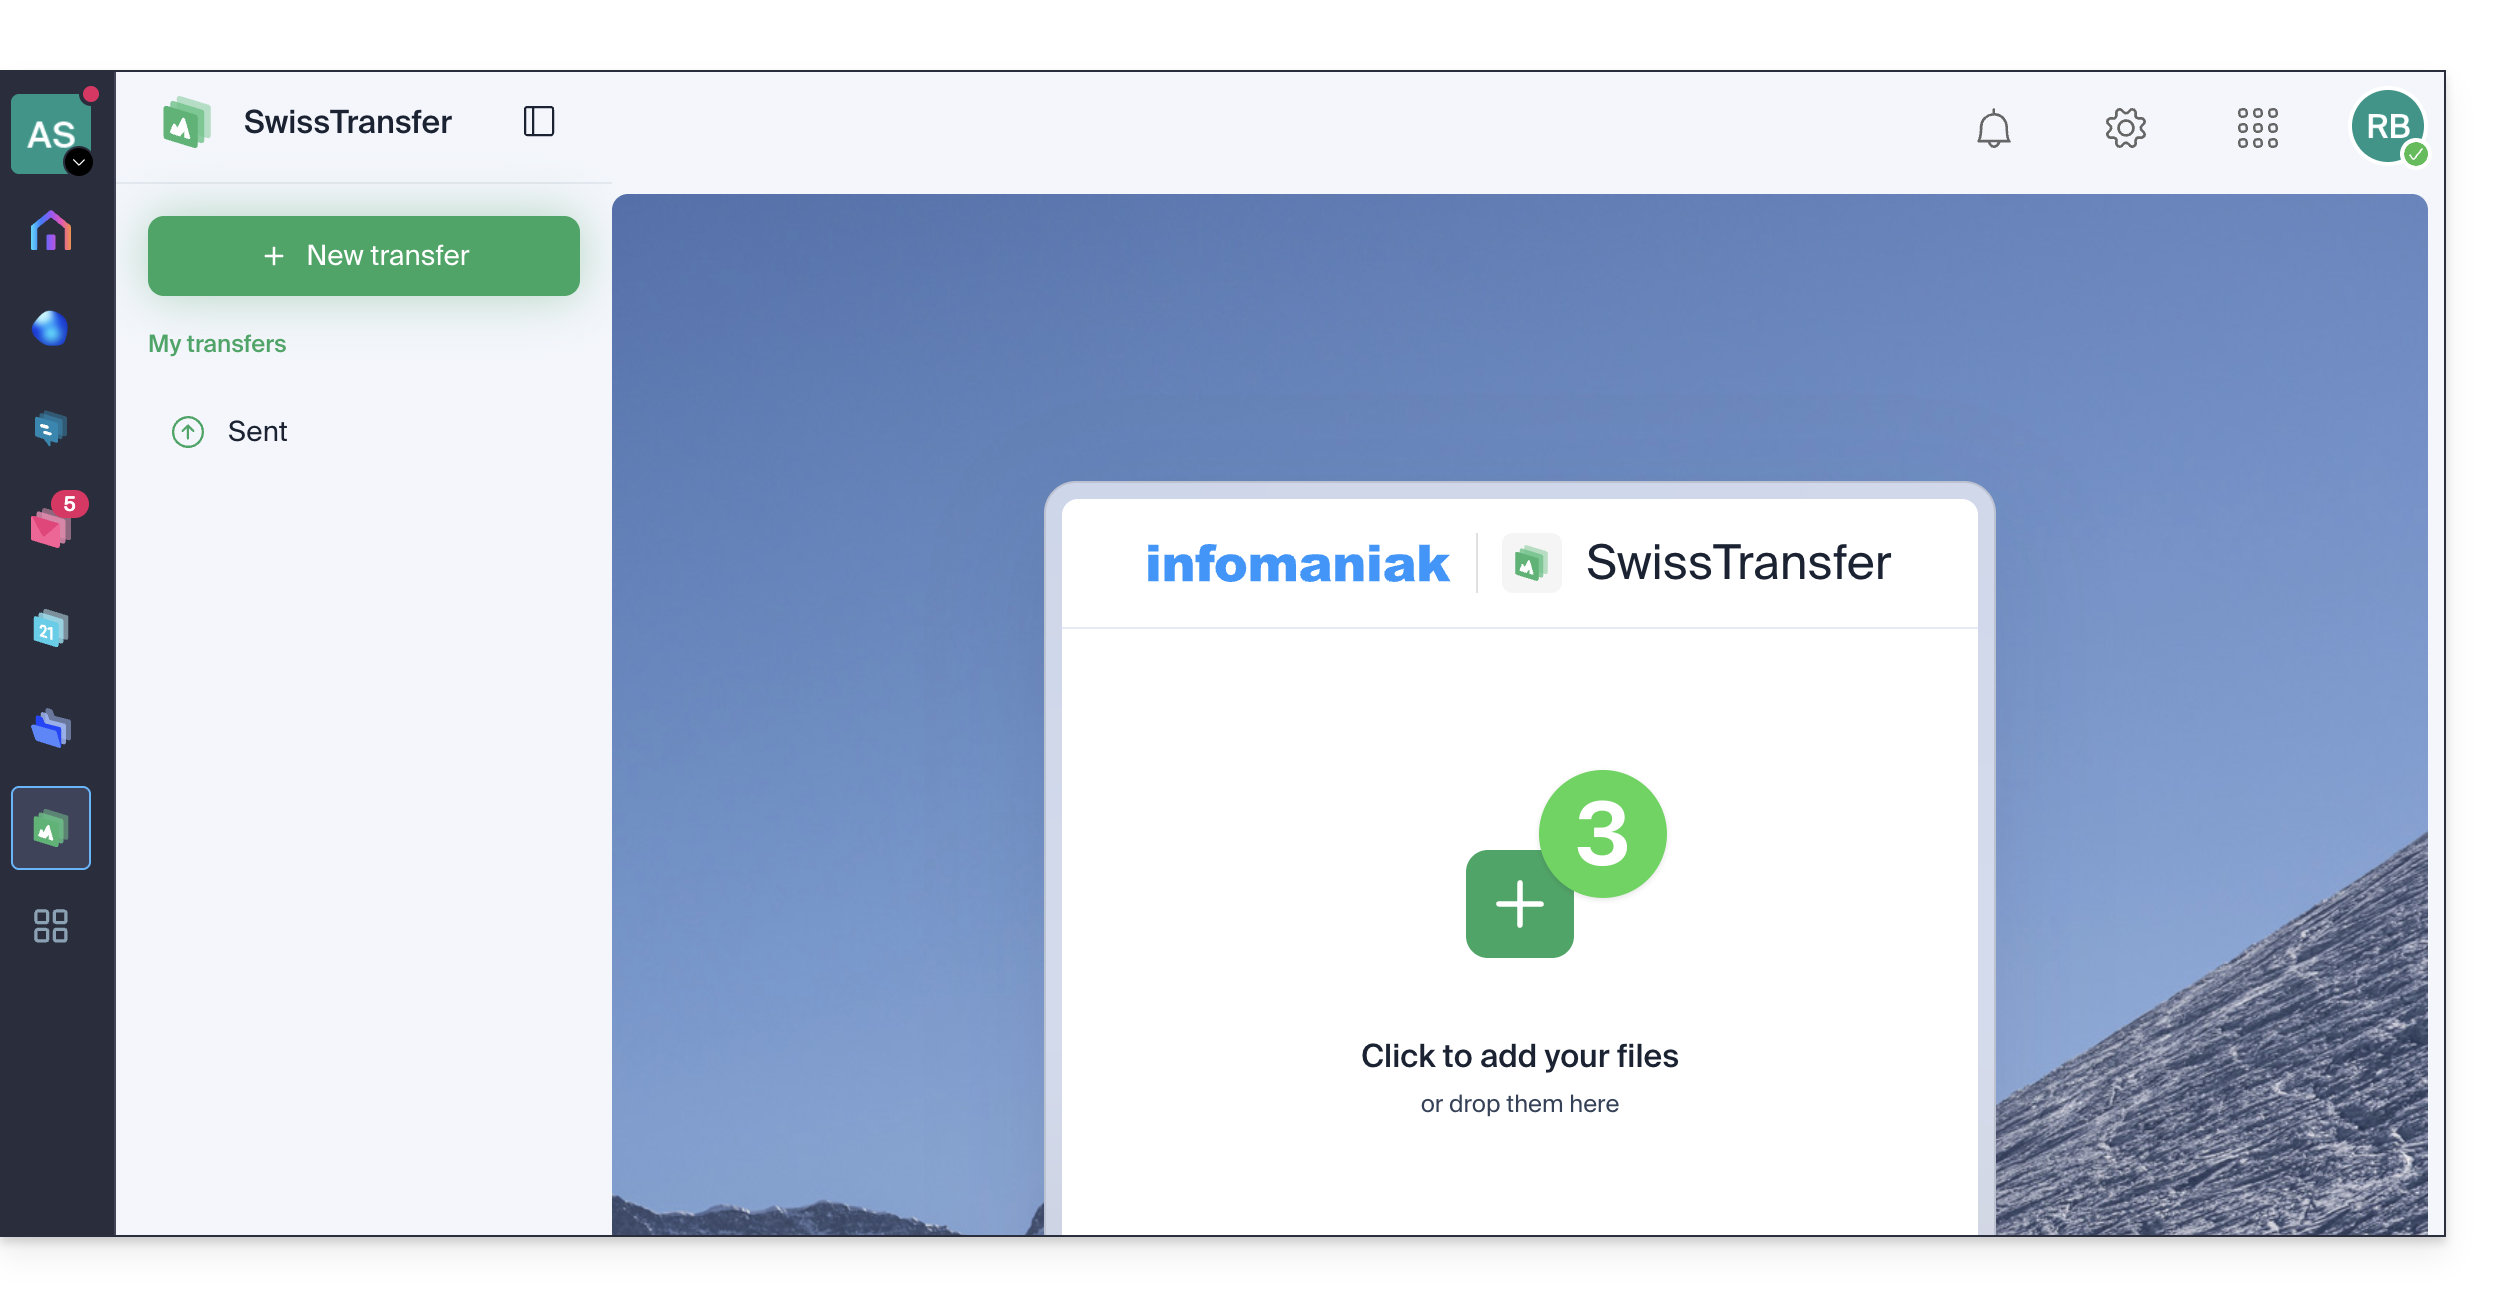
- Your files are ready to be transferred.
- Then decide if you want to create an email to the address of your choice, or get a link leading to your transfer (without sending it to anyone).
- Also, choose the duration for which your data will be available for download (between 1 and 60 days depending on the plan).
- In the options, you can also restrict, if needed, the maximum number of times the content can be downloaded by your recipients (between 1 and 250) or leave it unlimited, add a possible password protection, and, depending on the plan, customize your sends (❓: help):
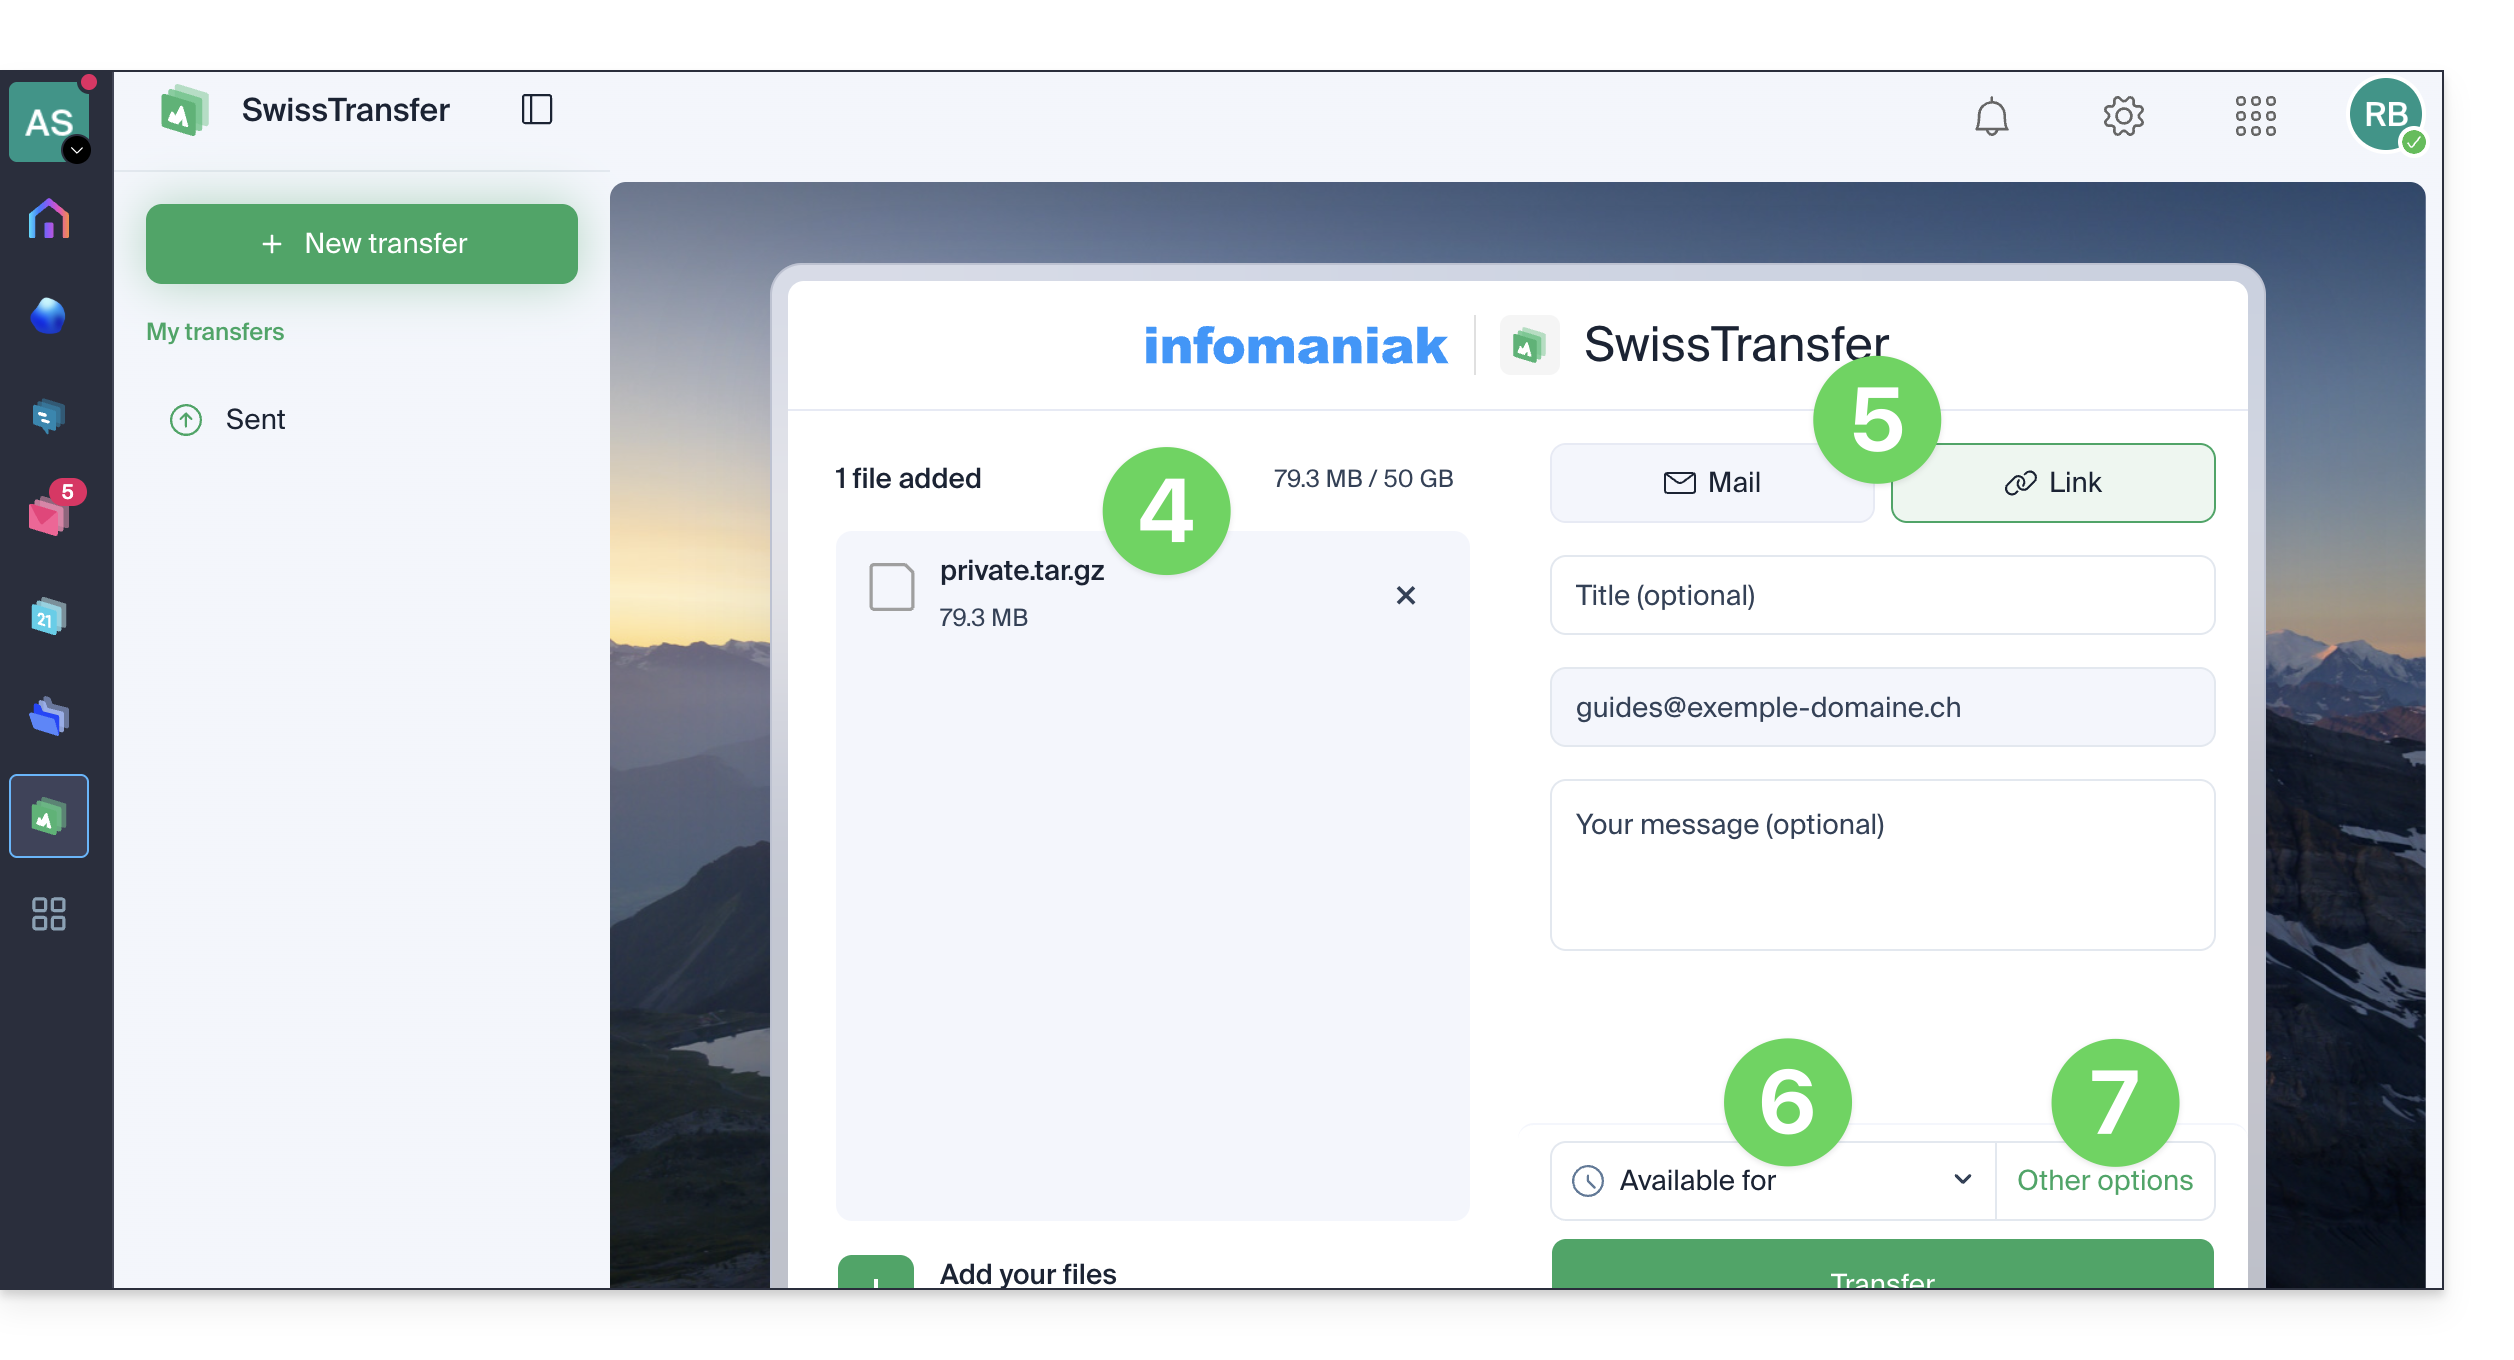
- Complete your information:
- Title and message
- Sending by email requires adding one or more destination email addresses.
- The sender is automatically taken from your login ID for the Organization.
- Click the button to Send:
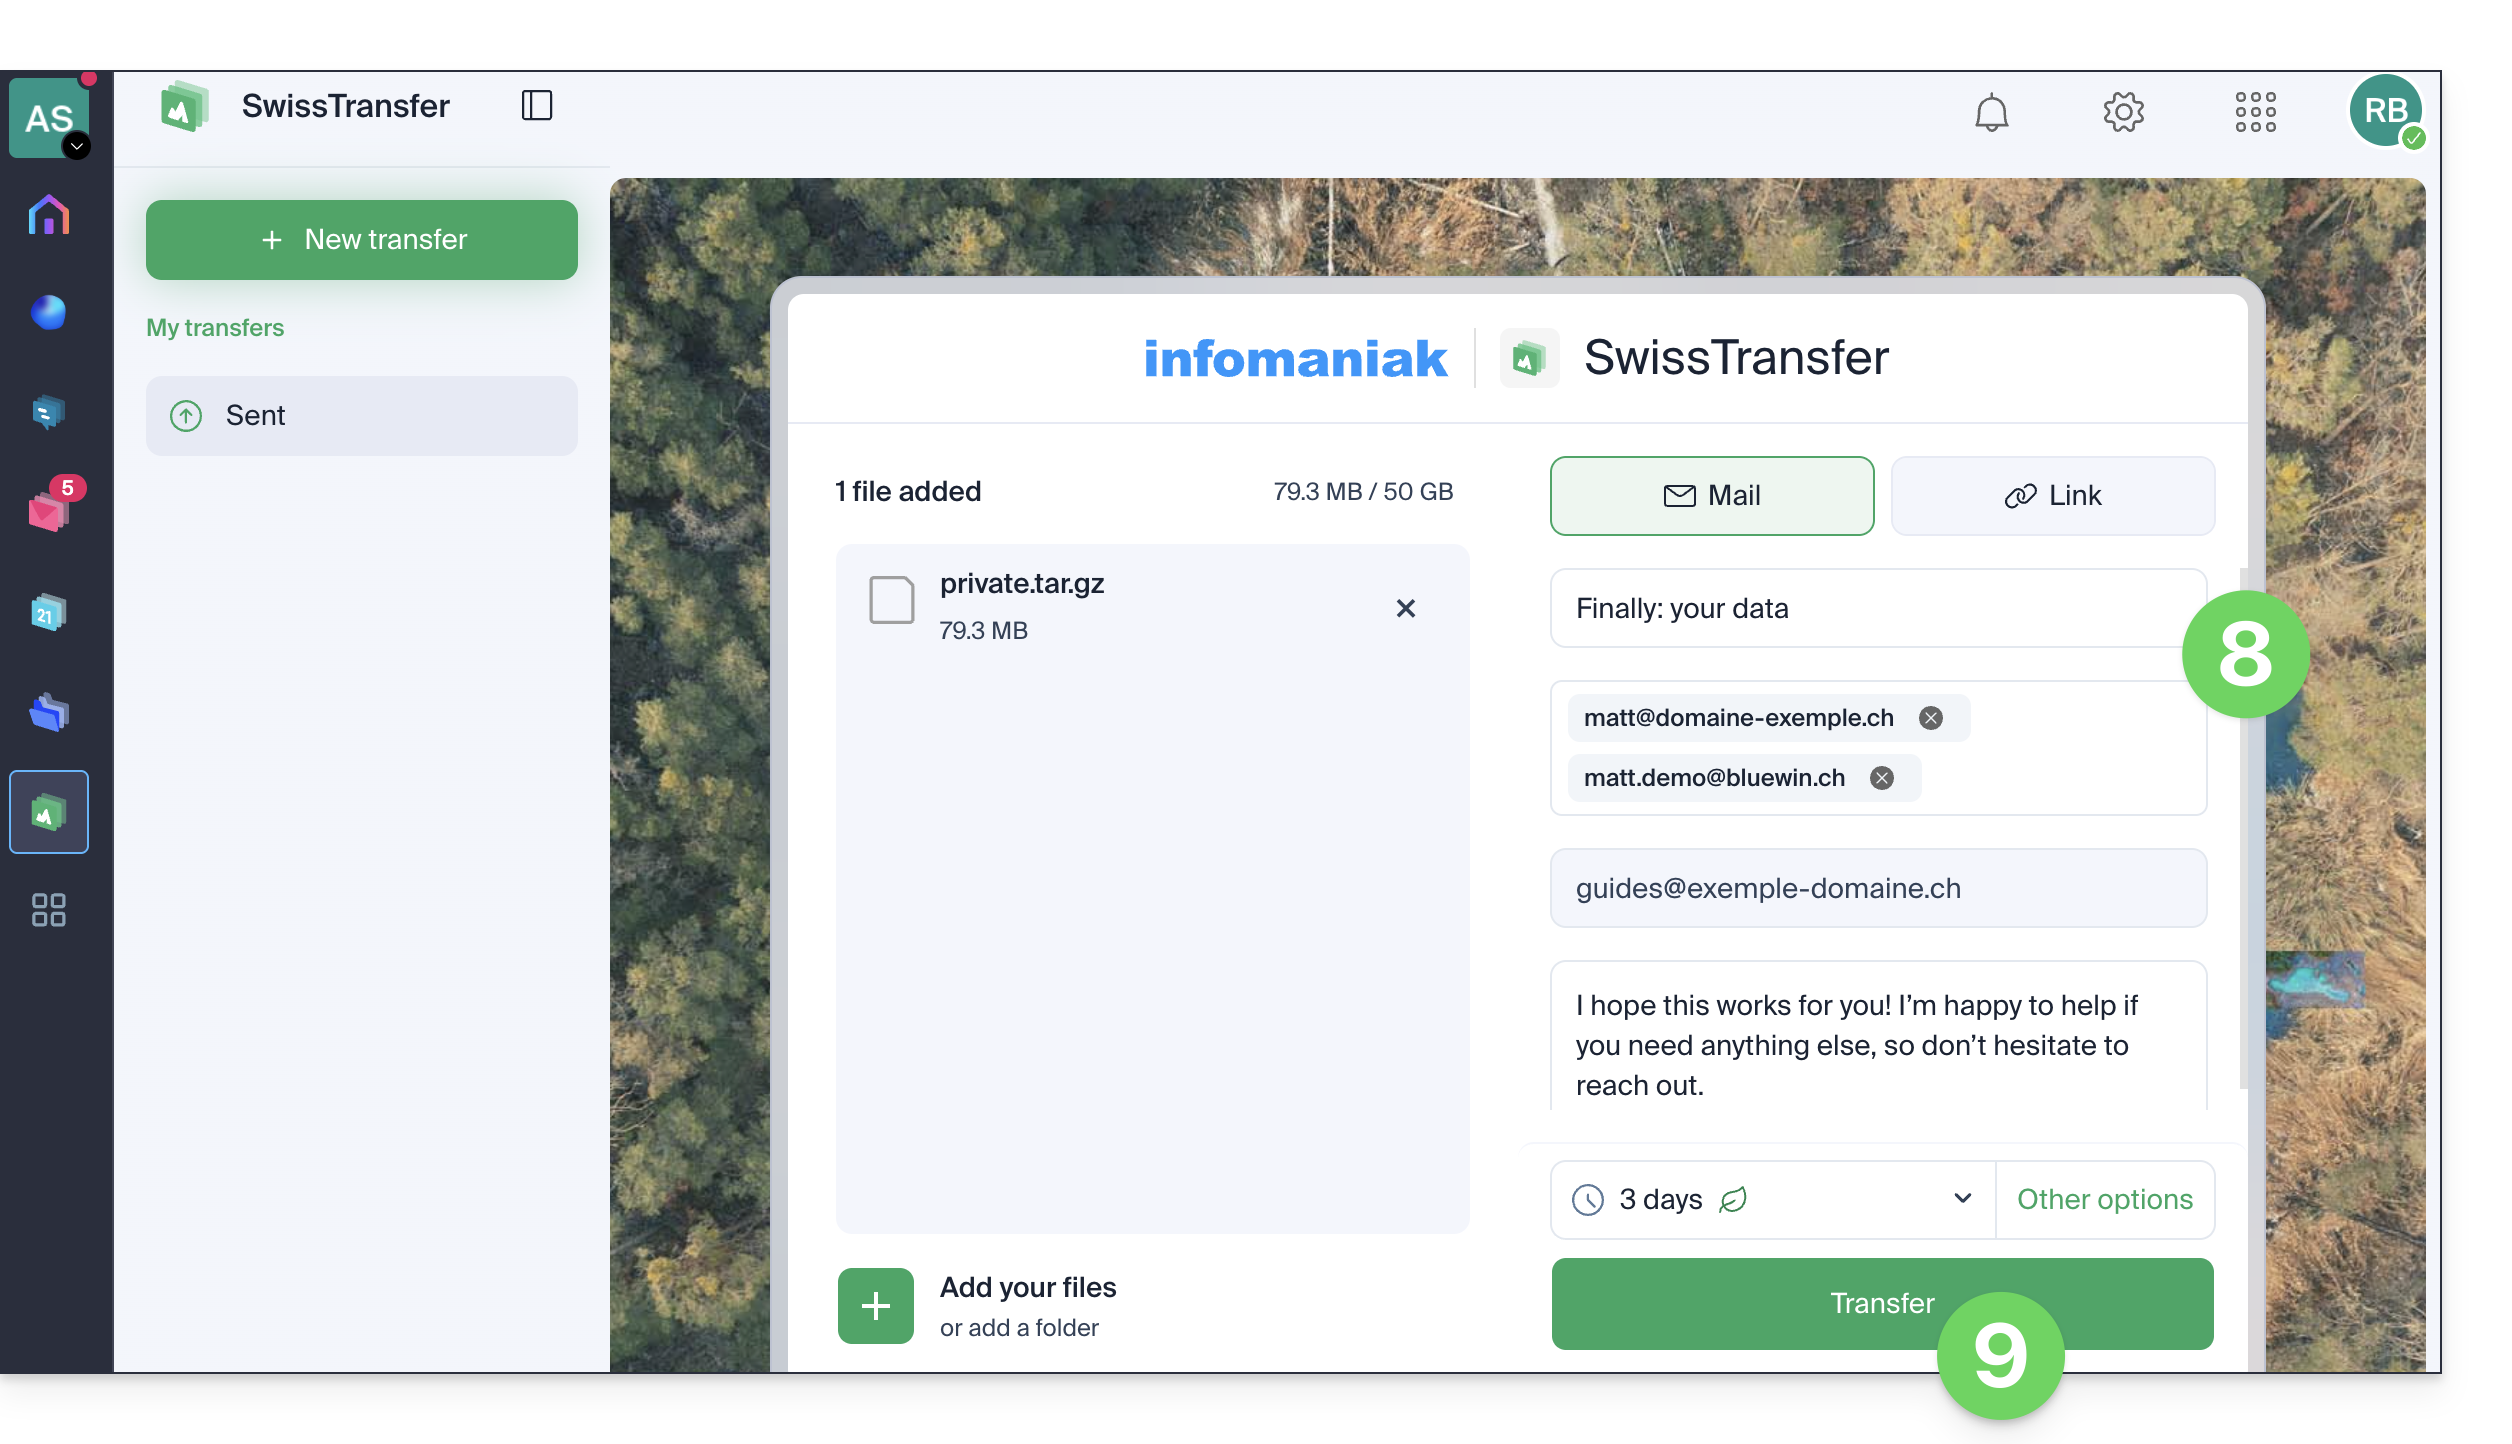
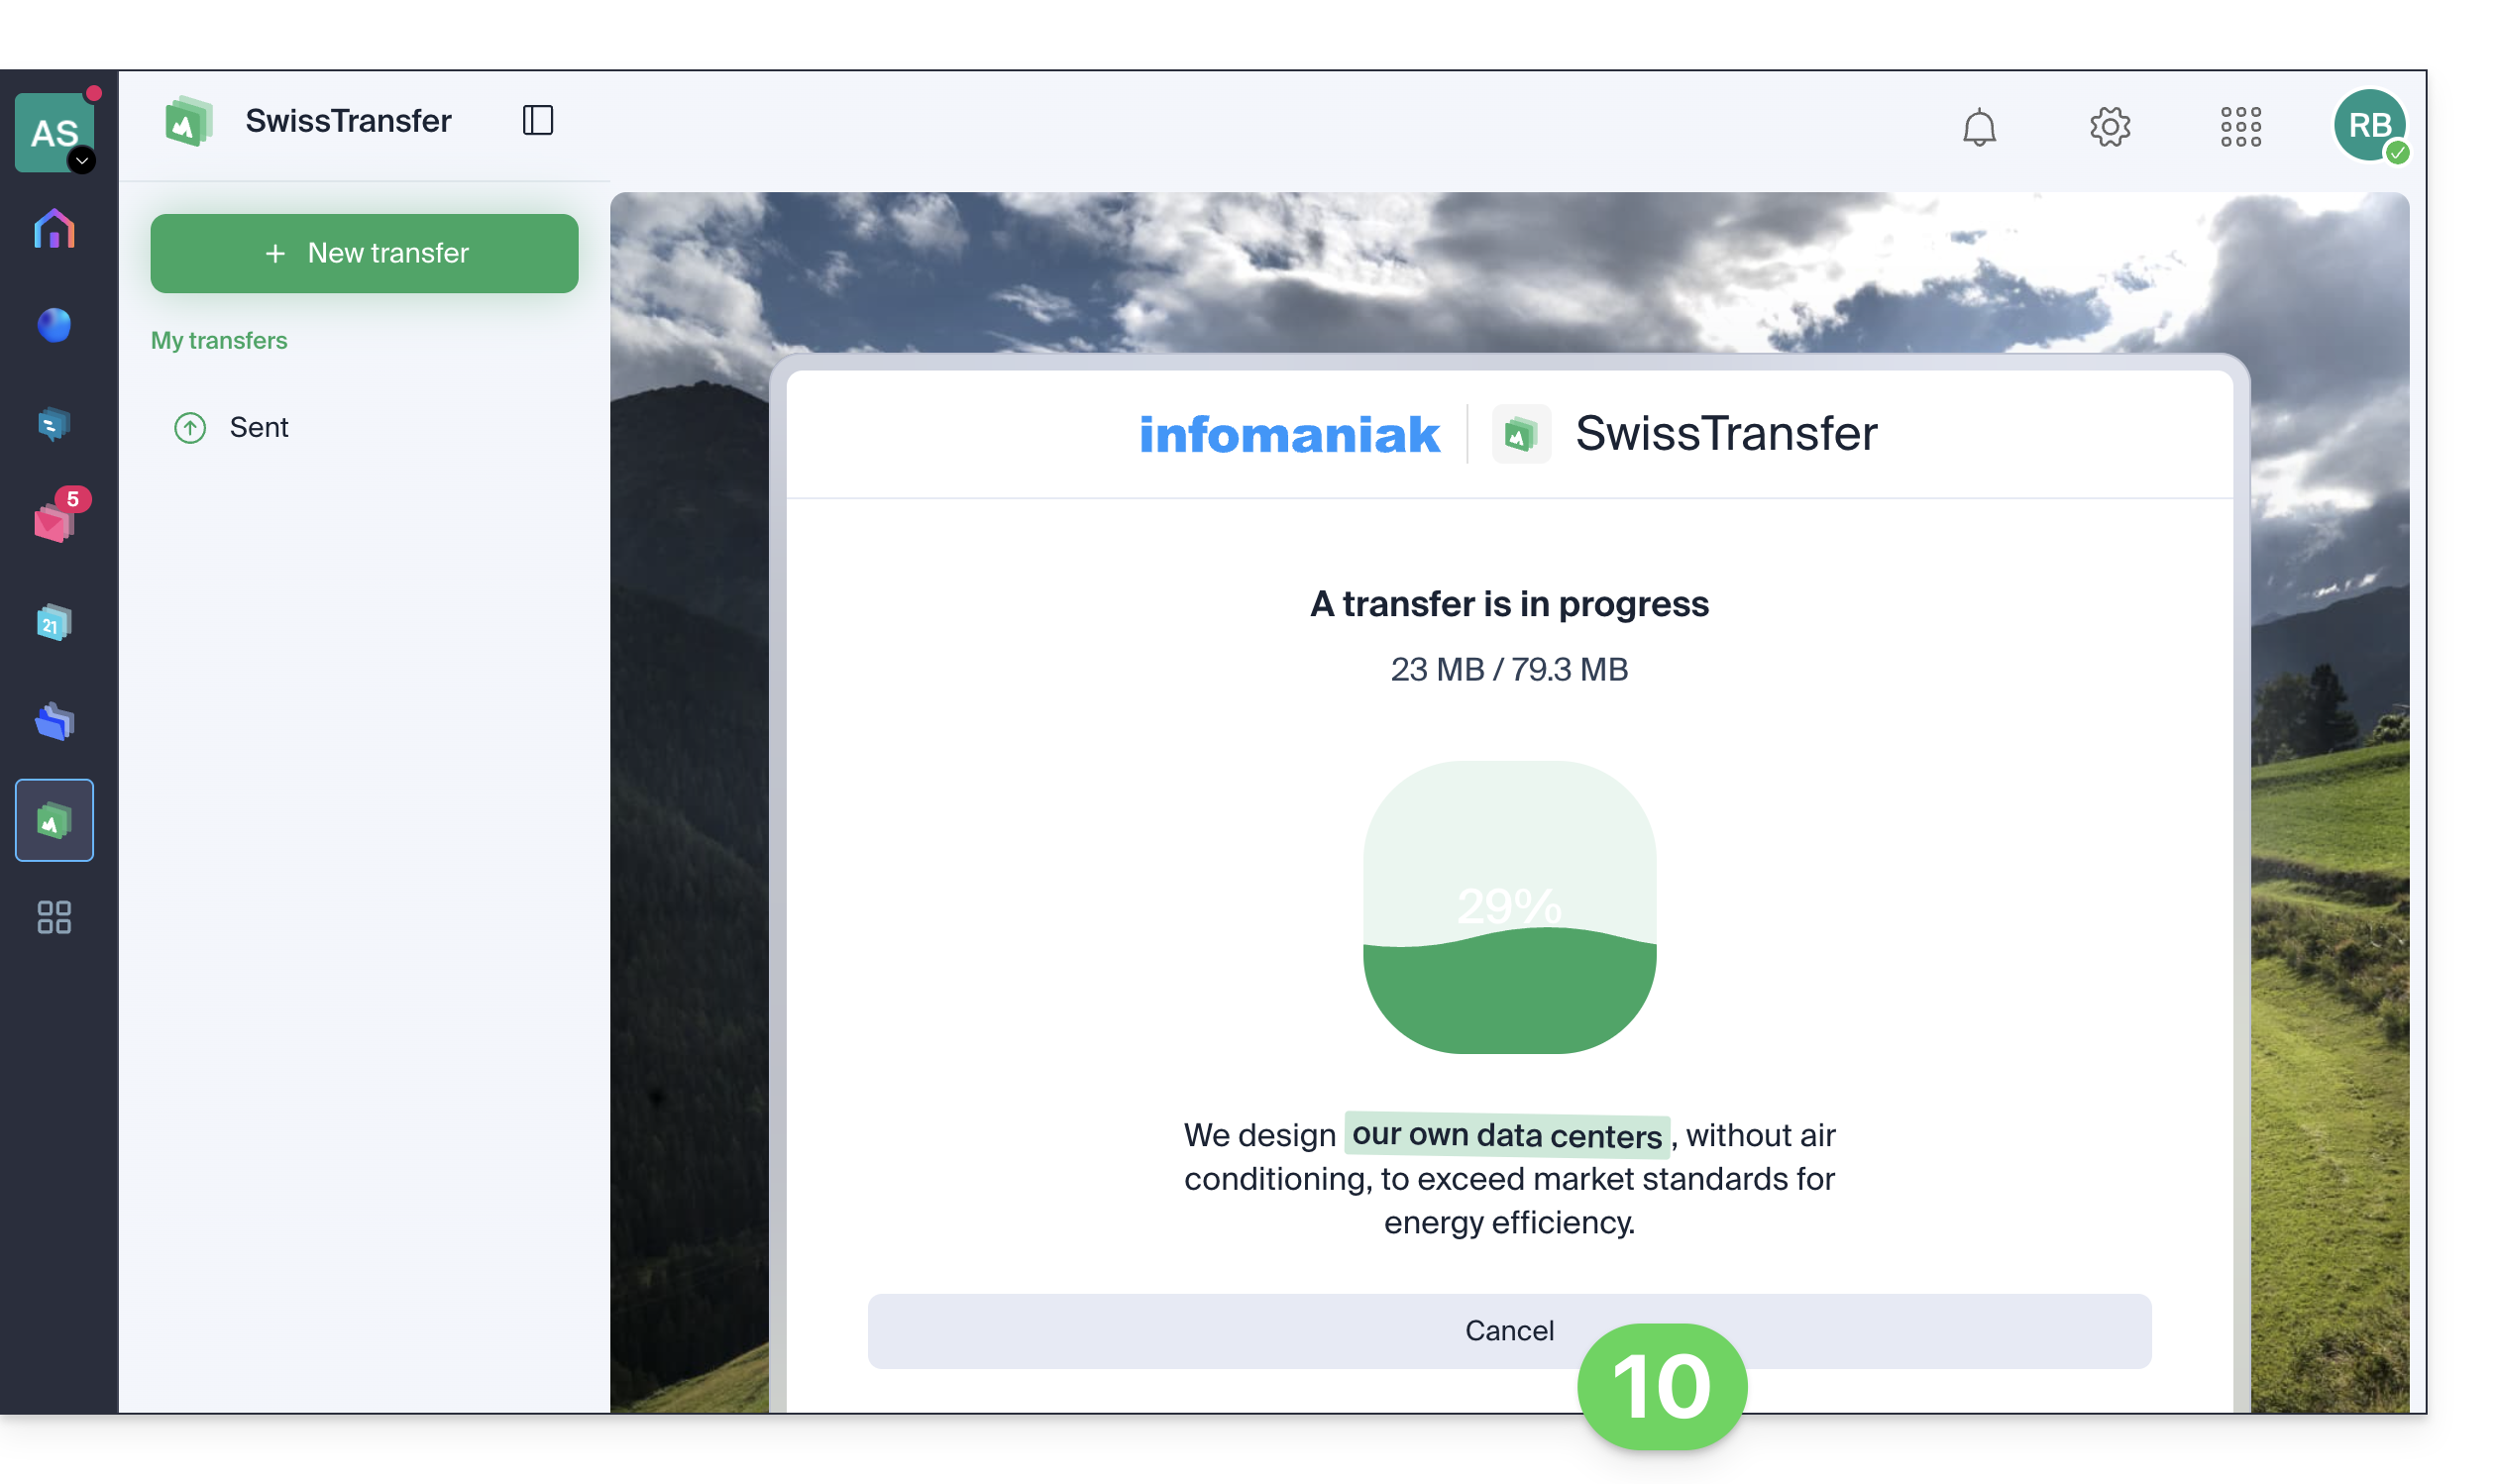
- Do not close the browser window until you see the confirmation message; if necessary, you can cancel the current upload:
When a recipient downloads the file, an email is sent to the sender to notify them.
Manage transfer history
Keep track of your uploads and their details (including statistics):
- Access the Sent menu.
- Click on the action menu ⋮ to the right of the transfer you want to delete.
- Click on Delete to make it no longer available for download:
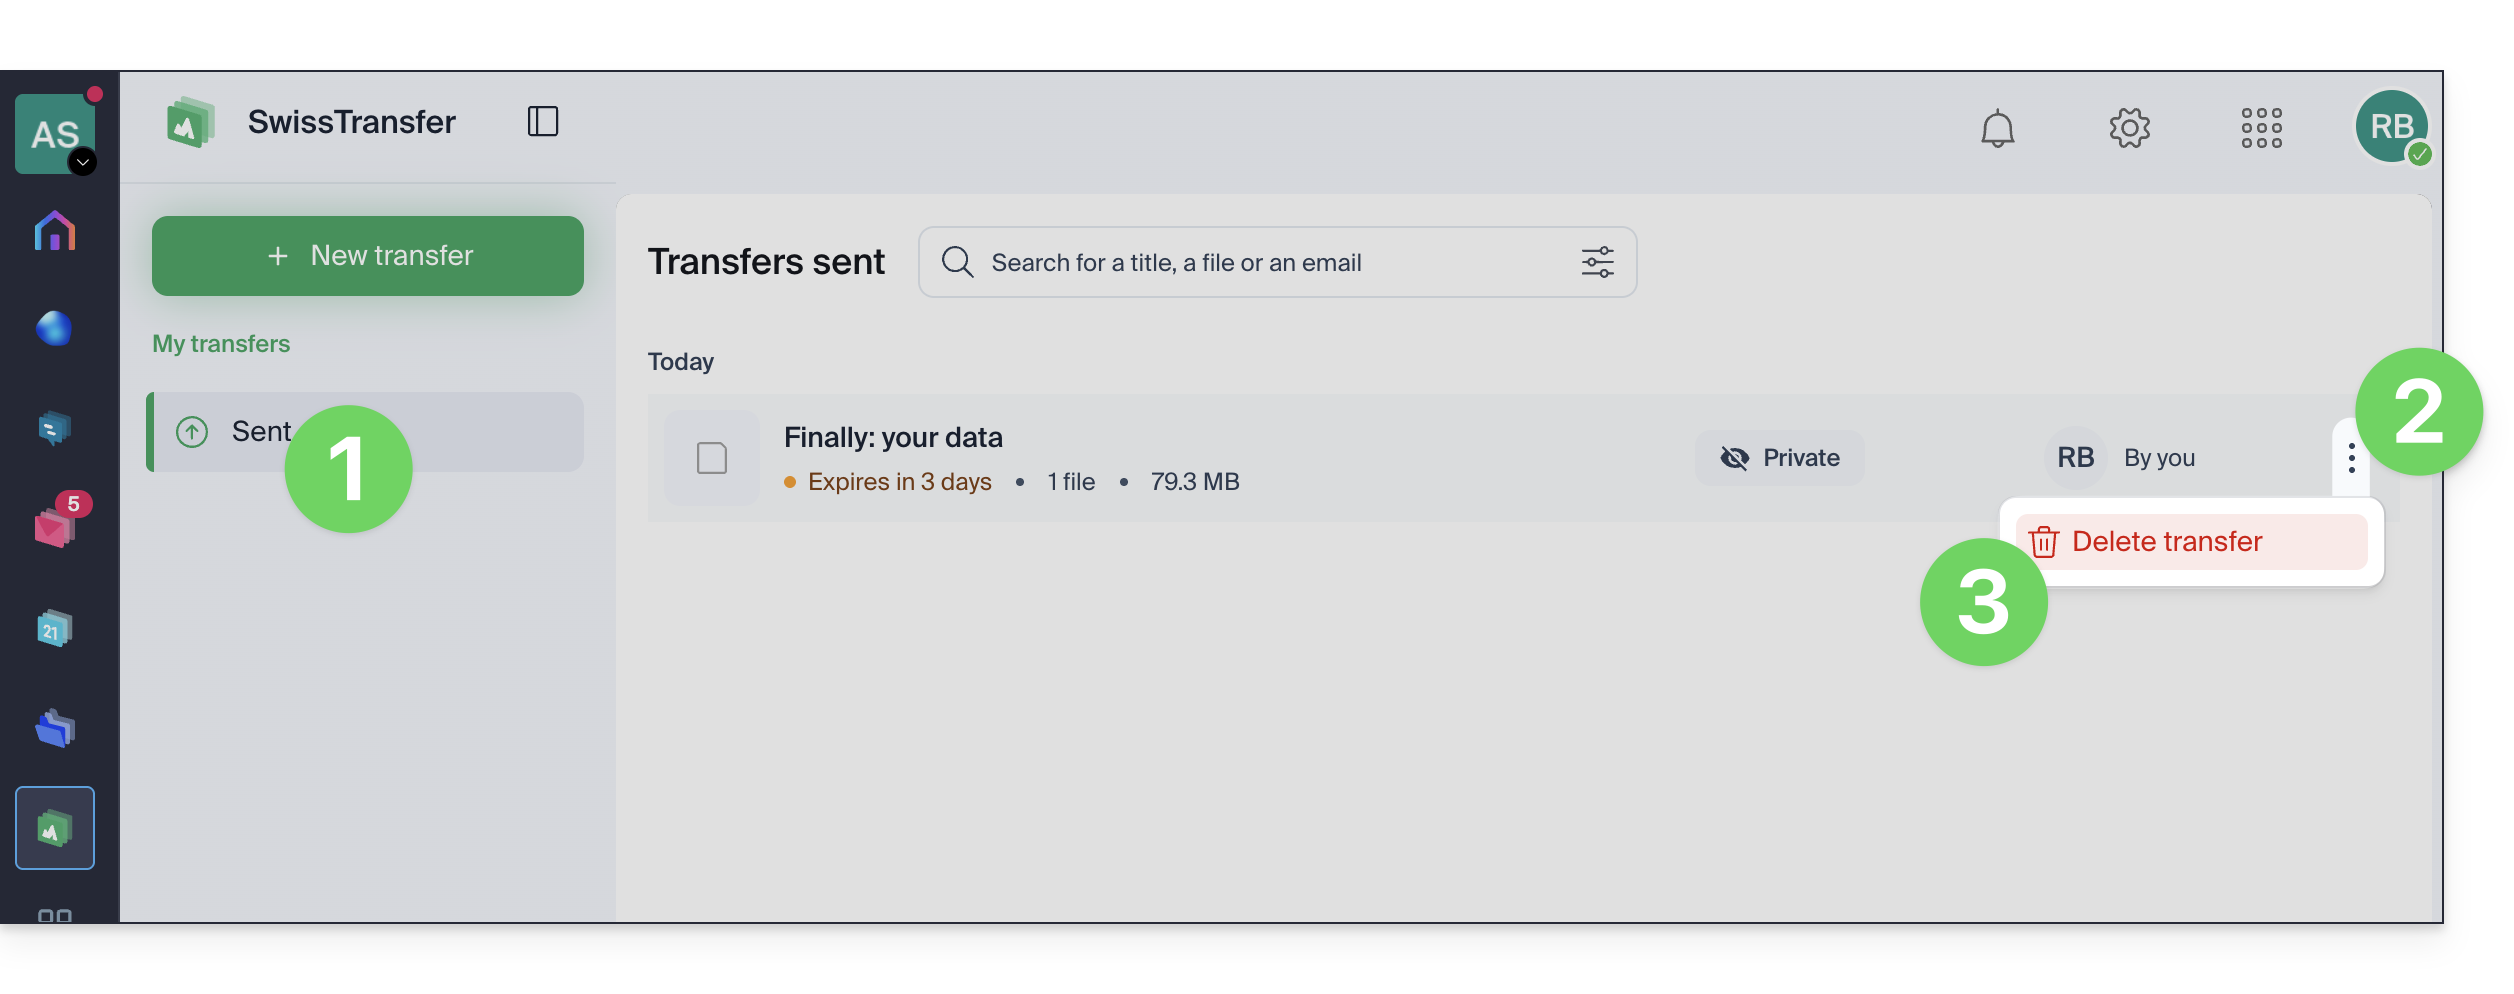
- Otherwise, click on the transfer to view details and download each file contained in the transfer.
Link to this FAQ: https://faq.infomaniak.com/2931
Has this FAQ been helpful?