Knowledge base
1000 FAQs, 500 tutorials and instructional videos. Here, there are only solutions!
Create a main email address for one or more users
The creation and management of classic/normal email addresses are done directly from the Mail Service of the Infomaniak administration interface (Manager):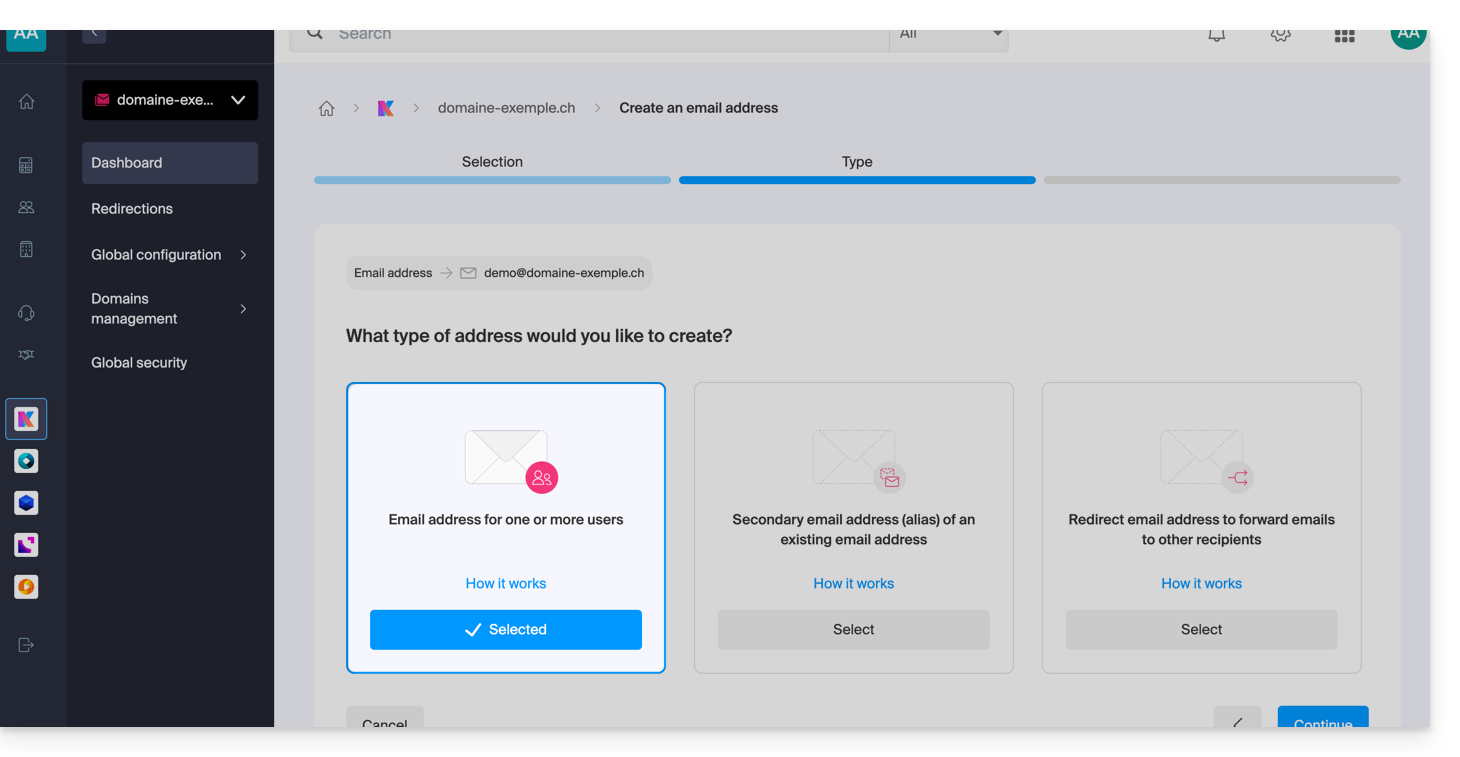
Create a main email address
Prerequisites
- Refer to the prior guide to Add and choose the email address designation
Next:
- Select the first box during the (visible above: email address for 1 or more users).
- Click on the Continue button at the bottom right.
Choose who should be able to access the address
Click in the text field to choose who should be able to access the email address among: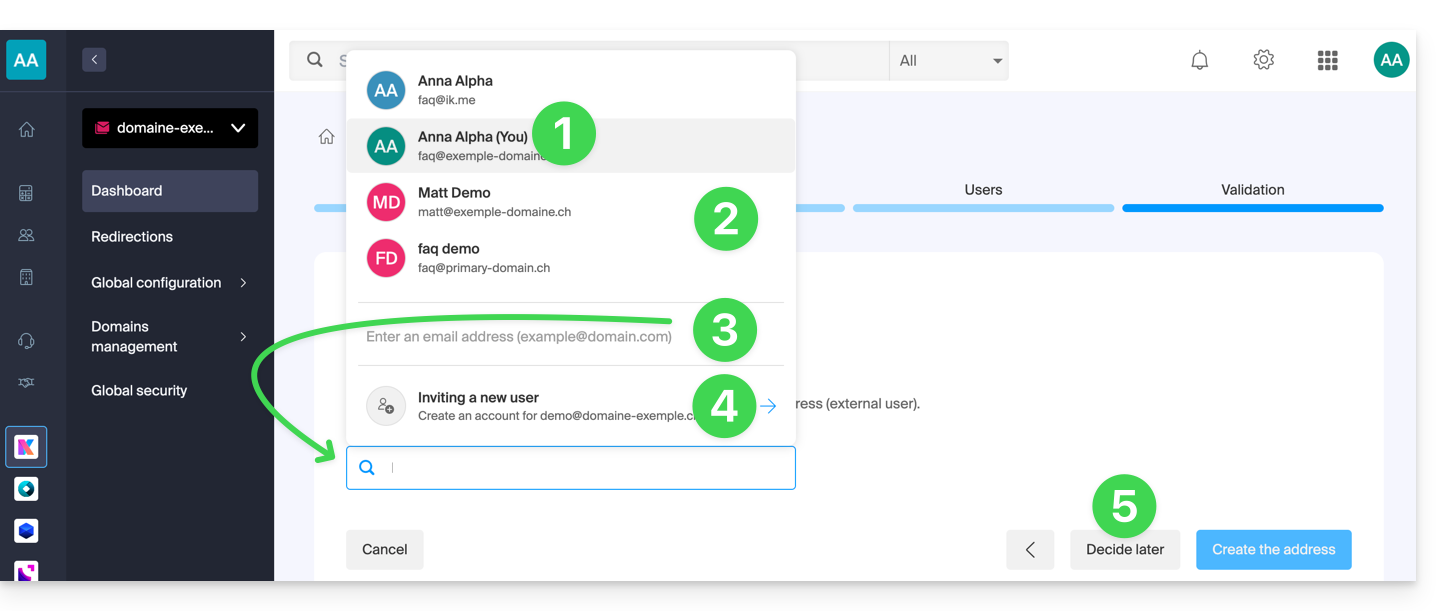
- Yourself (you will be able to directly access and use the email address on the Infomaniak Mail apps - Web, mobile, …).
- Existing users in your Organization (they will be able to directly access and use the email address on the Infomaniak Mail apps - Web, mobile, …).
- An external user who already has their email address to whom you send an invitation link to the email address that you must specify in the field below.
- An external user who does not yet exist for whom you will create an Infomaniak account that will have the login identifier identical to the address you wish to create.
- YOU and/or a new user to whom you will subsequently send an invitation link by your own means (the address will not be visible anywhere at first).
Option 1: yourself (your identifier)
In the list of users, you click on your login identifier (yourself):
- Manage your possible access rights to the answering machine, adding a device, etc. by clicking on “Default rights”.
- Choose a possible signature template.
- Click on Create the address:

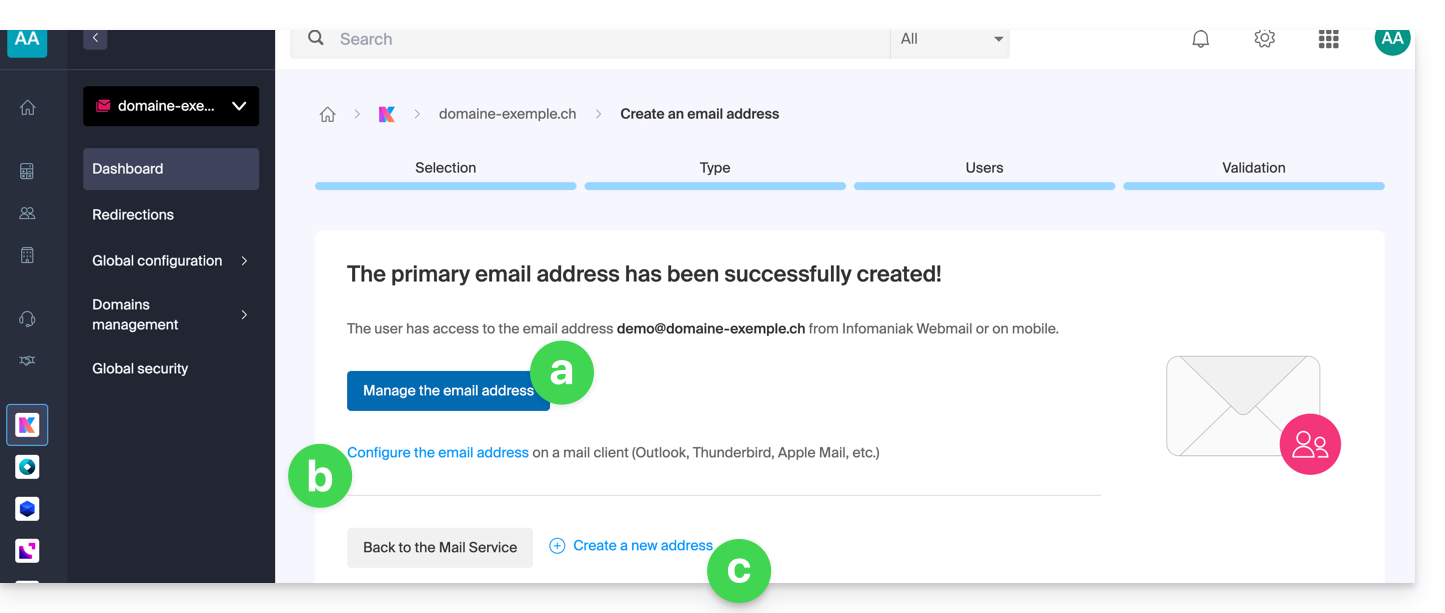
- That's it:
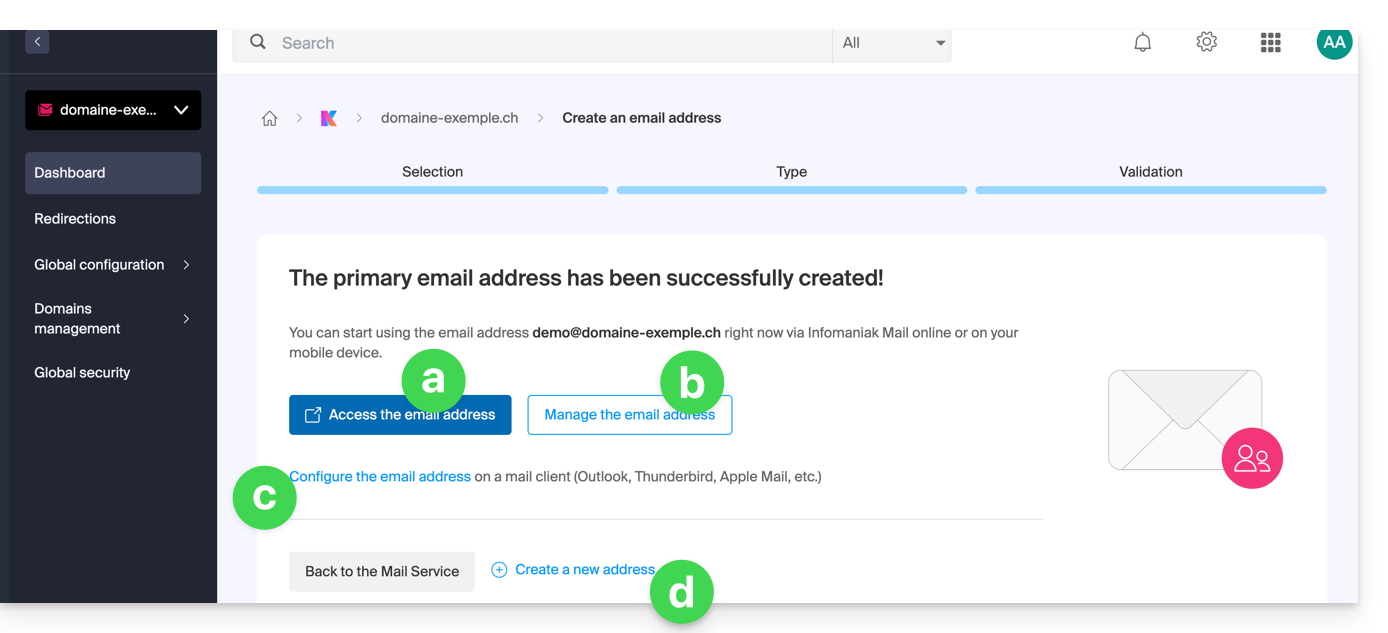
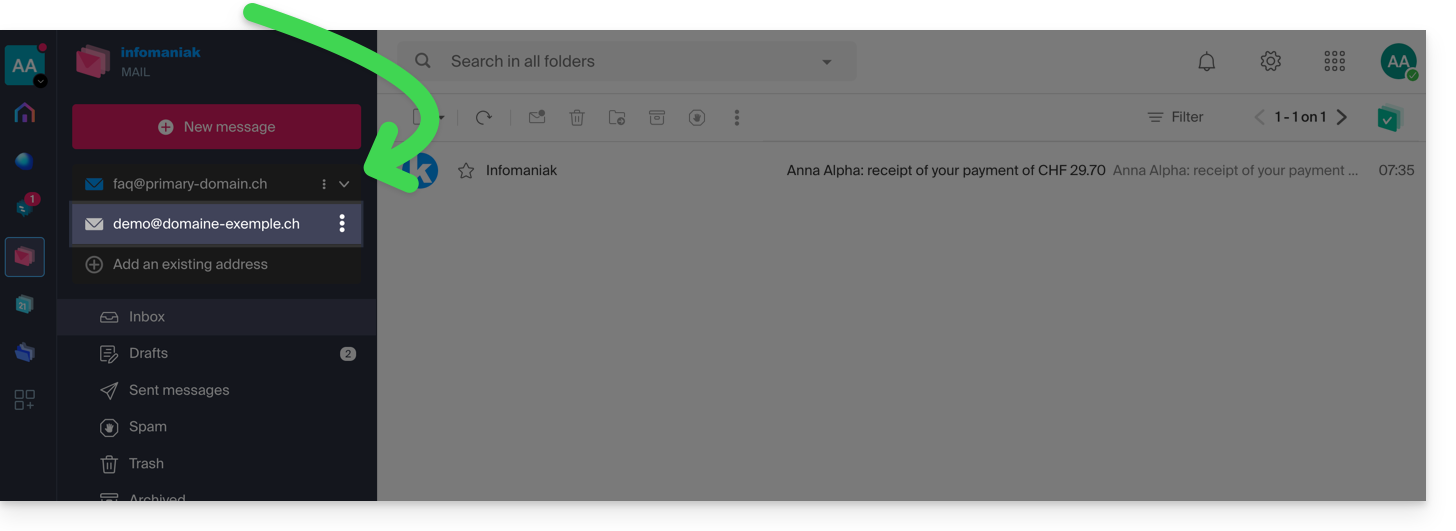
- The email address is now visible on the Infomaniak Mail apps (ksuite.infomaniak.com/mail, mobile app, etc.); click if necessary on the created address to view it:
- Manage the options of your address (such as the out of office message, the filters, etc.).
- Configure if necessary different devices so that they also access this email address.
- Create additional addresses according to your needs.
- The email address is now visible on the Infomaniak Mail apps (ksuite.infomaniak.com/mail, mobile app, etc.); click if necessary on the created address to view it:
Option 2: Select other users in the Organization
In the list, you choose other existing users within the Organization:
- Manage their potential access rights to voicemail, device addition, etc. by clicking on “Default Rights”.
- Click on Create Address:
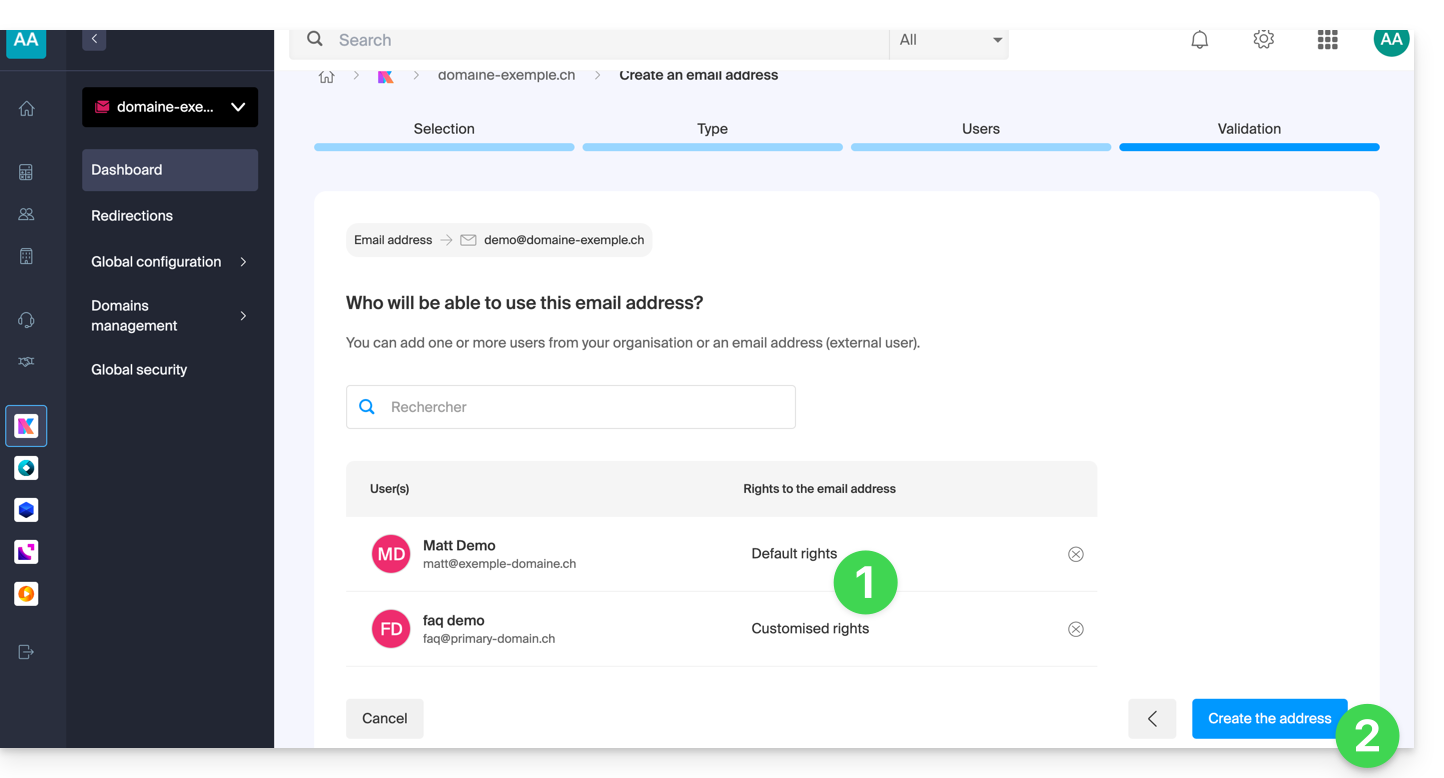
- That's it: the email address is now visible on their Infomaniak Mail apps (ksuite.infomaniak.com/mail, mobile app, etc.).
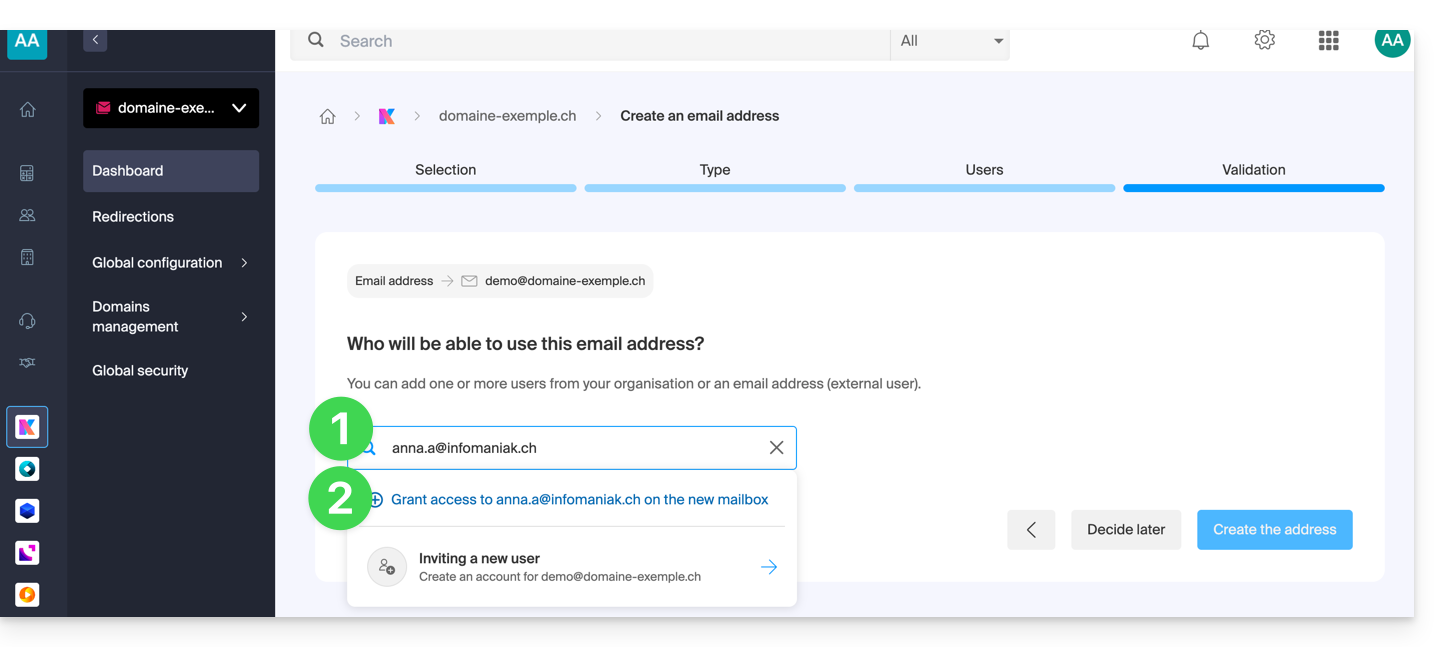
Option 3: Invite an external user who already has a personal email address
You want to enter the existing email address of an acquaintance, colleague, etc. to give them access to the new email address you are creating:
- Enter the user's email address (whether they already have, or do not yet have, an Infomaniak account) in the search field.
- Click on the line to add them as a user:
- Manage their potential access rights to voicemail, device addition, etc. by clicking on “Default Rights”.
- Click on Create Address:
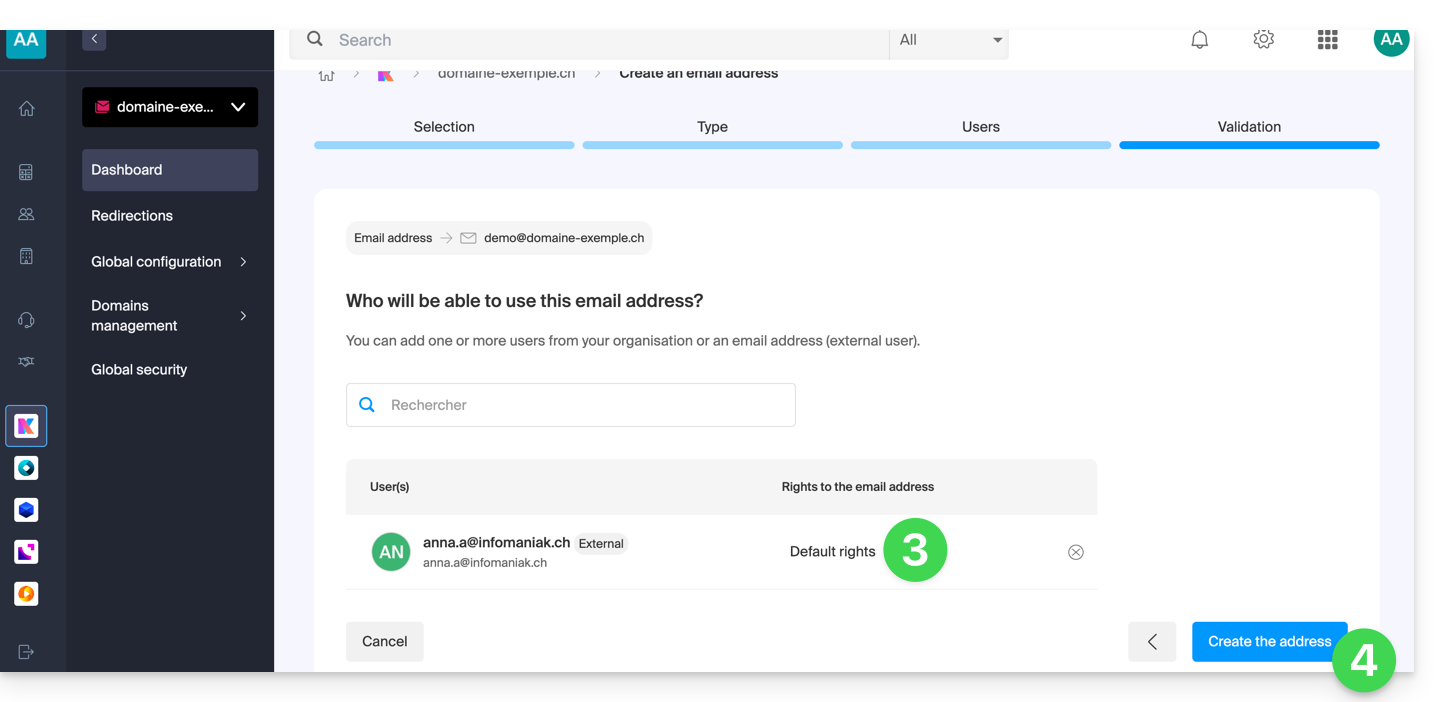
- That's it:
- Manage the address options (such as the out-of-office message, filters, etc.).
- Configure different devices if necessary so they can also access this email address.
- Create additional addresses as needed.
- The user receives an invitation to view the email address, valid for 30 days:
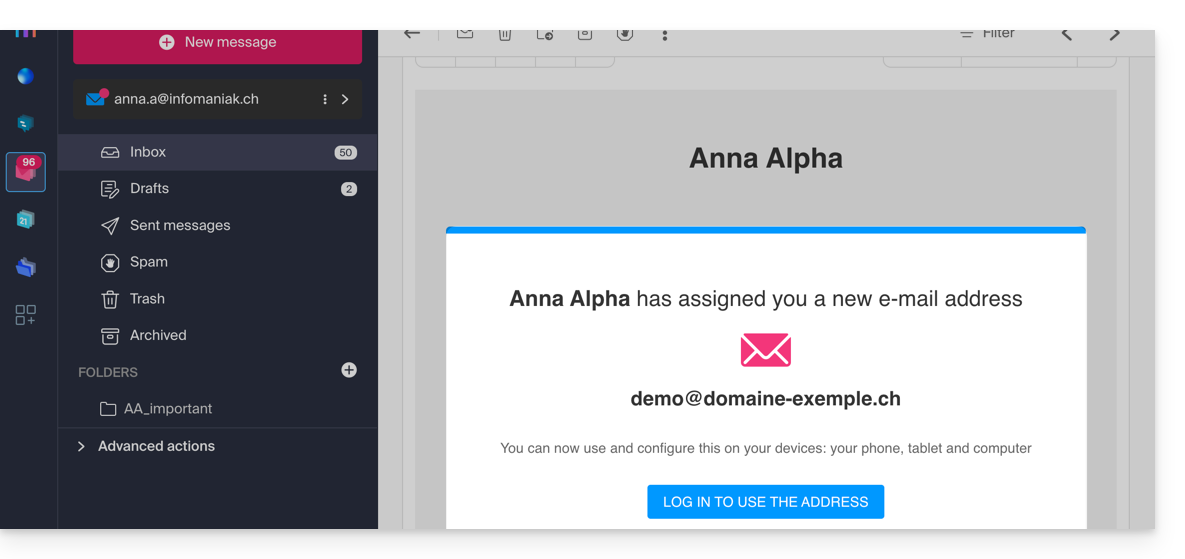
- The button takes them to a page where they can either create a new account or log in to an existing account they may already have with Infomaniak. Once done, the address will automatically be visible on their Infomaniak Mail apps (ksuite.infomaniak.com/mail, mobile app, etc.).
- The current invitation is visible in the email address management within your Mail Service:
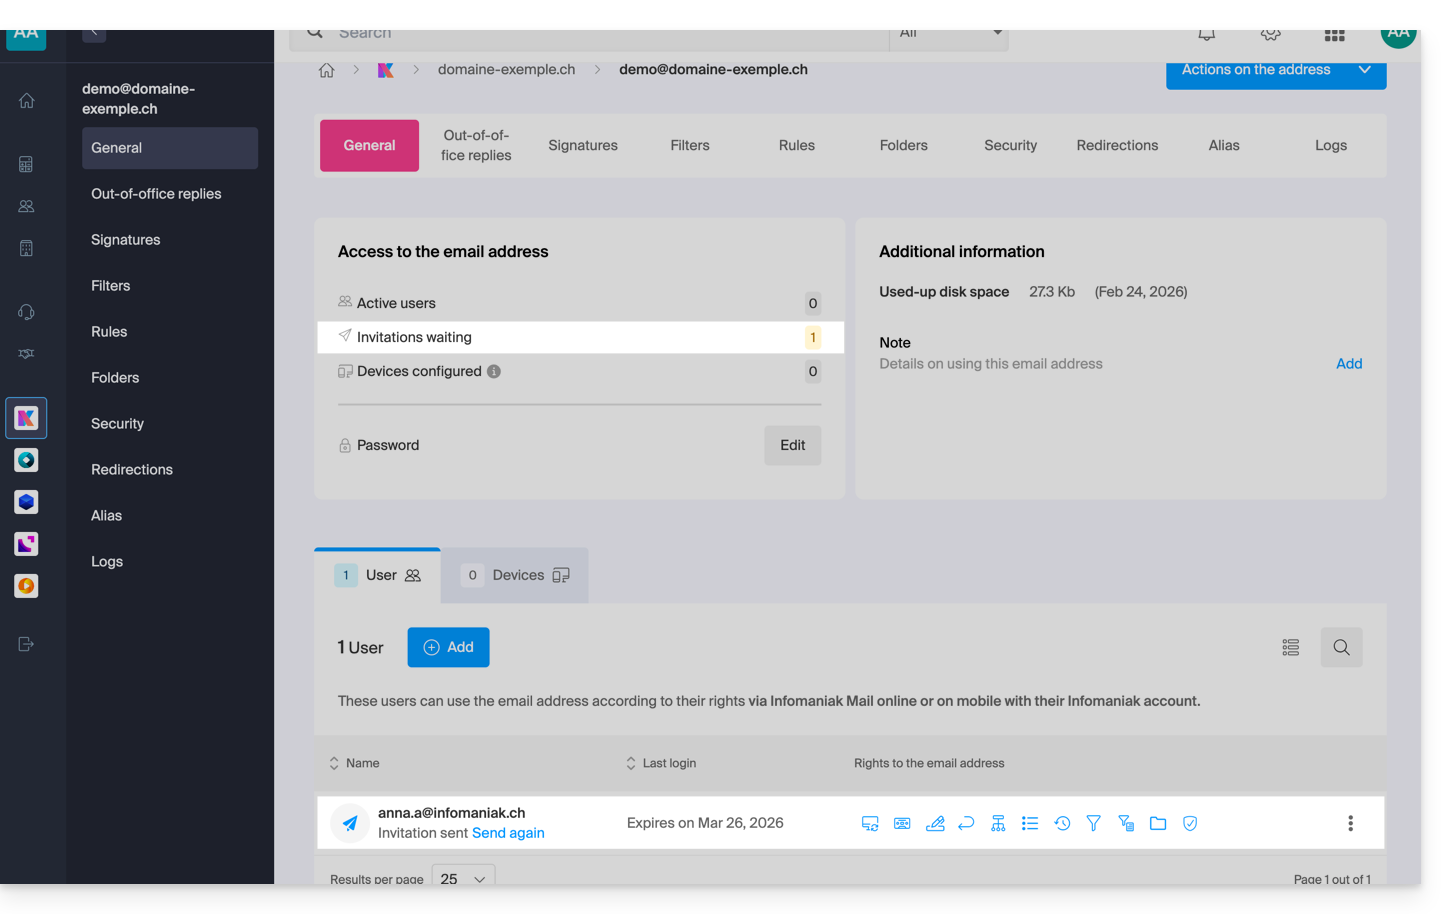
- By clicking on Resend, you can view the link to copy it, and/or resend it.
Option 4: Fully create the Infomaniak account associated with the new email address
You are redirected to the user creation within the Organization, which will allow you to add the user from scratch, creating the desired email address at the same time. Some restrictions may then apply: refer to this other guide on the subject.
Option 5: Decide later
- The email address is directly created (still without password, and this time without any user, so the address will not be visible anywhere initially) and functions fully.
- You can, of course, manage users and passwords directly from the email address management.
Link to this FAQ: https://faq.infomaniak.com/2901
Has this FAQ been helpful?