Knowledge base
1000 FAQs, 500 tutorials and instructional videos. Here, there are only solutions!
Configure a Radio Streaming Player
This guide details the configuration of a Player for your Infomaniak Streaming Radio.
Prerequisites
Configure the Player Options
Once you have linked your stream to your Player and your Player is created:
- Click here to access the management of your product on the Infomaniak Manager (need help?).
- Click directly on the name assigned to the product in question.
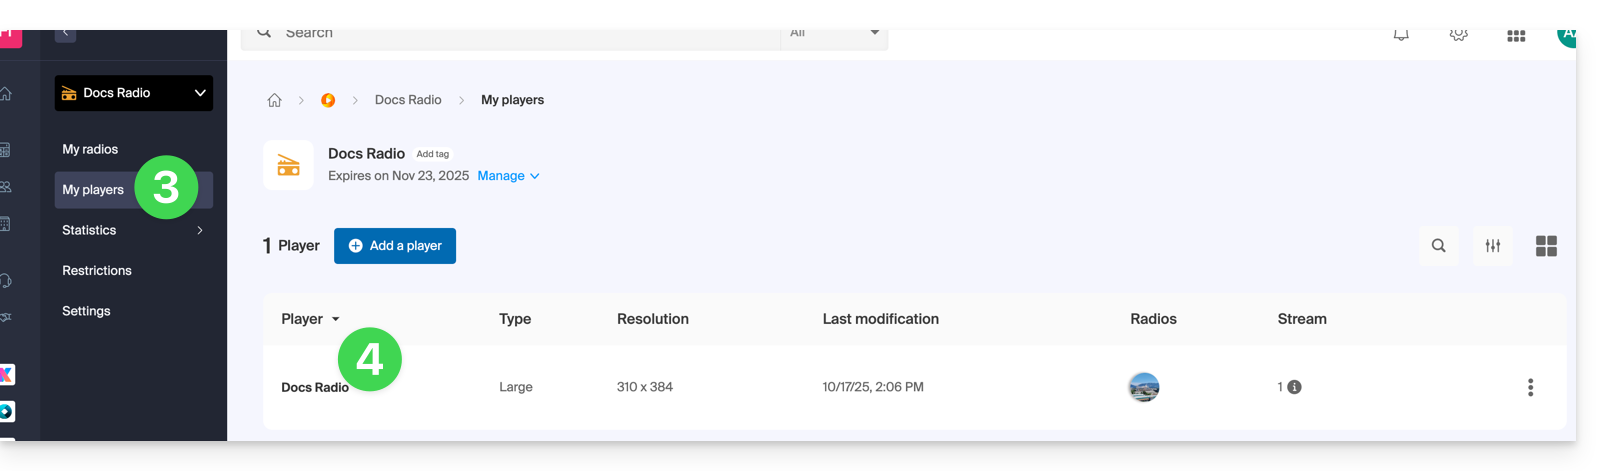
- Click on My players in the left-hand menu.
- Click on the name of the Player to configure (or add a new player by clicking on the button above):
1. Appearance tab
Here you can choose the player size (large, medium, mini, or multi-radio player) and its display percentage.
You can customize the colors of the background, buttons, and text: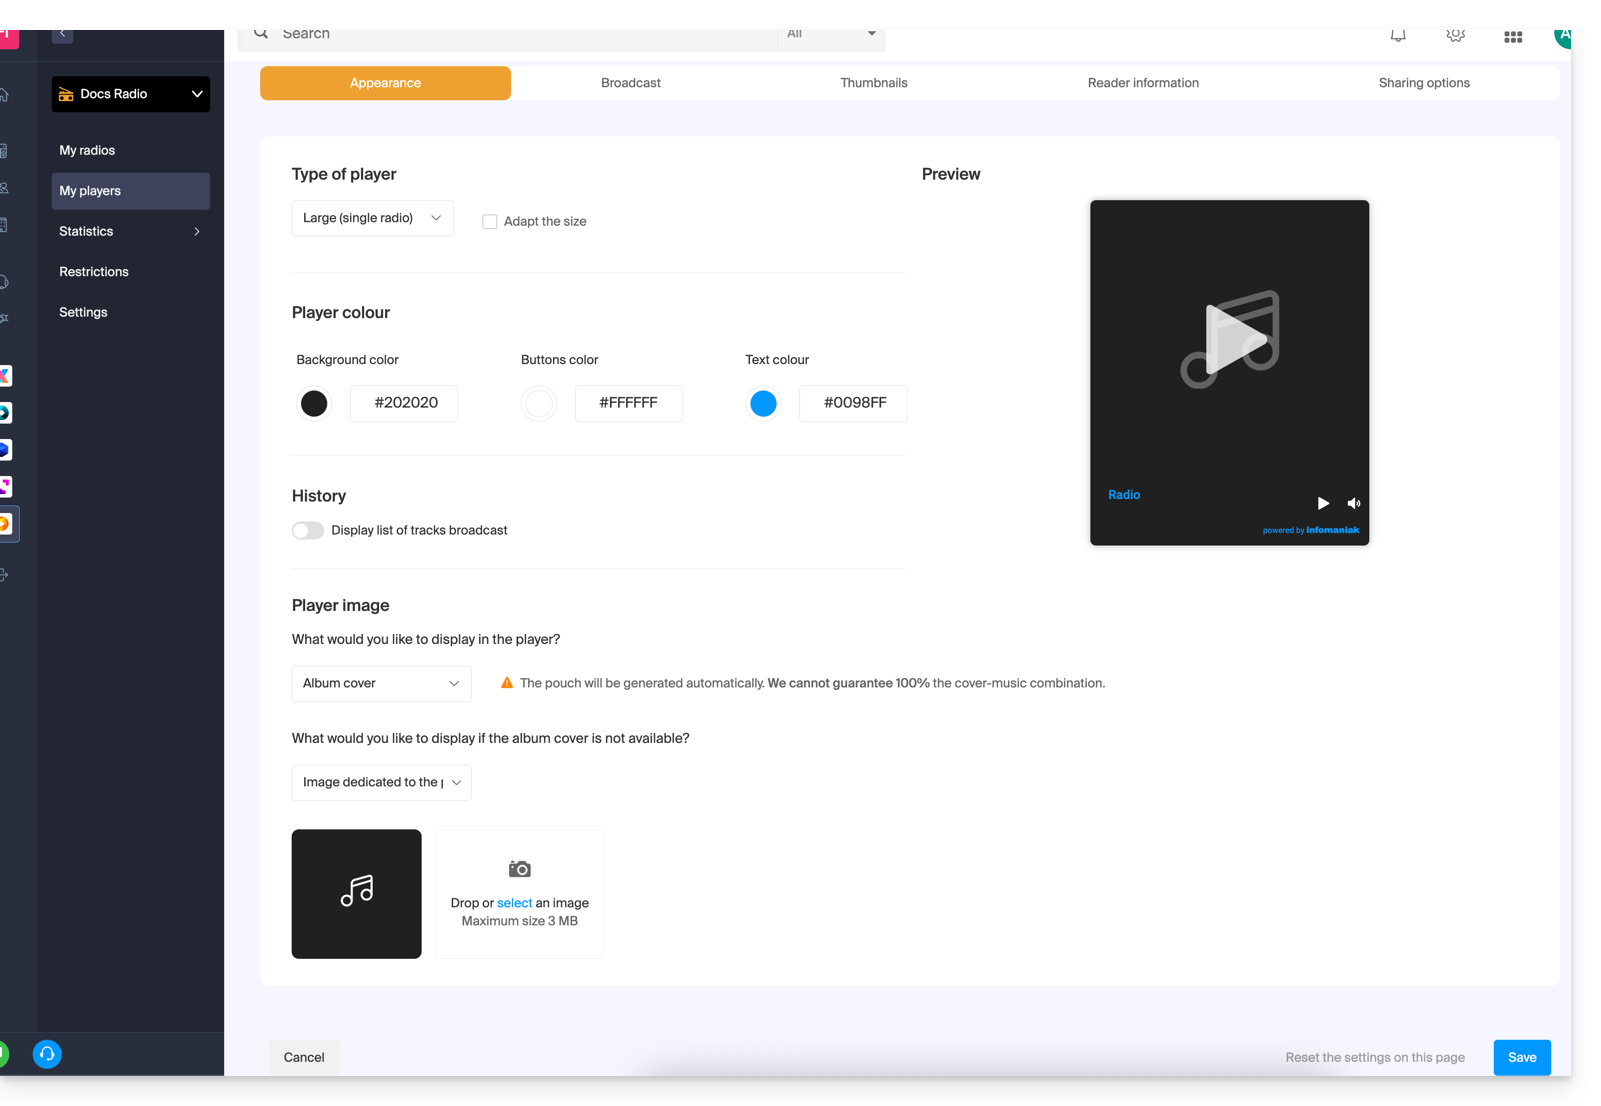
A toggle switch allows you to enable or disable the display of broadcast tracks, with or without their broadcast times:
- Refer to the details on this at the end of this guide.
The Player can display:
- an illustration representing the album cover, or a substitute image if it is not available,
- a fixed image (3 MB max.),
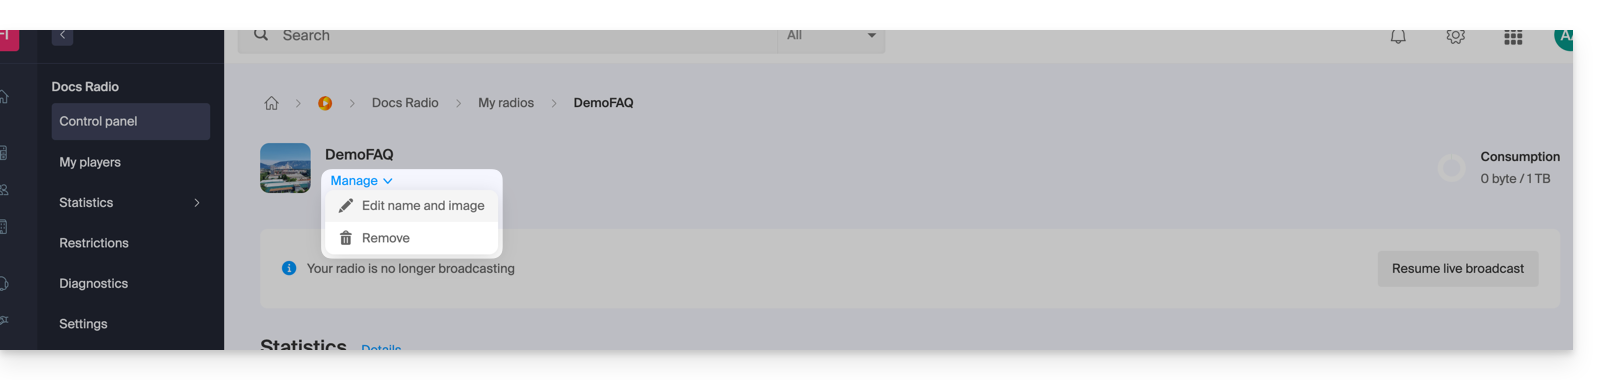
- your radio station's logo, which you can customize here:
- a visualization of the audio spectrum (Spectrogram / Spectrum).
2. Broadcast tab
This is where you can link your radio streams (HLS or not) to your Player, which you are currently configuring.
Please refer to this other guide for information on the options available for managing live broadcasts: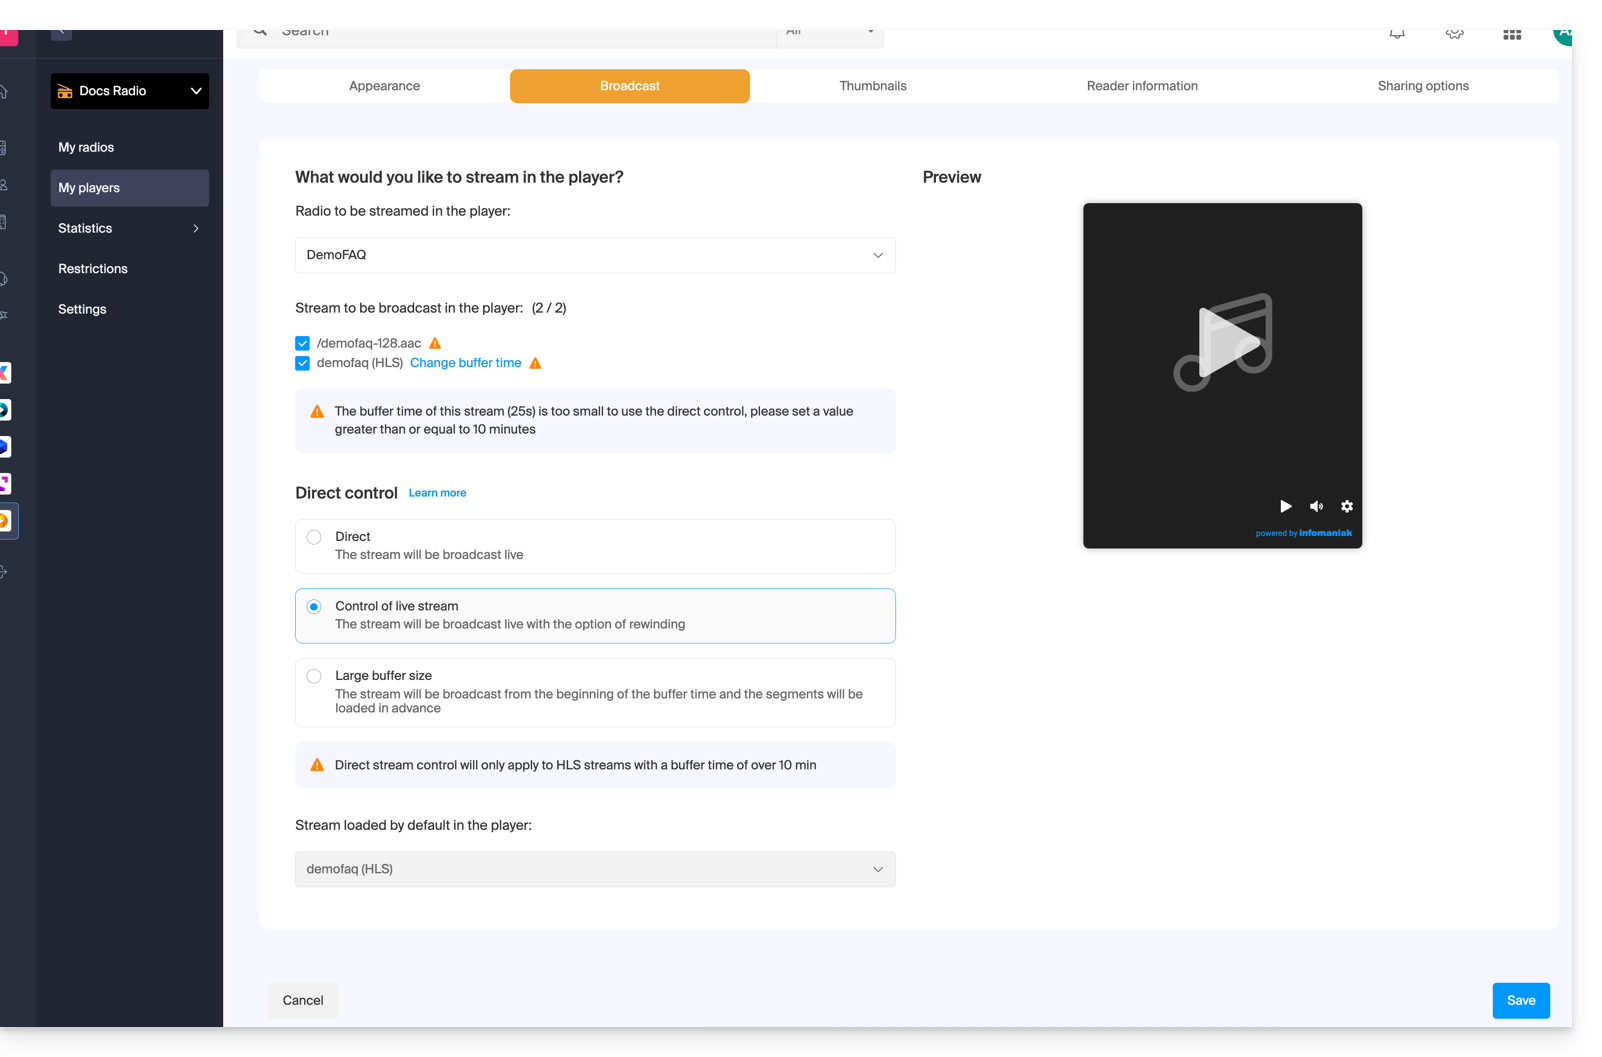
3. Thumbnails tab (media preview)
This is where you can modify the preview image (thumbnail) that is displayed on the Player when the media is loading, or unavailable/restricted: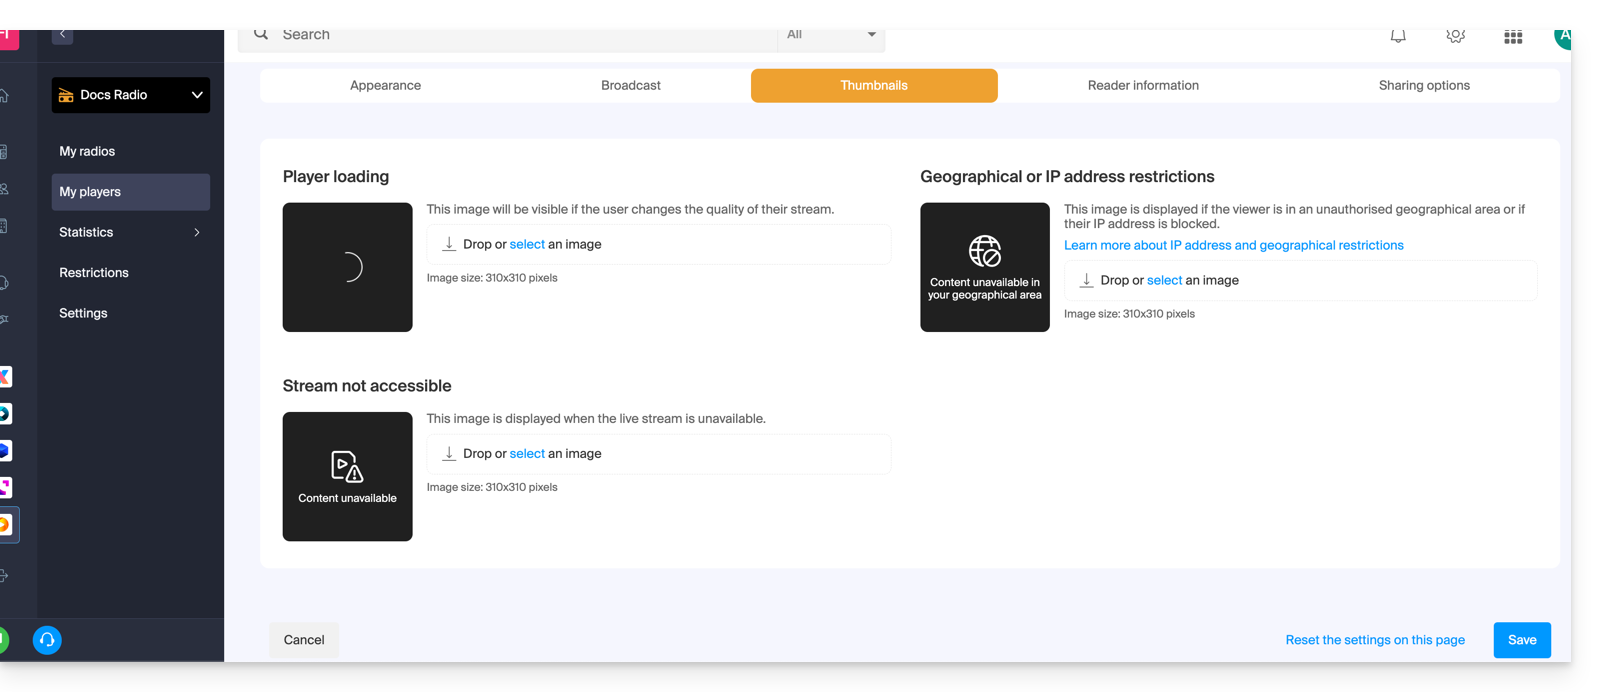
4. Player Information tab
This is where you can name your Player and decide whether to display or hide: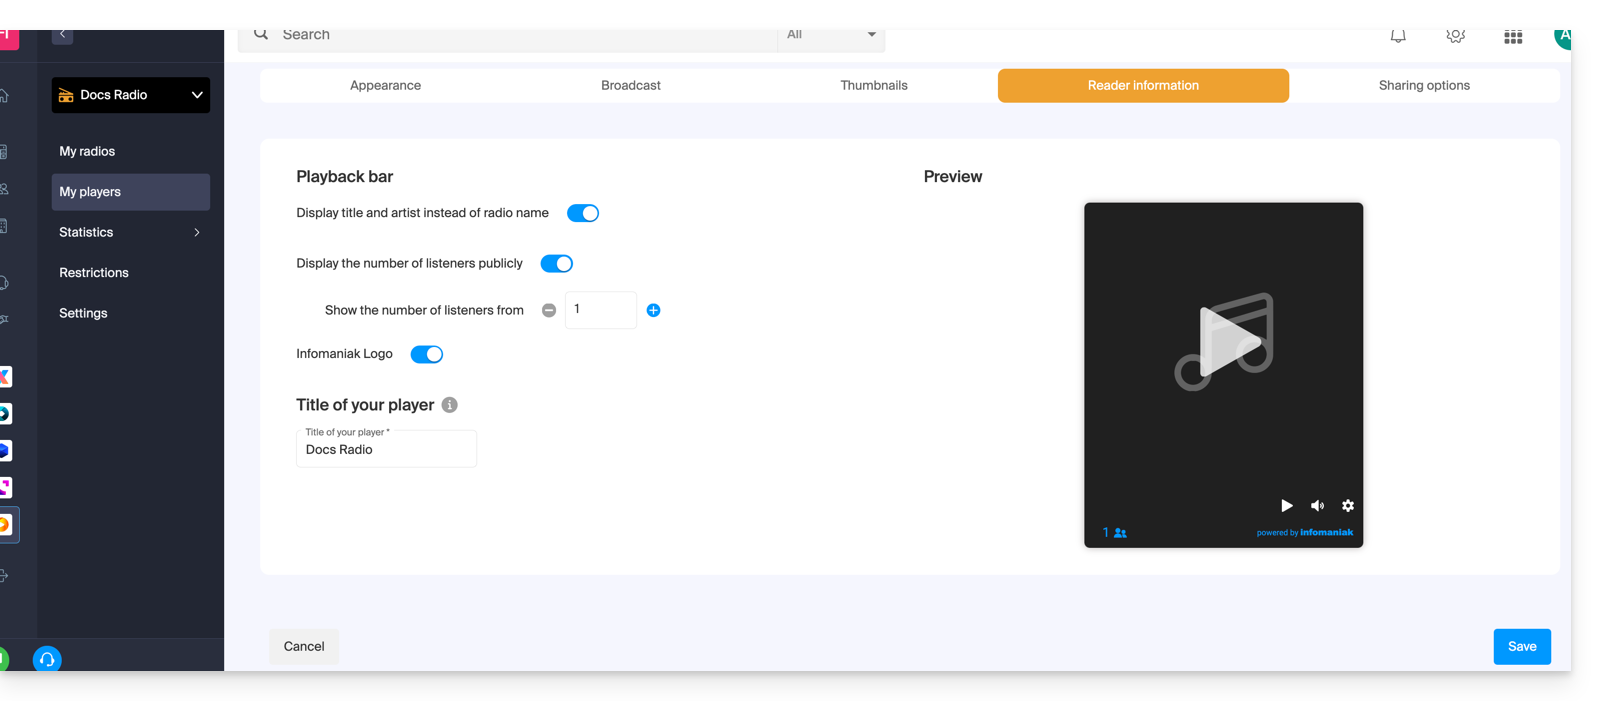
- the title and artist instead of the radio station's name,
- the number of listeners,
- the Infomaniak logo.
5. Sharing Options tab
A toggle switch allows you to enable or disable certain services such as Facebook: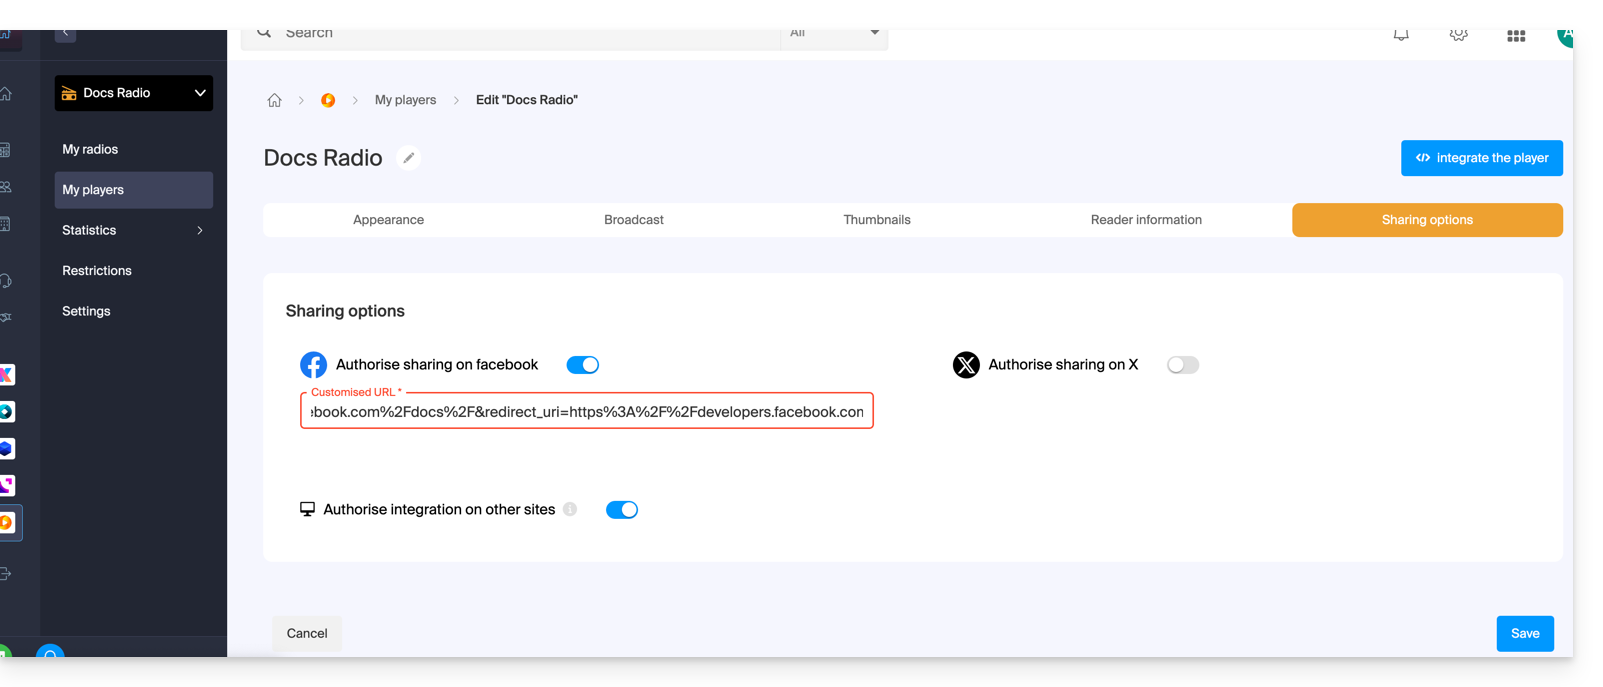
Once enabled, a sharing button for these services will be visible on your Player: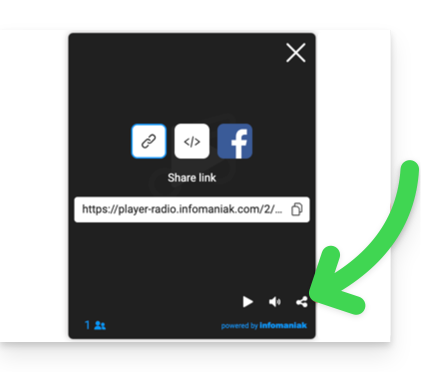
Details of the broadcast history (tab #1)
The broadcast history allows you to relisten to the music that was played (between 1 and 40 tracks) if your stream is of the HLS type (you can then define a buffer ranging from 25 seconds to 2 hours):
The rewind and relisten feature is not enabled by default: it remains optional in order to respect the restrictions of certain countries or radio stations. Once enabled, the radio station manager can choose which streams will be available for broadcast (see tab #2 above), while the listener can select the listening quality in the Player:
Position & intégration de l'historique de diffusion
The list can be viewed in several ways:
- directly below the Player,
- on the Player,
- or separately in the integration of your website…
Indeed, it is possible to display the history in a second iframe, separate from the main Player. Example of URL for the Player:https://player-radio.infomaniak.com/2/prod/super/7cbaa24a-3510-47a4-b41e-b99218bfd507
And for the history log:https://player-radio.infomaniak.com/2/prod/history
Both iframes must be embedded on the same page and communicate with each other to update the history or launch a previously broadcast track.
A second integration mode allows you to display an independent history log, without the main iframe. Simply add the Player ID to the URL:https://player-radio.infomaniak.com/2/prod/history/7cbaa24a-3510-47a4-b41e-b99218bfd507
This mode is suitable, for example, for users of another Player who wish to display only the history of tracks.
Link to this FAQ: https://faq.infomaniak.com/2888
Has this FAQ been helpful?