Knowledge base
1000 FAQs, 500 tutorials and instructional videos. Here, there are only solutions!
Ticketing: Customize the appearance and information displayed on tickets
This guide explains how to configure the information and images that will appear on the tickets that visitors to your events will receive (as part of the Infomaniak ticketing system).
Prerequisites
- Create an event to access the mobile ticket design options.
Access ticket designs
To do this:
- Click here to access the management interface for your product in the Infomaniak Manager (need help?).
- Click directly on the name assigned to the ticketing system for the event.
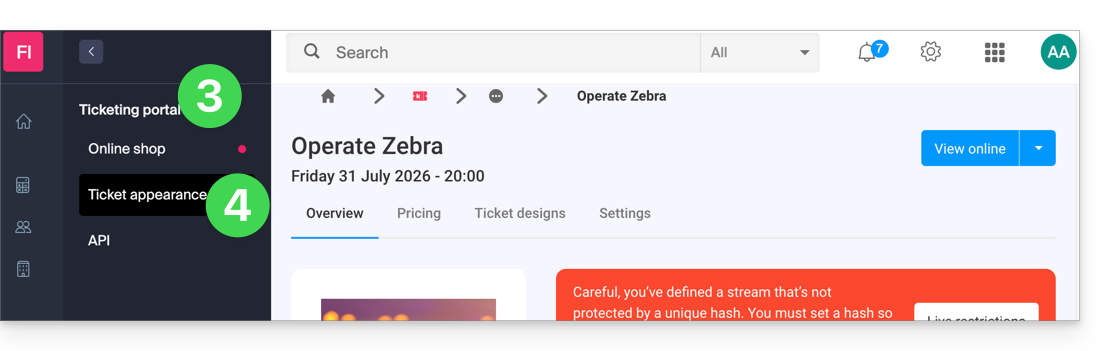
- Click on Ticketing portal in the left-hand menu.
- Click on Post Visual:
Customizing Basic Information
Tickets contain the following information, which will be retrieved from the event settings and the information provided by the customer: 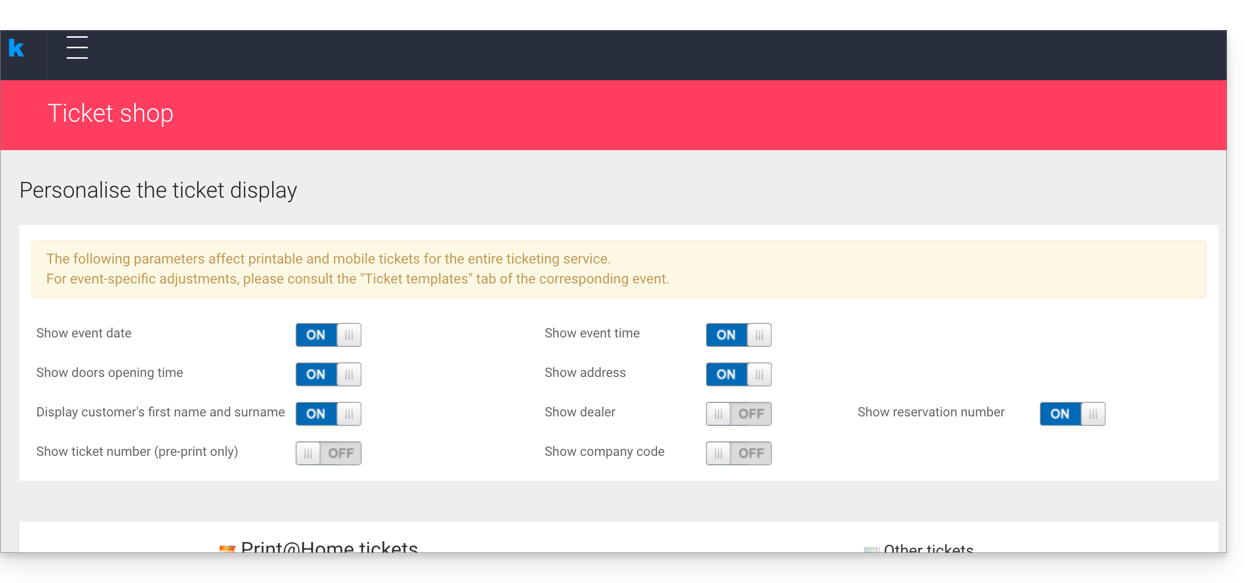
- Designation: the name of the event.
- This option cannot be disabled, but the text can be modified at the event level in the Ticket Template option of the event in question.
- The event date.
- The event time.
- The opening time, if defined in the event.
- The event address.
- The customer's and/or reseller's first and last name, if provided.
- The reservation number.
- The ticket number (for pre-printed tickets).
- The company name, if provided.
Modify the appearance of tickets
Default image size
The minimum image size is 1138x524 px, but the recommended size is 1307x605 px (+ ratio 9:4.17).
Print@home tickets
These tickets are designed to be printed directly by customers using a standard printer. To modify the ticket content:
- Top image: the background image of the ticket can be modified here. Please note that the text may not be legible if the image has contrasts that do not allow the letters to be distinguished.
- Body text: you can modify the text in the middle of the post. If the text overflows onto the image at the bottom of the page, the latter will not be displayed.
- Bottom image: this will, by default, contain the general terms and conditions of sale, but they can be replaced with a custom image.

Other formats
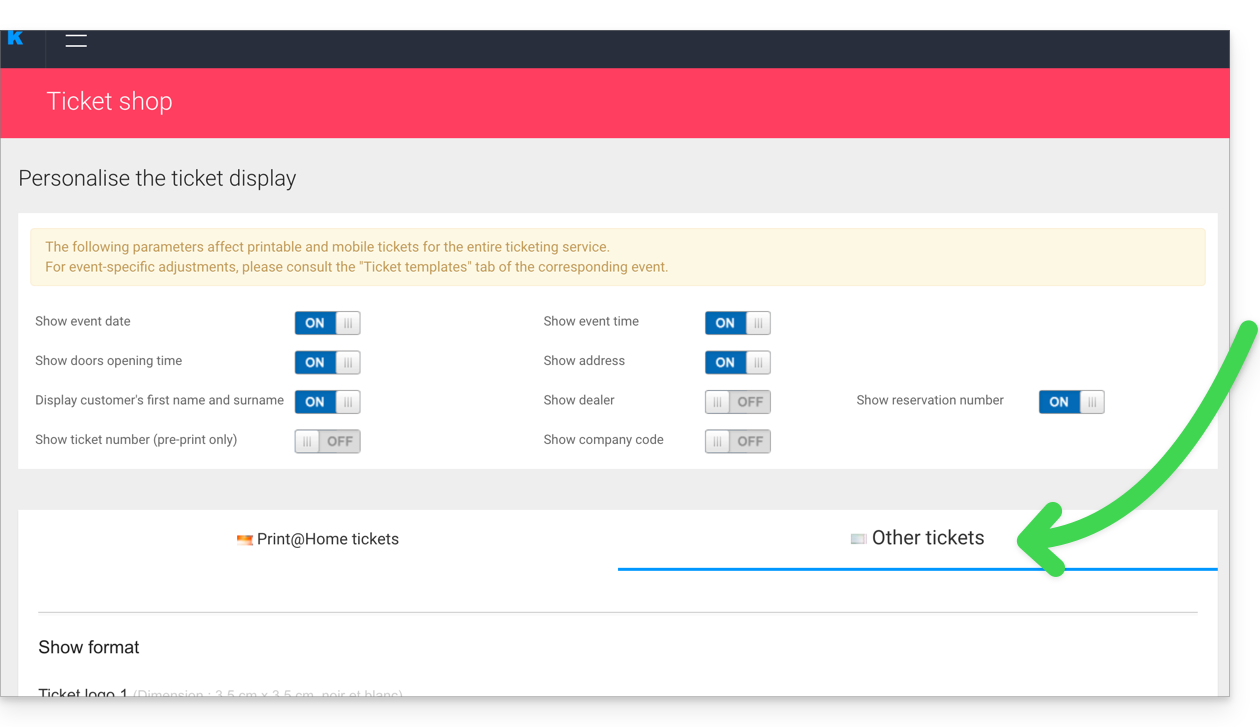
The other formats are intended for use by the organizer and cannot therefore be sent to customers automatically by email:
- Show Format: For printing with a thermal printer (available for rent).

- Cinema Format: The format used in cinemas for printing with a thermal printer (available for rent).

Save and use ticket templates
It is possible, and recommended, to save the appearance of tickets as a new template. The button for saving is located at the bottom of the ticket appearance customization page: 
You can then select it to edit, or set it as the default template: 
apply a default template for ALL ticketing
apply a default template for a SPECIFIC event
apply a default template for a SPECIFIC price
You should also consult this other guide regarding passes.
Link to this FAQ: https://faq.infomaniak.com/2689
Has this FAQ been helpful?