Knowledge base
1000 FAQs, 500 tutorials and instructional videos. Here, there are only solutions!
Create a highly available, multi-datacenter Jelastic Cloud infrastructure
This guide provides instructions for creating a highly available, multi-datacenter infrastructure with Jelastic Cloud.
Introduction
- The principle of a multi-datacenter high-availability infrastructure is to replicate all necessary elements (web server, database server, and load balancer) in another datacenter to ensure the operation of your websites and apps in the event of unforeseen circumstances (traffic spikes, hardware failures, network outages, etc.).
- The advantages of a multi-datacenter high-availability infrastructure are numerous:
- In the event of an issue with one server, another server immediately takes over; your websites and apps remain accessible.
- In the event of a disruption with a component in one datacenter, the replicated infrastructure in the other datacenter takes over immediately; your websites and apps remain accessible.
- In the event of significant traffic spikes, traffic is distributed between the two infrastructures by load balancers; your websites and apps remain accessible and fast.
Setting up a highly available infrastructure with Jelastic Cloud
For the purposes of this example, 2 web servers with 2 load balancers will be set up, each of these elements being hosted in Switzerland in a different Infomaniak datacenter.
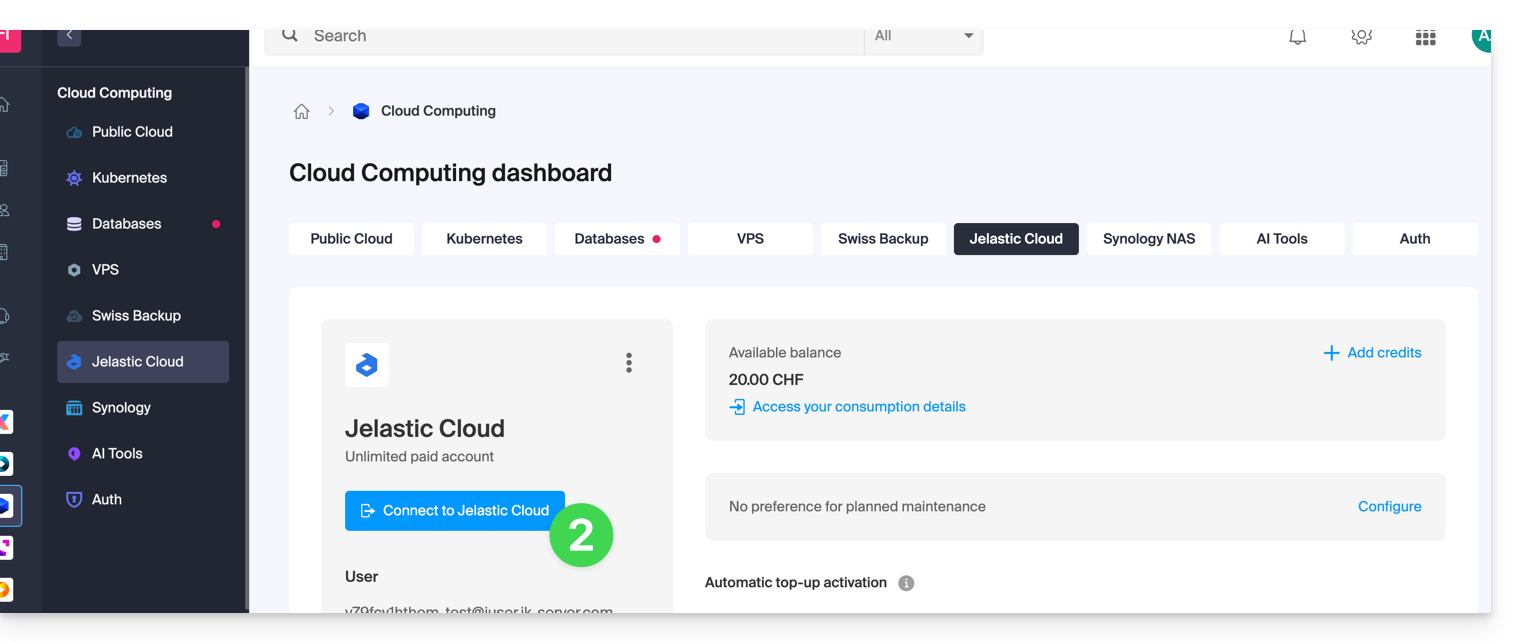
Before proceeding, log in to the administration interface of your Jelastic Cloud server:
- Click here to access the management of your product on the Infomaniak Manager (need help?).
- Click on Connect to Jelastic Cloud:
1. Creating Web Servers
A web server hosts the content of your websites (PHP files, images, PDFs, etc.).
Here are the steps to create your first server:
- Click on New environment.
- Click on the PHP tab.
- In App. Servers, choose, for example, an Apache server.
- Adjust the environment's resources according to your needs.
- Choose Geneva DC2 for the server location.
- Rename the environment so you can easily identify it later (e.g. DC2-apache).
- Click on Create.
Then, create the second web server in a different datacenter:
- Click on New environment.
- Click on the PHP tab.
- In App. Servers, choose an Apache server, for example.
- Adjust the environment's resources according to your needs.
- Choose Geneva DC3 for the server location.
- Rename the environment so you can easily identify it later (e.g. DC3-apache).
- Click on Create.
2. Creating load balancers
A load balancer distributes the load and traffic of your websites across your web servers.
Here are the steps to create your first server:
- Click on New environment.
- Click on the PHP tab.
- In Load Balancing, choose an NGINX server, for example.
- Adjust the environment's resources according to your needs.
- Choose Geneva DC2 for the server location.
- Rename the environment to easily identify it later (e.g. DC2-nginx).
- Click on Create.
Then, create the second load balancer in a different datacenter:
- Click on New environment.
- Click on the PHP tab.
- In Load Balancing, choose an NGINX server, for example.
- Adjust the environment's resources according to your needs.
- Choose Geneva DC3 for the server location.
- Rename the environment so you can easily identify it later (e.g. DC3-nginx).
- Click on Create.
3. Configuring load balancers and the domain name
Now, you just need to tell the load balancers which web servers they should distribute traffic to.
Start by creating the load-balancer.conf file on both load balancers:
- Connect to the
DC2-nginxserver via SSH by clicking the Web SSH button in the environment. - Open the load-balancer.conf file:
nano /etc/nginx/conf.d/load-balancer.conf. - Adapt the code in the file with the URL of your web servers:
http {
upstream backend {
server apache-dc2.jcloud-ver-jpc.ik-server.com;
server apache-dc3.jcloud.ik-server.com;
}
server {
listen 80;
location / {
proxy_pass {{URL_4}}
}
}
}
- Repeat these 3 steps for the
DC3-nginxserver.
Next, modify the load balancer configuration file:
- Connect to the
DC2-nginxserver via SSH by clicking the Web SSH button in the environment. - Create the following configuration file:
nano /etc/nginx/nginx.conf. - Adjust the URL of the server configuration file:
user nginx;
worker_processes auto;
worker_rlimit_nofile 2048;
load_module modules/ngx_stream_module.so;
#load_module modules/ngx_http_modsecurity_module.so;
error_log /var/log/nginx/error_log info;
events {
worker_connections 2048;
use epoll;
}
include /etc/nginx/conf.d/load-balancer.conf;
- Restart the NGINX service:
sudo /etc/init.d/nginx restart. - Repeat these four steps for the
DC3-nginxserver.
You now need to specify which servers your domain name should redirect traffic to.
Beforehand,Install a public IP address on your load balancers :
- Deploy the DC2-nginx server node.
- Hover over the public IP line and click on the + that appears on the right.
- Add a public IPv4 address.
- Repeat these 3 steps for the DC3-nginx server.
At this point, all you have left to do is create two A records in the DNS zone of your domain name with the public IP address of your two load balancers.
To ensure that the changes are quickly taken into account, it is recommended to configure the A records with a TTL of 5 minutes.
In this example, the domain redirects your visitors to the load balancers, which in turn redirect traffic to the web servers.
4. Testing the high availability infrastructure
To test the proper functioning of your infrastructure, enter your domain name in a web browser and try disabling one element of your infrastructure (one of the two load balancers, one of the two web servers). If everything is working correctly, you should still be able to access the content hosted on one of the two web servers.
Please note: data replication between the web servers or database servers must be configured by you.
Link to this FAQ: https://faq.infomaniak.com/2401
Has this FAQ been helpful?