Knowledge base
1000 FAQs, 500 tutorials and instructional videos. Here, there are only solutions!
Download and set up kSync for Android
This guide explains how to download and use the mobile app Infomaniak kSync for Android devices (Samsung, Huawei, Google Pixel, etc.) that allows you to synchronize calendars & contacts between Android devices (with data stored at Infomaniak).
Preamble
- Once the kSync application is configured, the selected items are automatically synchronized with the Contacts and Calendar apps, which are installed by default on an Android device.
- Ability to display or hide your different Infomaniak address books and calendars directly in these apps.
- Any modification (addition, editing, deletion) made on the phone is reflected on the Infomaniak interface, and vice versa.
- Data updates occur continuously according to the configured synchronization interval.
- Refer to this other guide for an example of using kSync: synchronize an Infomaniak calendar with a Google calendar.
Configure kSync
Prerequisites
- Download the mobile app Infomaniak kSync (app for Android smartphone or tablet) here:

- The kSync application is also available on F-droid.
- Install kSync.
Then, launch the kSync app on your Android device, a step-by-step assistant will help you configure the application according to your needs:
- Decide if you want to synchronize tasks.
- Allow kSync to access the required items on the device, primarily the calendar.
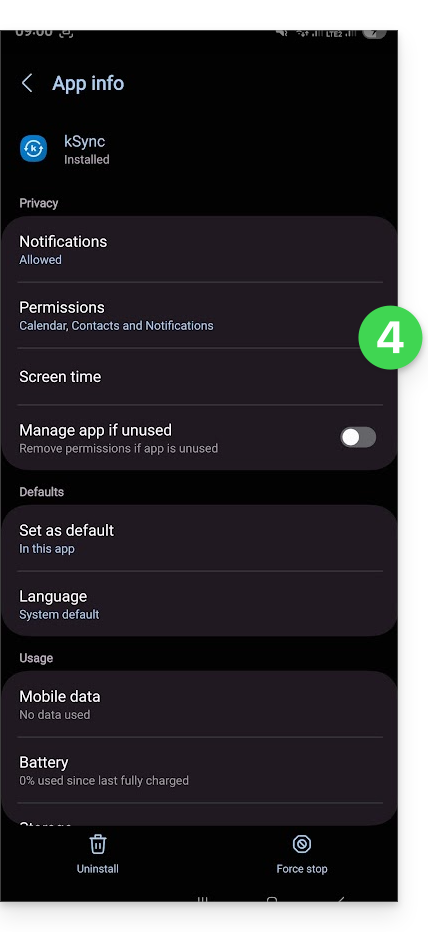
- Allow the application to run in the background for better synchronization (uses more battery); settings are also possible within the app itself:
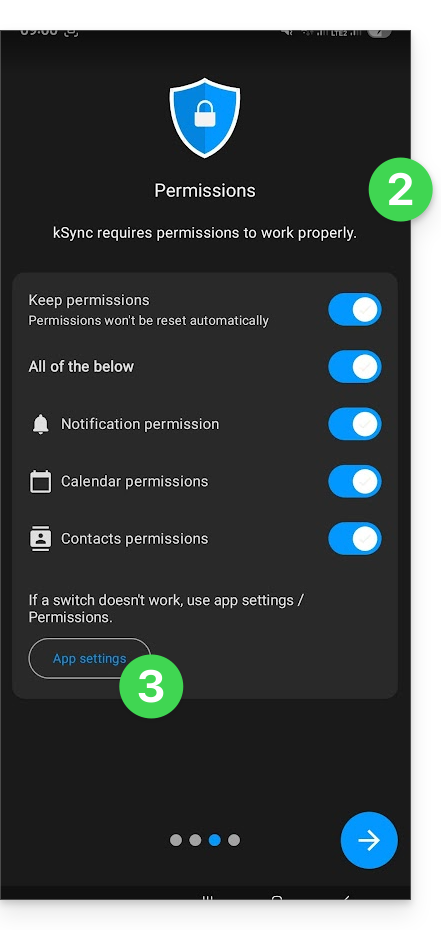
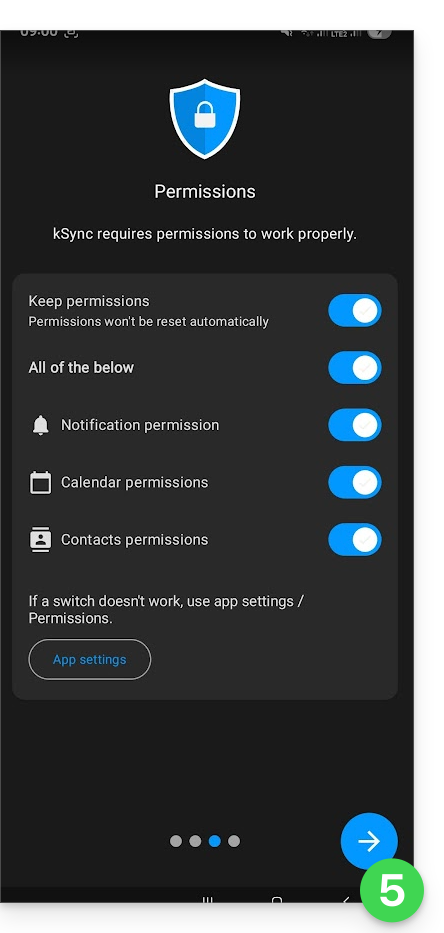
- The essential thing is to grant access rights to the services you need to synchronize:
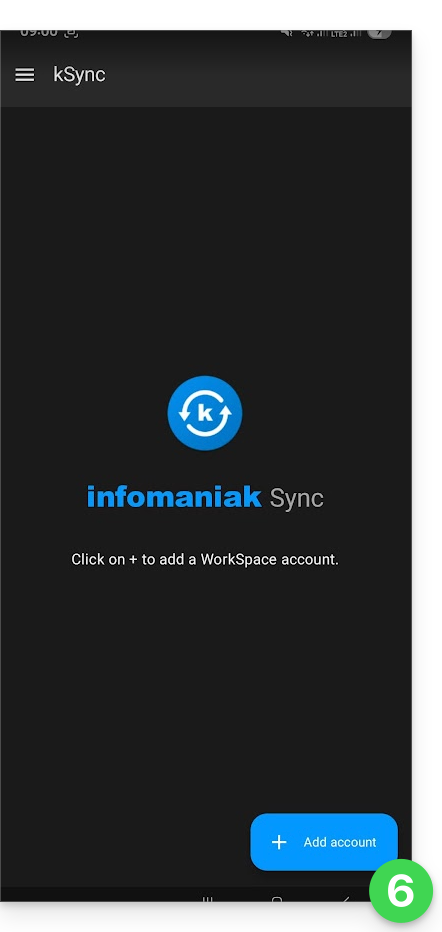
- Go back to the kSync app and continue the configuration:
- Tap to add an Infomaniak user account (the one you use to log in to your Infomaniak services):
- For example, on the Web app Calendar, the user menu at the top right informs you of the login email used.
- It is then possible to access the calendars of the Organization to which the current user is attached:
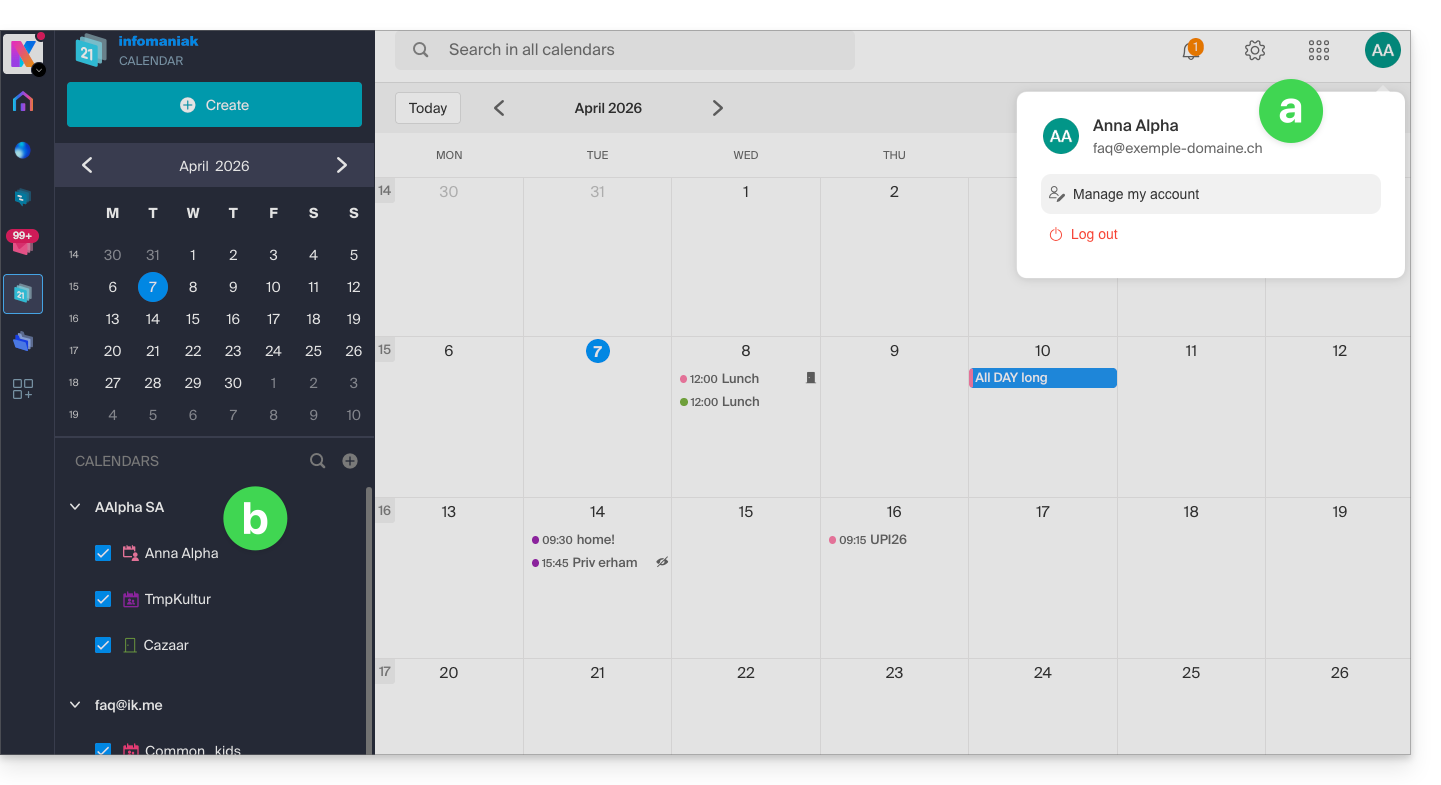
- These are the data that will be synchronized on your device when you log in to the same Infomaniak account on kSync...
- Enter your Infomaniak login credentials (see point a above).
- Tap the button to log in:
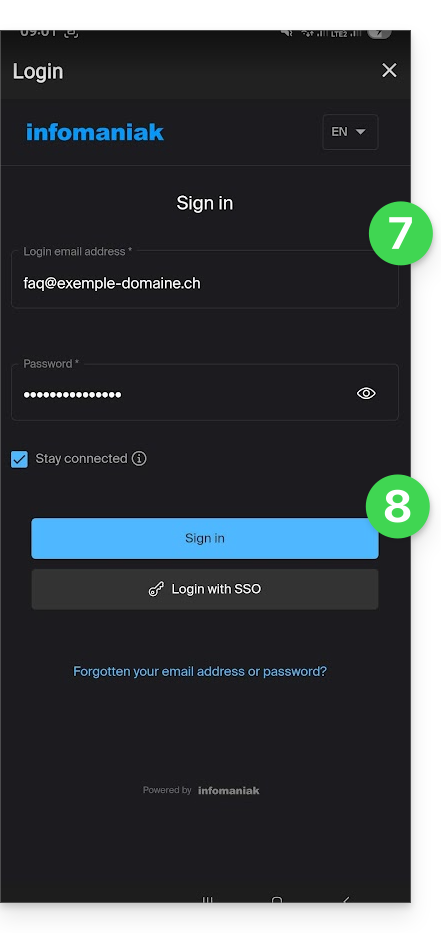
- Perform the double authentication steps as you do for your usual logins.
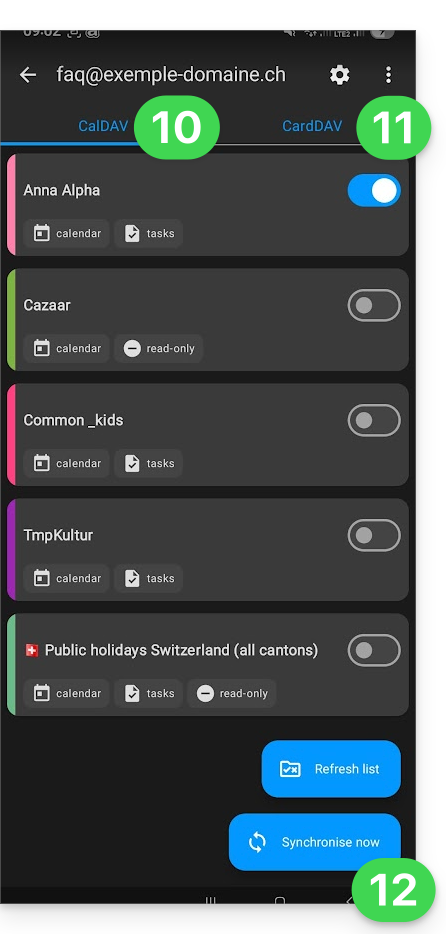
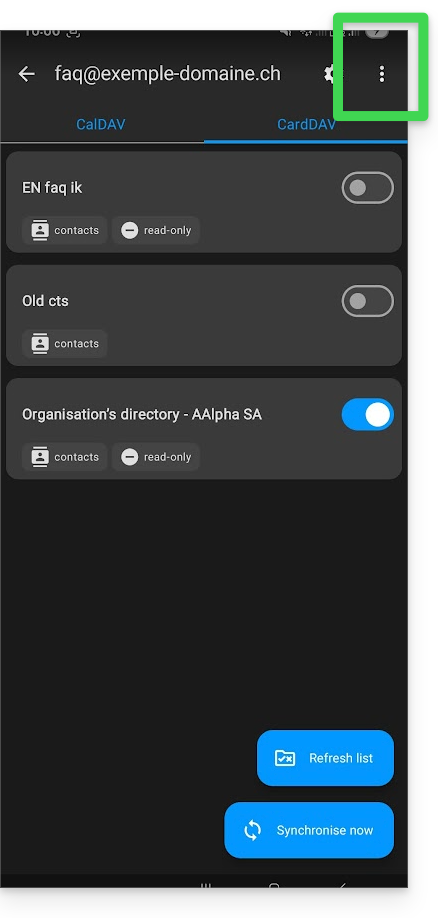
- Once logged in to kSync, under the Agendas CalDAV tab, choose the calendar(s) that should appear on your device.
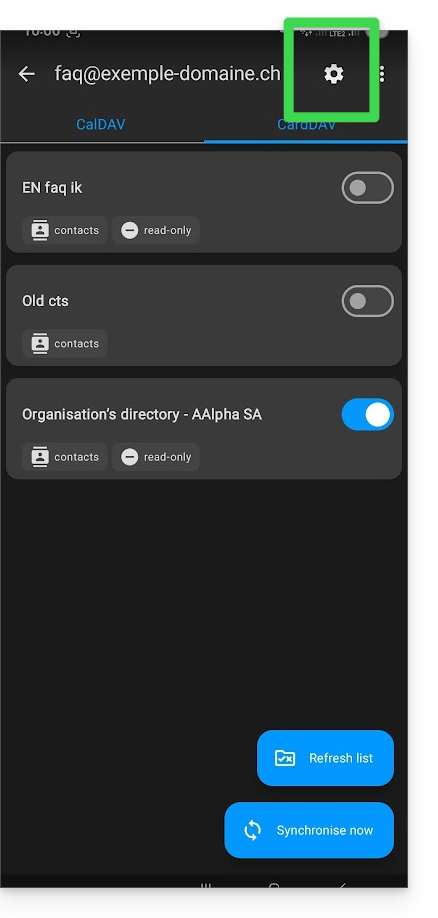
- Under the Address Books CardDAV tab, choose the address book(s) that should appear on your device.
- Start the synchronization with the button located at the bottom right:
kSync synchronization settings
Click on the Settings icon at the top right of the interface to adjust some important kSync settings:
- Synchronization interval: you can modify the frequency of synchronizations (15, 30, 60 minutes, etc.) for each type of information (address books, calendars, tasks).
- Synchronization only via WiFi (and if so, with which networks...).
- Limit the display of past events.
- Receive a notification for each event that does not have a specific reminder, with a notification delay defined in advance (in minutes).
- Display event colors and persistent synchronization of colors or not.
- Display contact groups.
You can also tap on the address books or calendar to configure certain elements:
- It is possible to force read-only via kSync, which means that the elements are synchronized but cannot be modified by the device.
- You can also delete a calendar or address book (excluding the Organization directory):

Rename/remove the Infomaniak account from kSync
Tap on the action menu ⋮ located to the right of the account concerned:
- You can create a new address book or calendar.
- You can rename or delete the account linked to kSync:
General settings of the kSync app
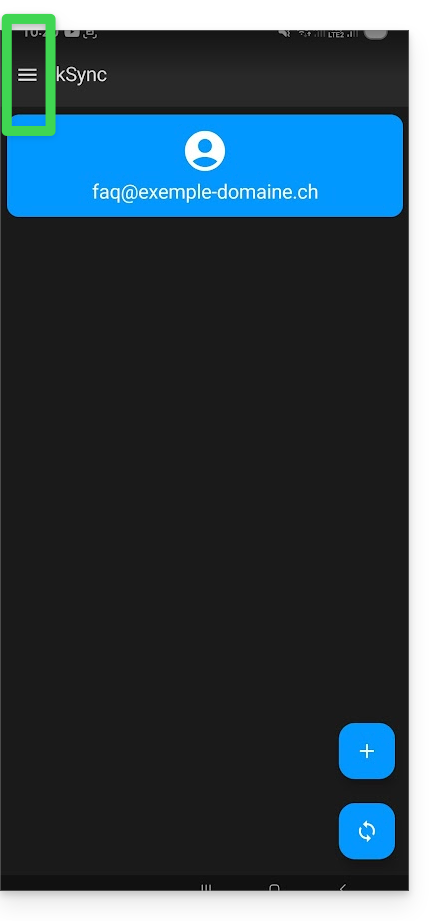
Press the back arrow at the top left of the screen to return to the home page.
- Then press the menu button with three horizontal lines ☰ and then the menu item “Settings”:
Link to this FAQ: https://faq.infomaniak.com/2298
Has this FAQ been helpful?