Knowledge base
1000 FAQs, 500 tutorials and instructional videos. Here, there are only solutions!
Install Nextcloud (or ownCloud) quickly
Update 09/01/2026
This guide explains how to install Nextcloud, an enhanced version of Owncloud, in just a few clicks on our paid Web Hosting plans.
Regardless of your hosting products, Infomaniak also offers a high-performance Cloud service: kDrive (file storage, synchronization, and sharing).
Introduction
- Nextcloud is one of the applications (not developed by Infomaniak) and allows you to set up a file storage and sharing system within a "cloud" that you fully control (user management, permissions, quotas, associated mobile applications, etc.).
- Unlike other hosting providers, Infomaniak allows the use of this type of app on its hosting:
- Personal use is permitted on shared web hosting.
- For intensive and professional use, it is recommended to opt for a Cloud Server to install ownCloud / Nextcloud.
Install Nextcloud
Prerequisites
- You must have an Infomaniak web hosting plan (order if needed).
- Upgrade the Databases section if necessary (especially for Nextcloud).
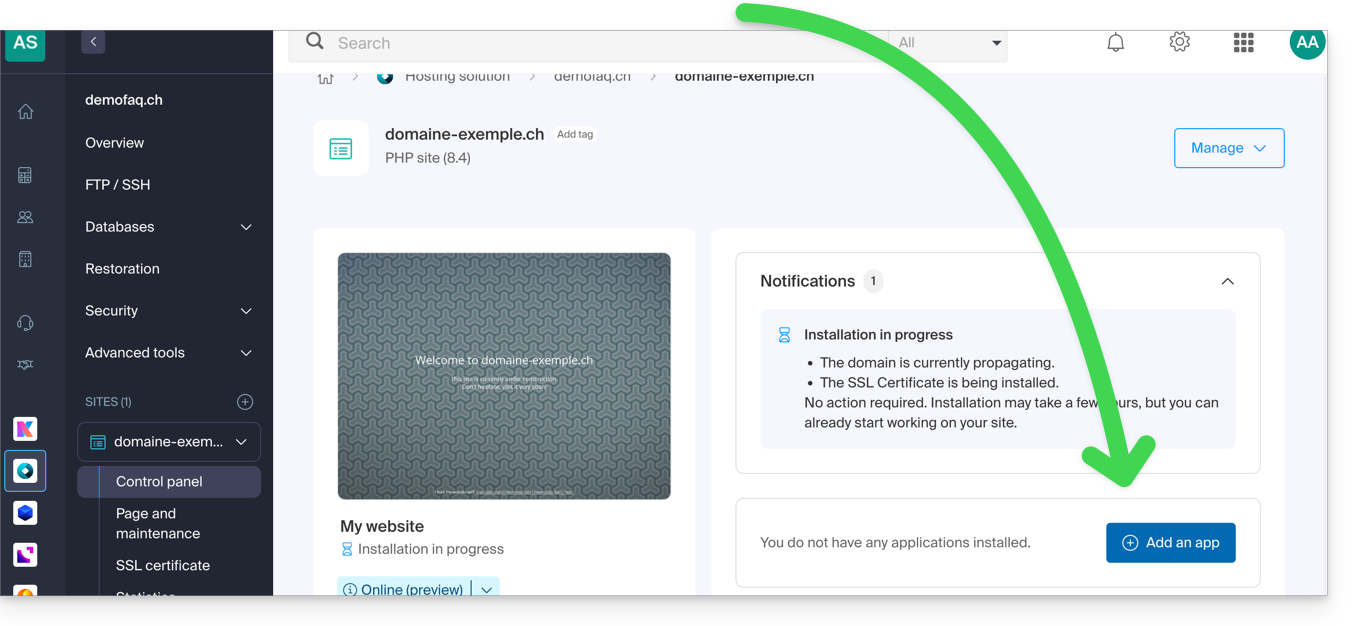
- If a blank site is already present on the hosting, click the button as shown in the image below and go directly to step 9:
To access your Web Hosting and install a new website using the application:
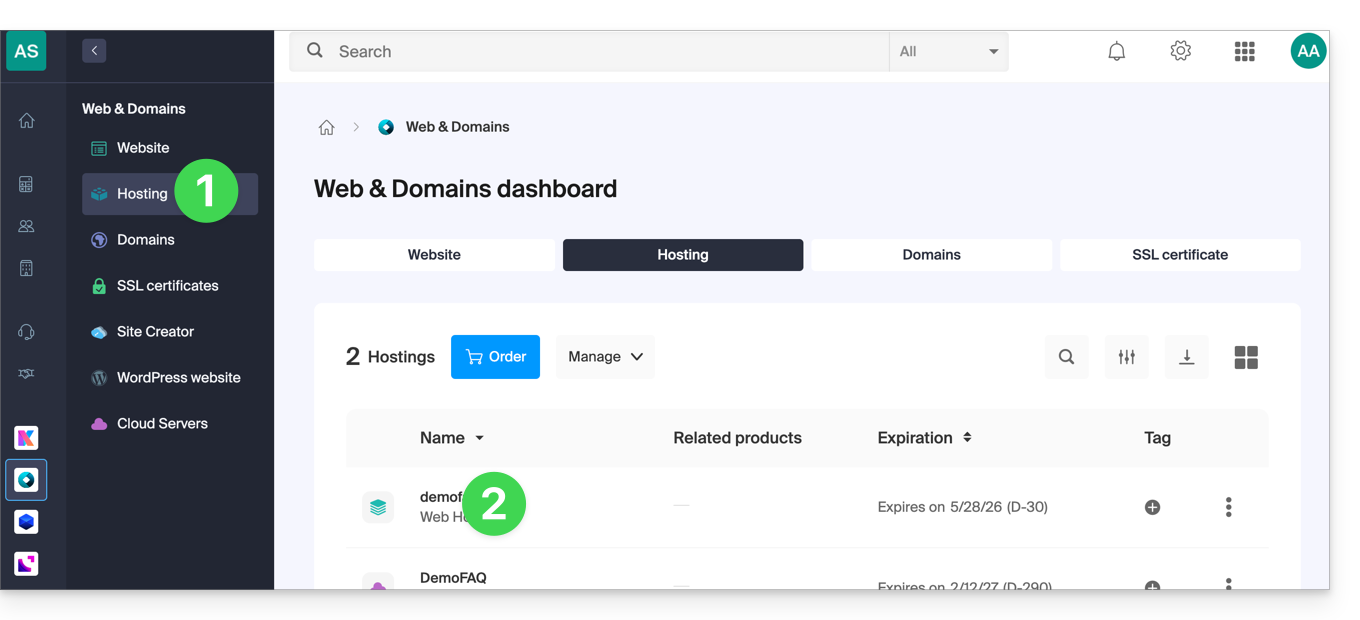
- Click here to access your hosting management in the Infomaniak Manager (need help?).
- Click directly on the name assigned to the hosting on which to install the application:
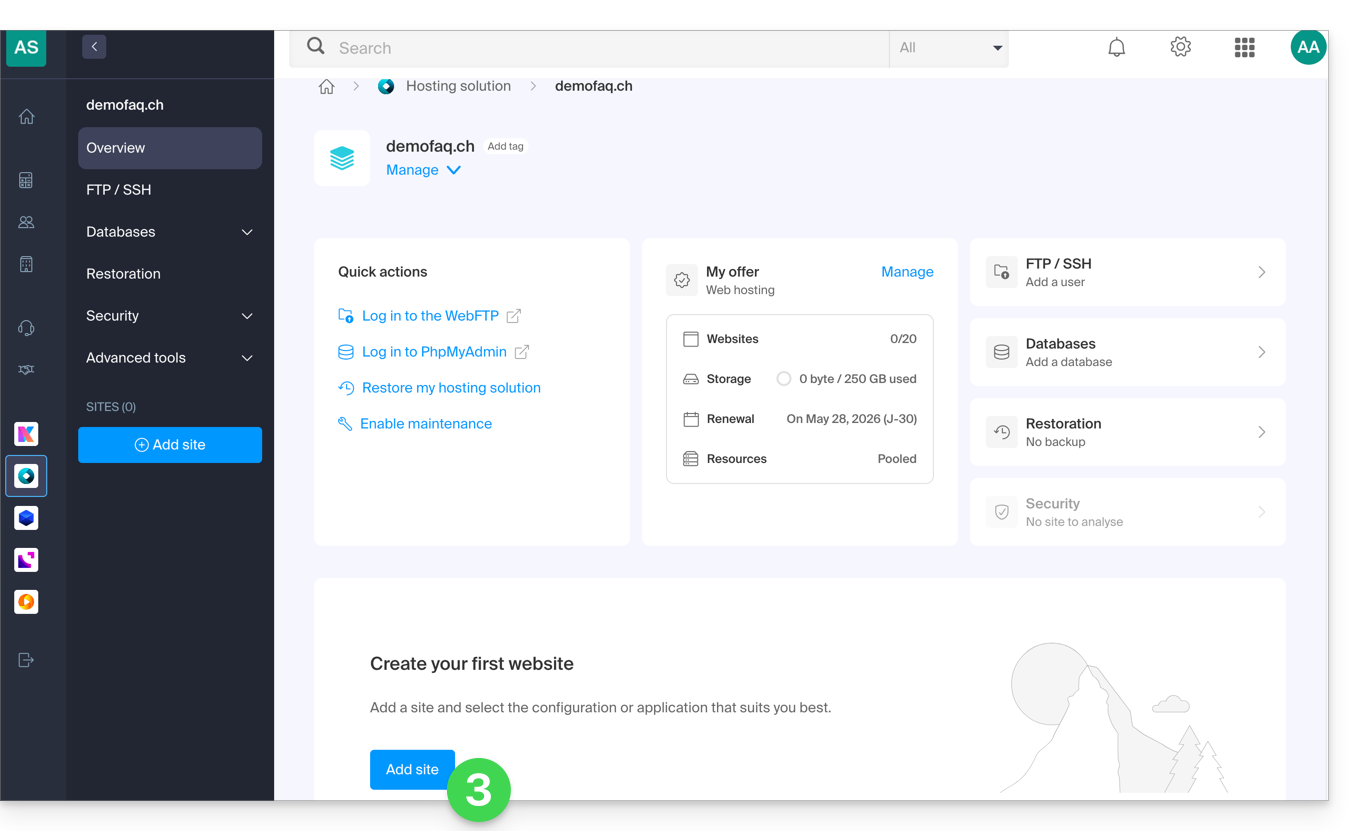
- Click on the Add a site button:
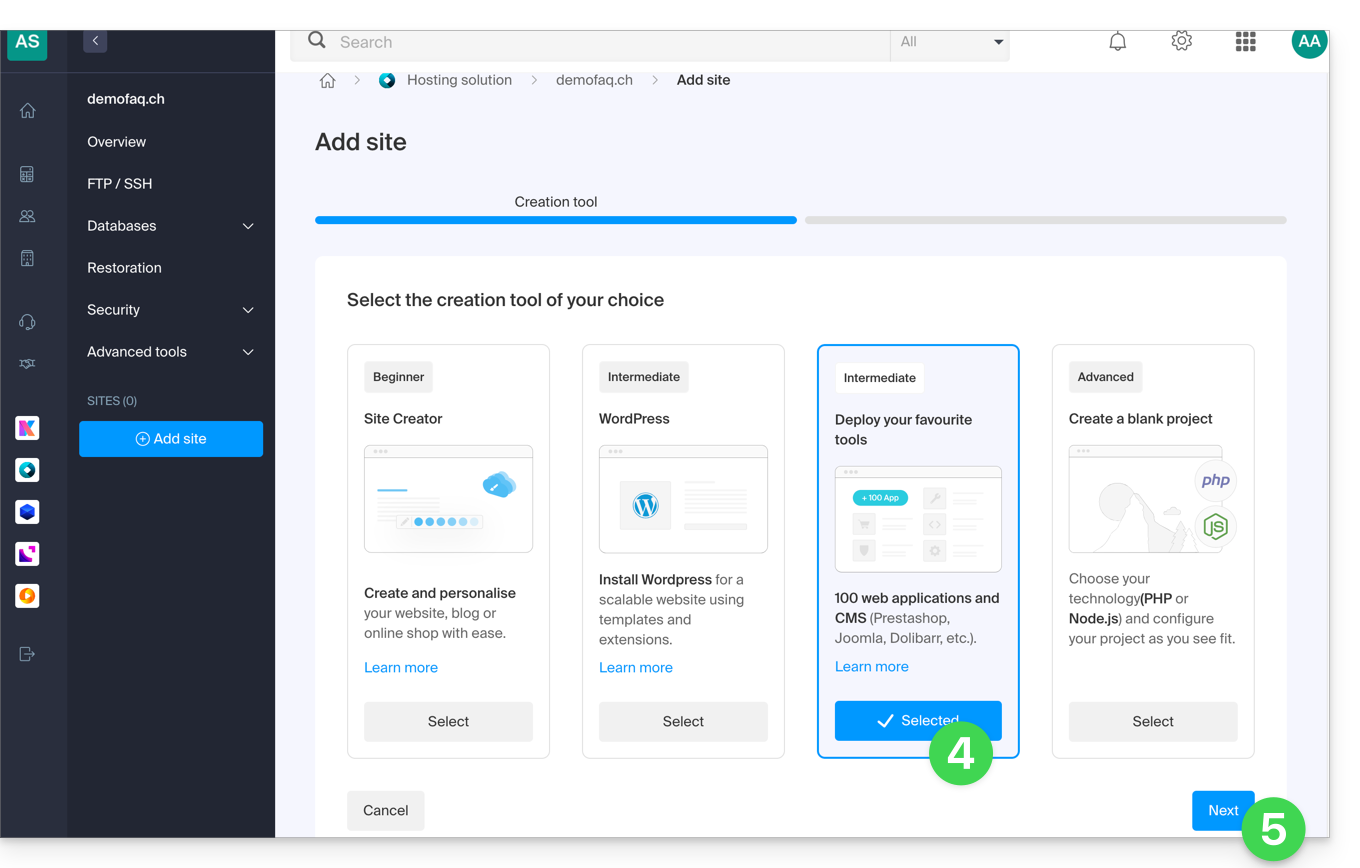
- Select the intermediate option for tool deployment.
- Click on Next:
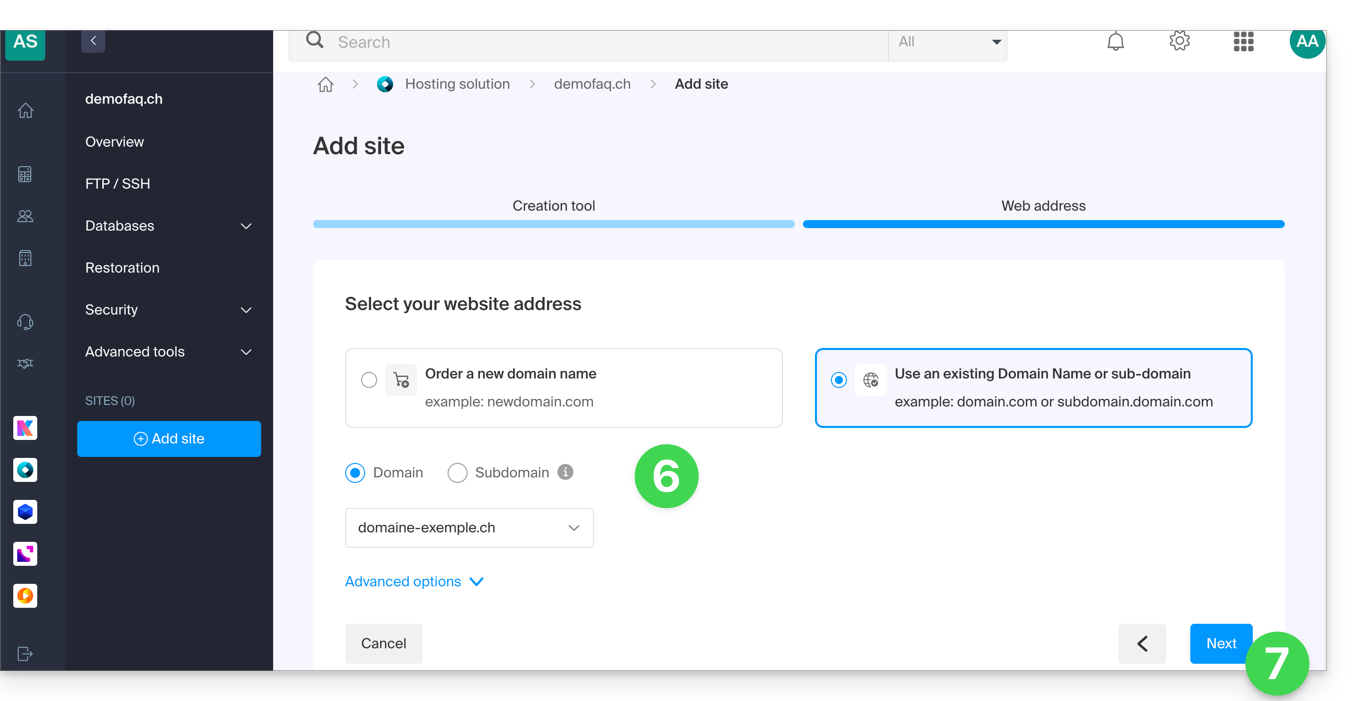
- Select the domain or subdomain and the advanced options if necessary.
- Click on Next:
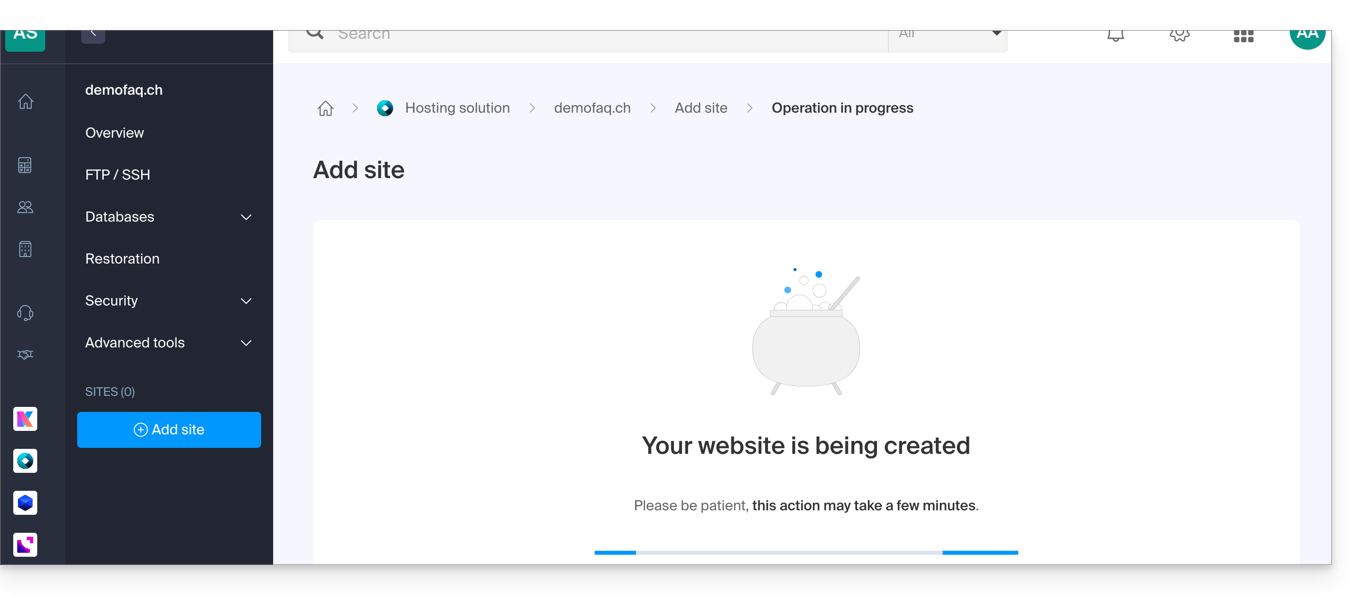
- Please wait a few minutes while the website is being created:
- Select the desired application (if necessary, filter and search):
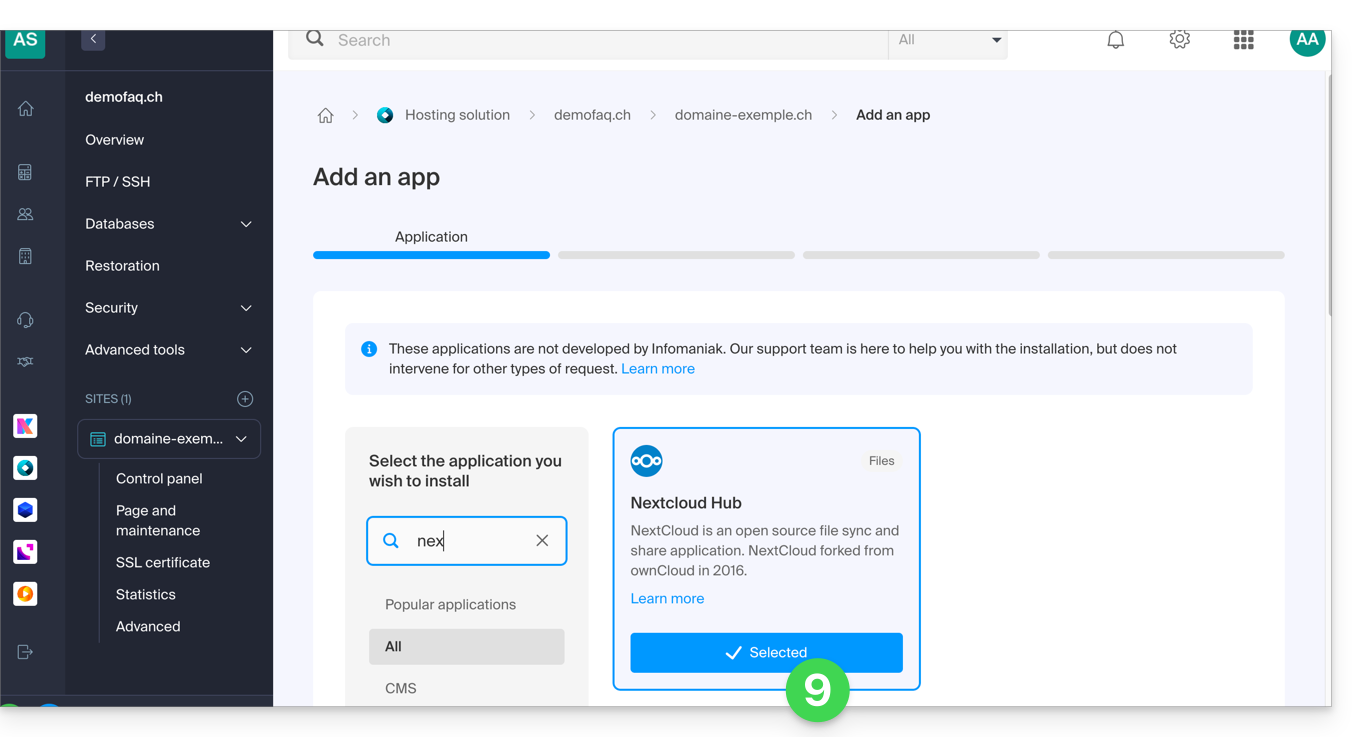
- Click on Next at the bottom of the page.
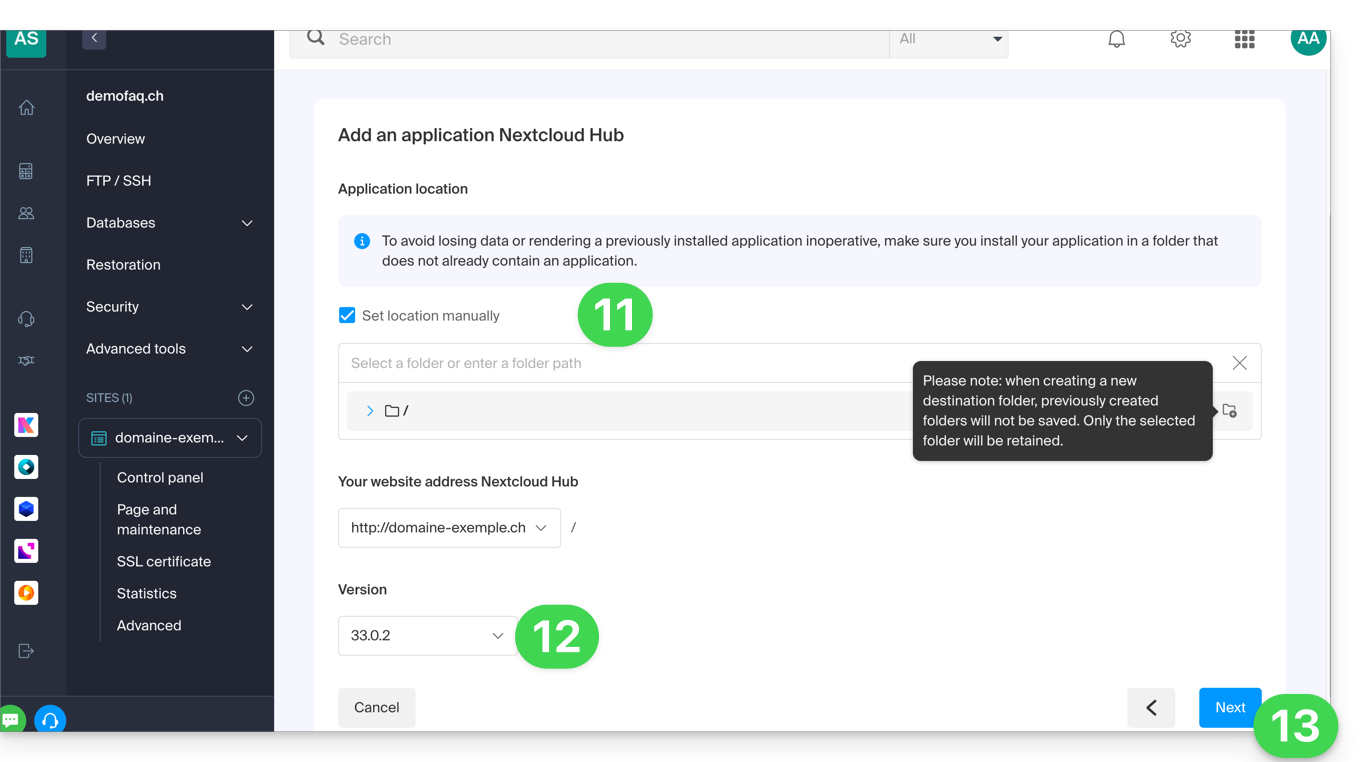
- Leave the default location or check the box to install the app in a new folder, which you can create using the icon visible to the right of point 11 in the image.
- If necessary, you can choose to install an older version.
- Click on Next:
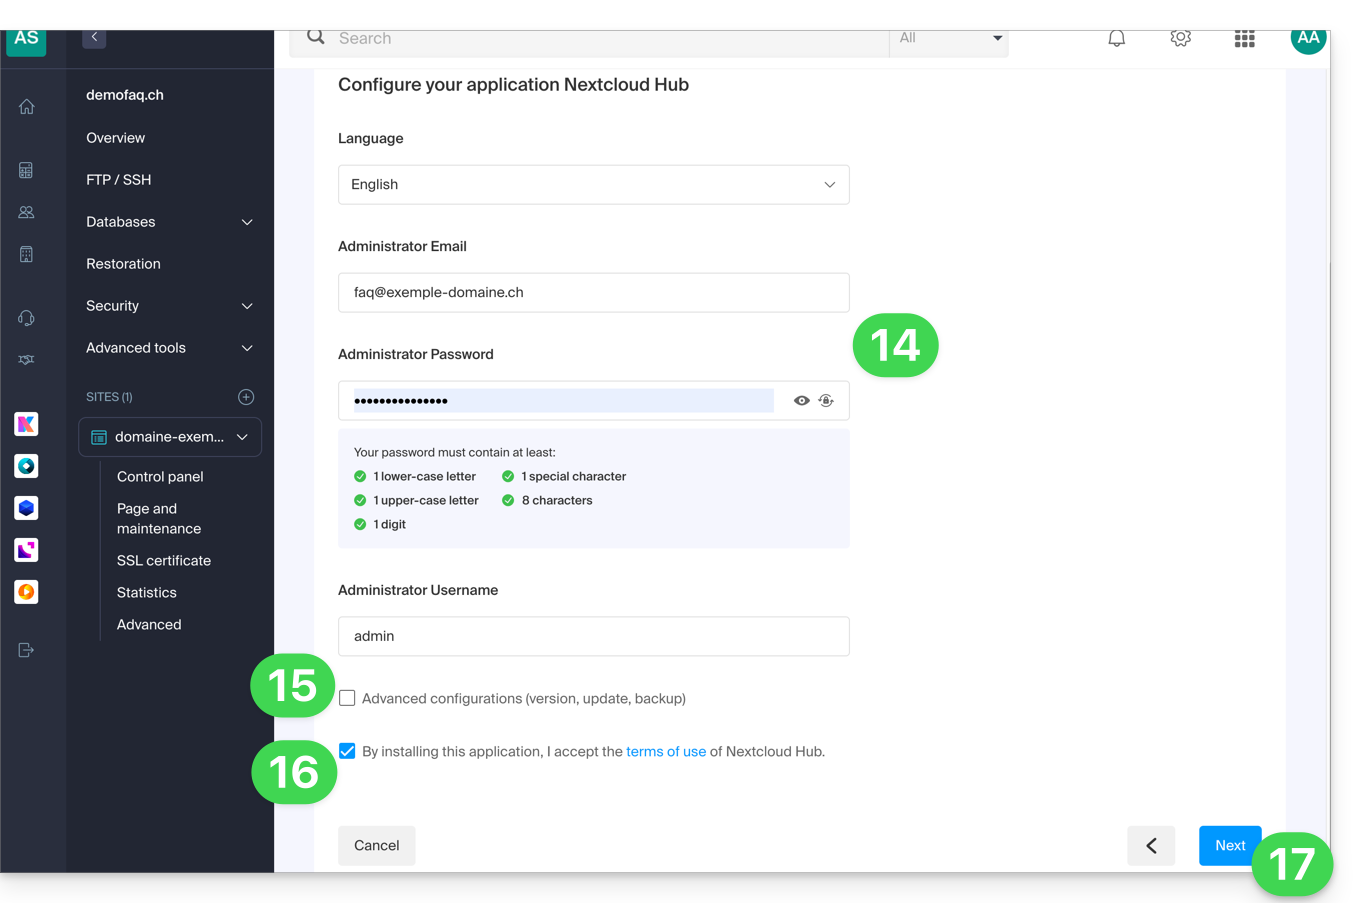
- Configure username and password.
- Specify certain advanced settings if necessary (e.g., backup type).
- Read and accept the terms of use for the selected app.
- Click on Next:
- Confirm the application installation in the next step and wait:
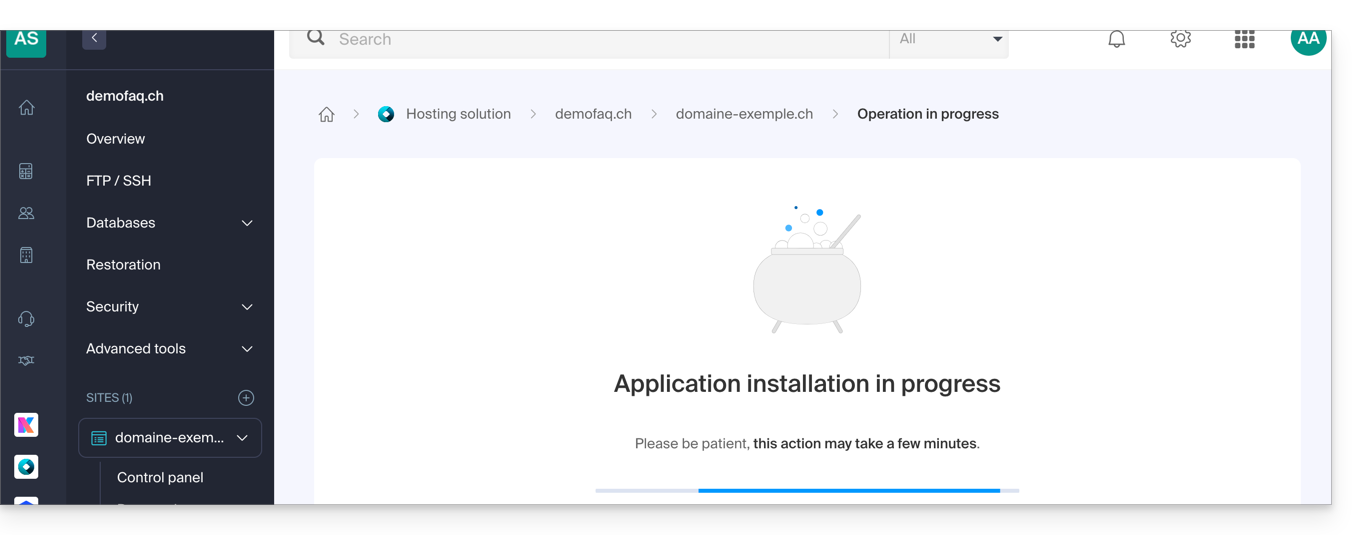
- Take note of any error messages displayed on the screen, for example, if the selected installation folder is not empty or if the PHP version of the website on which you are attempting the installation is not compatible.
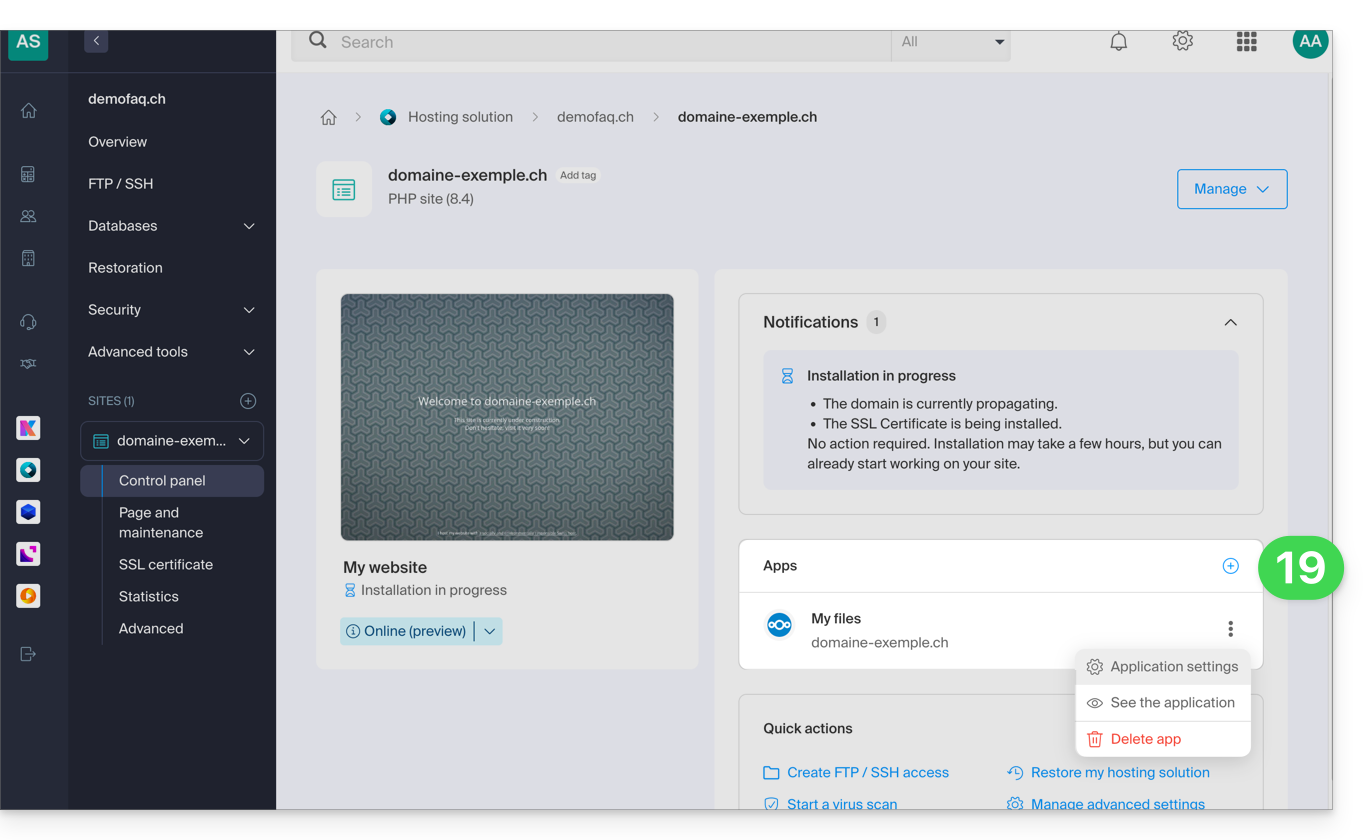
- Once the installation is complete, you can manage your application as desired:
Link to this FAQ: https://faq.infomaniak.com/2162
Has this FAQ been helpful?