Knowledge base
1000 FAQs, 500 tutorials and instructional videos. Here, there are only solutions!
Install WordPress MS (multisite), formerly WPMU
This guide explains how to set up a WordPress network of sites to manage multiple sites from a single Infomaniak WordPress installation, with URLs of the type site1.domain.xyz, site2.domain.xyz, or even with domain1.com, domain2.com, etc.
Installing WordPress multisite
To get started:
- Install WordPress via Infomaniak on your hosting space with a primary domain name:

- This first WordPress site must be accessible and function correctly:

- This first WordPress site must be accessible and function correctly:
- Connect via FTP.
- Edit the
wp-config.phpfile of the first WordPress site in question. - Above the line "
/* That's all, stop editing! Happy blogging. */" (#94), copy and paste the codedefine('WP_ALLOW_MULTISITE', true);:
- Save your changes.
- Then, log in to the administration area of your WordPress site.
- Temporarily disable all WordPress plugins:

- Go to the TOOLS menu to create a Network:
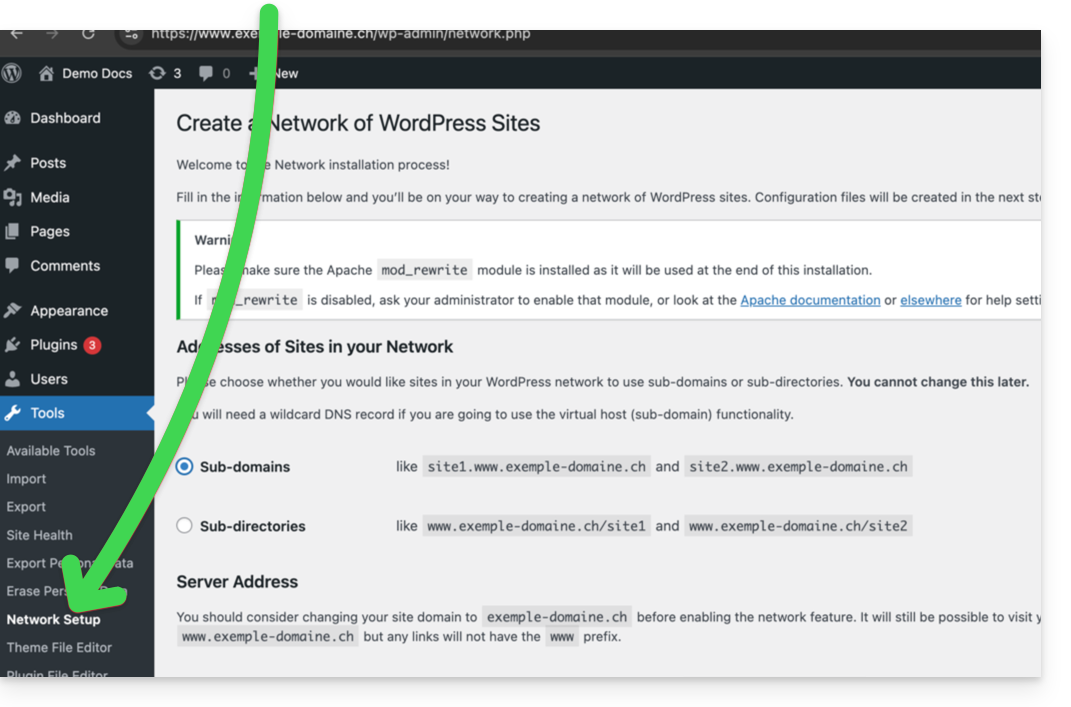
- Choose the method for creating your different WordPress sites (on subdomains)...
- Click on the installation button:

- Add the information displayed on the screen to the
wp-config.phpand.htaccessfiles on the server. - After reconnecting to your WordPress, you will have a new "My sites" menu where you can add and manage your different sites within the same network:

- Reactivate your deactivated plugins.
- In the Manager, add an alias to your website in the format
*.your-domain-here (the asterisk allows you to create a wildcard alias) with DNS update so that the correctCNAMEis automatically added to the zone:
- Install or update your SSL certificates:

- When you create a new website within the network, for example by naming it
home2, it will become accessible viahome2.domain.xyz, and so on:
Link to this FAQ: https://faq.infomaniak.com/1417
Has this FAQ been helpful?