Knowledge base
1000 FAQs, 500 tutorials and instructional videos. Here, there are only solutions!
Copy Swisscom mail content (custom domain) to Infomaniak
This guide explains how to transfer to Infomaniak email addresses currently hosted by Swisscom, which has ended its hosting offer in May 2024.
Preamble
- The operation does not affect either the data already present on the destination address, nor that of the source address.
- Any duplicates are managed: identical content will only be copied once.
- If necessary, local partners referenced by Infomaniak can handle these procedures: launch a free call for tenders; they take care of everything, freeing you from technical details.
Transferring emails from Swisscom to Infomaniak
1. Swisscom prerequisites
- If necessary, note the exact email addresses you have with Swisscom so as not to forget any; to do this:
- Click here to access the Swisscom HCP Control Panel.
- Click on Manage account.
- Click on Mail account:
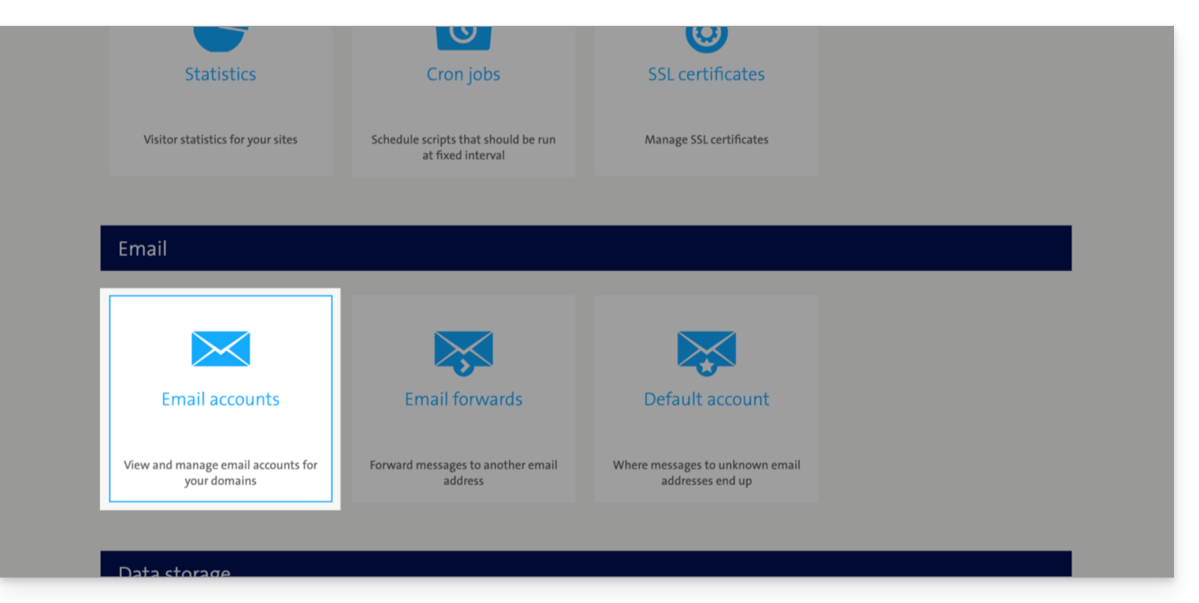
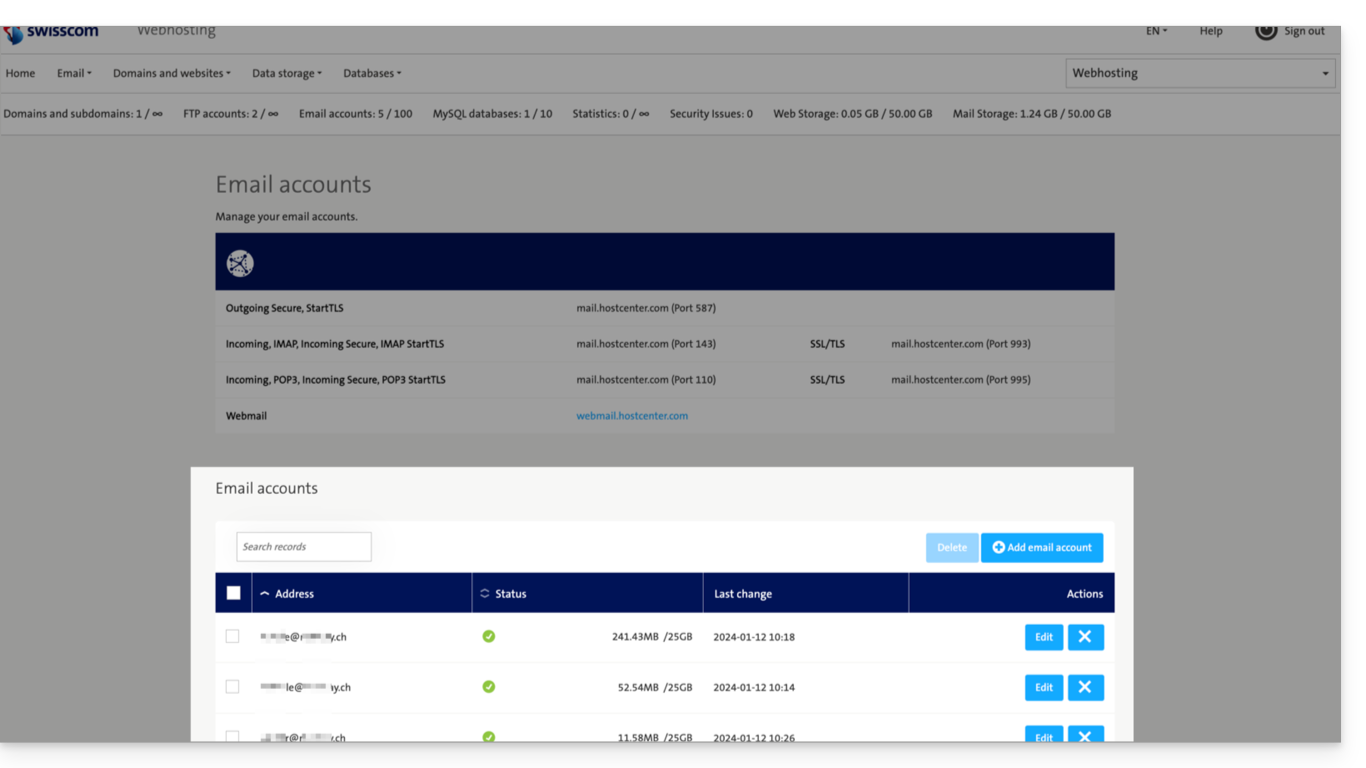
- The list of your current addresses is displayed at the bottom (click on Edit to the right of an email address to update its password if forgotten):
2. Infomaniak prerequisites
- Have a Mail Service on your Infomaniak Manager.
- Have a quota of free addresses available or adjust it in advance if necessary.
- Ensure that the messaging is properly secured
3. Recreate the email address(es) on Infomaniak
Access the Infomaniak Mail Service and create the email addresses:
- Click here to access the management of your product on the Infomaniak Manager (need help?).
- Click directly on the name assigned to the product concerned.
- Click the blue button Create an email address in the top right corner.
- Enter the address (what comes before the at sign @) (for example contact or michelle).
- Click the blue button Continue.
- Select I will be the sole user of the email address.
- Click the blue button Continue.
- Enter a password.
- Click the blue button Continue.
- Click the blue button Finish.
- Restart at point 3 above to recreate all email addresses identically.
4. Import mail content from Swisscom to Infomaniak
Access the Infomaniak Mail Service and import your emails:
- Click here to access the management of your product on the Infomaniak Manager (need help?).
- Click directly on the name assigned to the product concerned.
- Click on the chevron in the right part of the blue button Create an email address.
- Click on Import emails (direct link).
- Click on Import my emails into a single email address.
- Enter the existing email address at Swisscom.
- Enter the password for this email address.
- Click on Advanced settings.
- Enter
mail.hostcenter.comin IMAP server address. - Enter
993in IMAP port. - Enable SSL and disable TLS.
- Click the blue button Validate and continue.
- Enter the email address (which was recreated at Infomaniak in point a.10 above).
- Click the blue button Import emails.
- The import starts and runs in the background, an email is sent once the import is complete.
- Restart at point 3 above to import the remaining email addresses.
5. Adjust application settings
Once you have taken the necessary steps to ensure that the domain name associated with your email works with Infomaniak, modify the settings of the email software/clients you use so that they connect correctly to the Infomaniak servers: follow the configuration assistant.
Link to this FAQ:
Has this FAQ been helpful?