Knowledge base
1000 FAQs, 500 tutorials and instructional videos. Here, there are only solutions!
Transfer Web data from Swisscom to Infomaniak
This guide explains how to transfer to Infomaniak Web data (site, FTP, databases) currently hosted by Swisscom, which has ended its hosting offer in May 2024. Furthermore, Infomaniak offers you the first year of Web + Mail hosting (learn more)!
Prerequisites
- Have an Infomaniak Web hosting (order if necessary).
- Add a blank website to the Infomaniak hosting.
- If you use a WordPress interface to manage your site at Swisscom, refer to this other guide illustrating a simplified method.
Transfer the site from Swisscom to Infomaniak
To retrieve any other site, created with HomepageTool or not, follow the procedure below.
1. Retrieve Web data from Swisscom
a. HTML, PHP, etc. files via FTP
To retrieve Web data on your hard drive, you need to connect via FTP with an FTP software/client like Filezilla (free). To do this, you need the Swisscom server address, FTP username, and password. If you do not have this information:
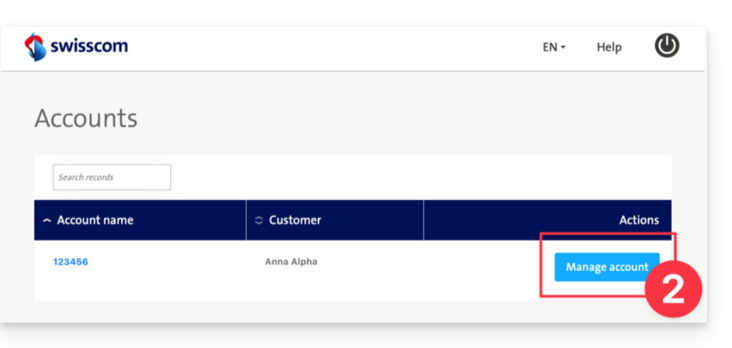
- Log in to the Swisscom HCP Control Panel (login.hostcenter.com) from a Web browser like Brave or Edge.
- Click on Manage account:
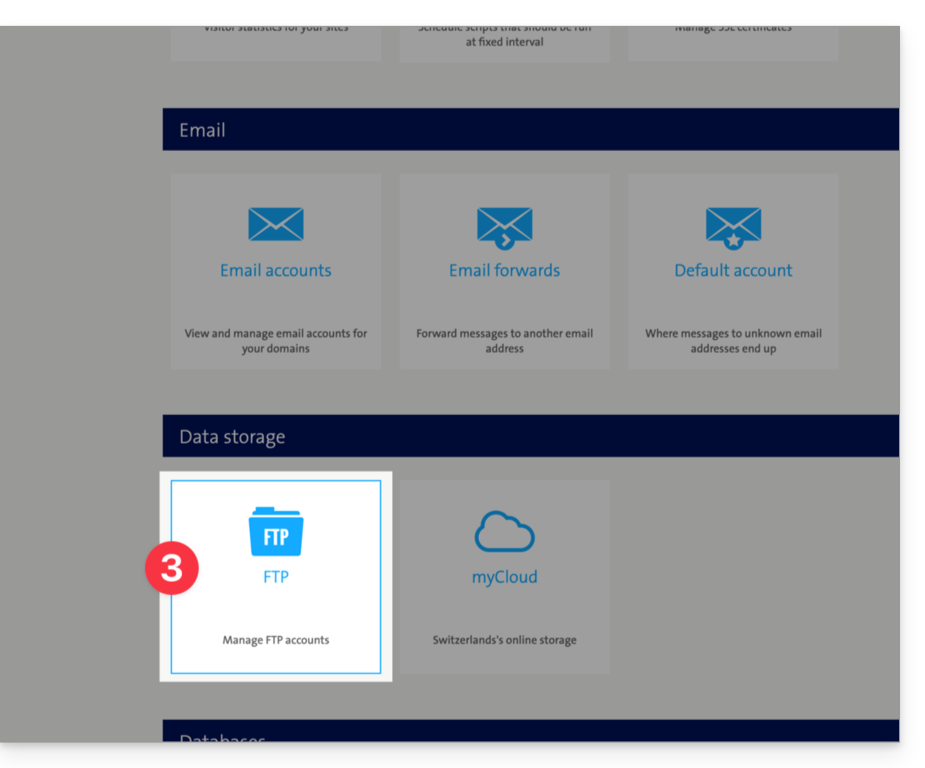
- Click on FTP accounts (in the Data storage section):
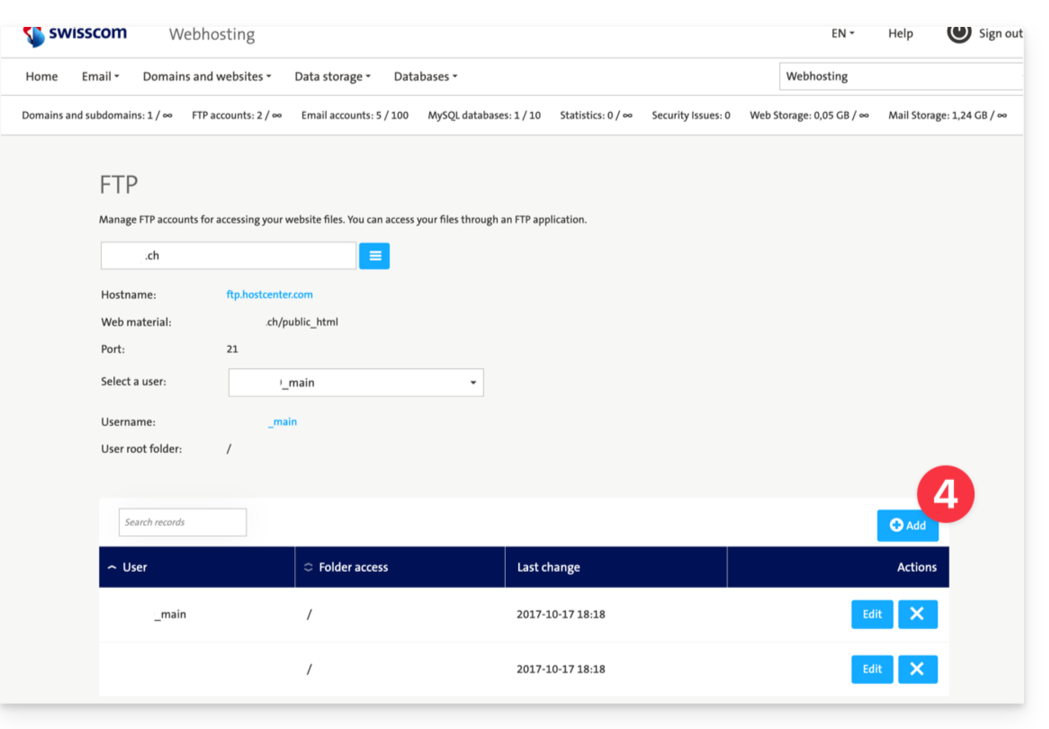
- Click on Add to create an FTP account if necessary:
- Open an FTP software/client like Filezilla.
- Log in to the Swisscom server with the FTP information obtained in step 3 above.
- Download the files corresponding to your Swisscom site to your hard drive.
b. Export MySQL databases
Unless your site is static and simply in HTML, a dynamic site most often requires databases that need to be exported from their administration interface, PHPmyAdmin:
- Log in to the HCP Swisscom Control Panel (login.hostcenter.com) from a web browser like Brave or Firefox.
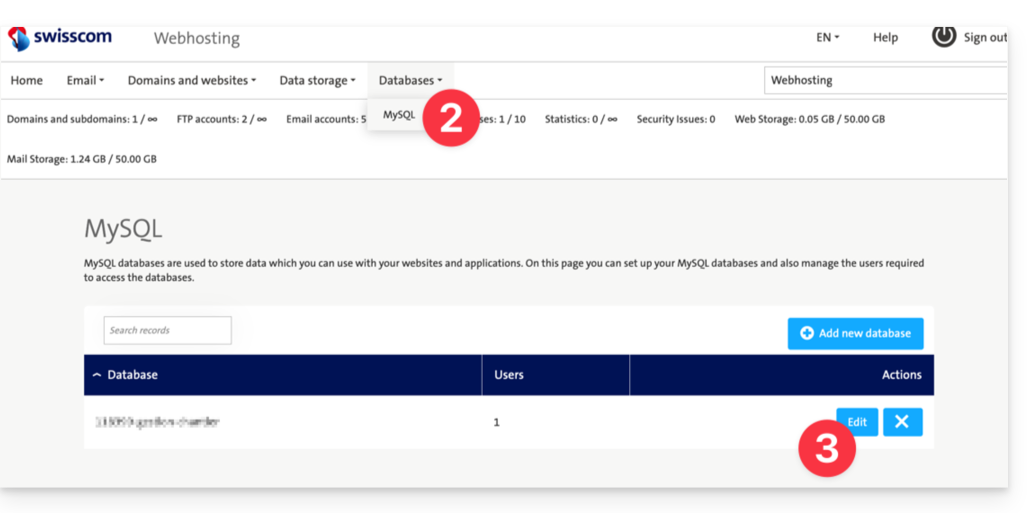
- Click on Databases > MySQL from the main menu.
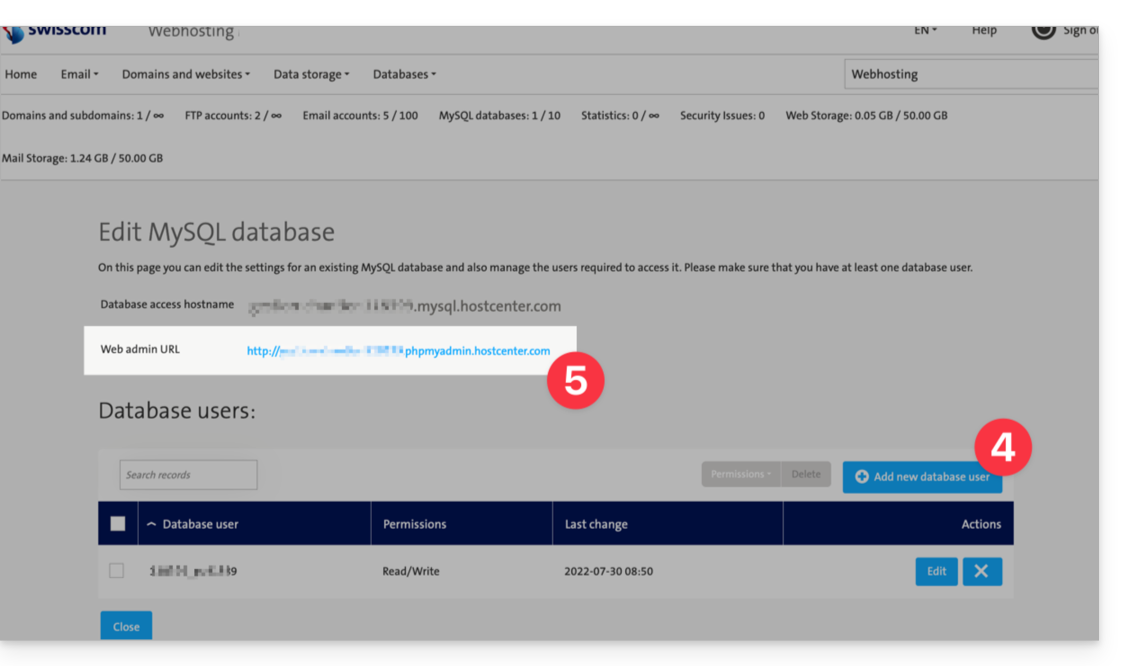
- Click on Edit to the right of the corresponding database:
- Click (optional step) on the blue button Add a new database user to create a user and password that will have access to the database.
- Click on the blue link Web-Admin URL to access PHPMyAdmin:
- Log in to the Swisscom server with the usual MySQL information or obtained in point 4 above.
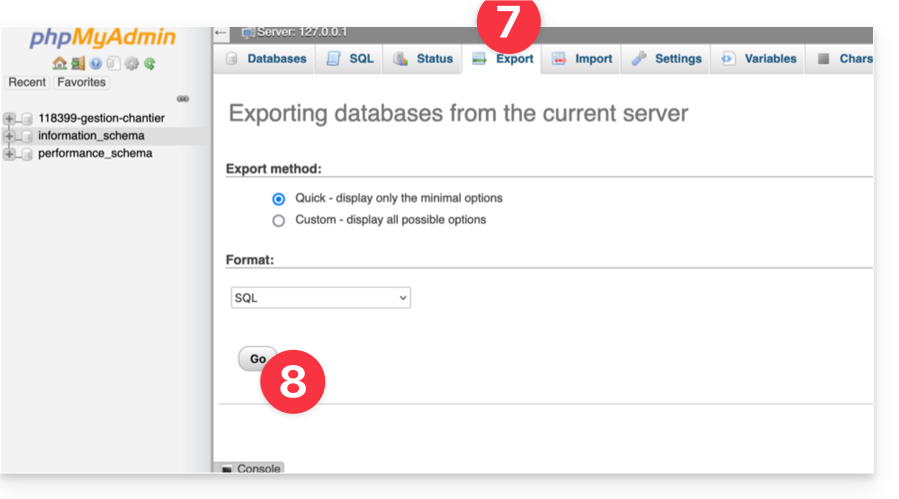
- Click on Export to configure the database export.
- Click on Go to download your SQL data to your hard drive:
2. Send Web data to Infomaniak
a. HTML, PHP, etc. files via FTP
Access Infomaniak Web Hosting and activate the FTP section:
- Click here to access the management of your product on the Infomaniak Manager (need help?).
- Click directly on the name assigned to the product concerned.
- Click on FTP / SSH in the left sidebar menu.
- Click on the Add button to create a new FTP / SSH account.
- Open an FTP software/client like Filezilla.
- Log in to the Infomaniak server with the FTP information obtained in point 4 above.
- Transfer the files from the hard drive (obtained in point 1.a.5) to the server in the folder corresponding to your Infomaniak site.
b. Import MySQL databases
Access Infomaniak Web Hosting and activate the MySQL section:
- Click here to access the management of your product on the Infomaniak Manager (need help?).
- Click directly on the name assigned to the product concerned.
- Click on Databases in the left sidebar menu.
- Click the Add button.
- Enter a database name after the already entered prefix.
- Click the box to Create an associated user.
- Enter a username after the already entered prefix.
- Enter a password.
- Click Validate.
- Click the blue Import button.
- Click Select a file.
- Select the SQL files on the hard drive (obtained in step 1.b.6).
- Choose the database created in step 5 above as the destination.
- Click the blue Import button.
c. Adapt the site for the new infrastructure
If you are using an application such as WordPress, Joomla, Drupal or another web application (ownCloud, phpBB, etc.) using a database, adapt the following information in the appropriate configuration file from the information available on the Manager so that your site works:
- the name of the database
- the database server
- the username that accesses the database
- the password of the username that accesses the database
Refer to these other guides to adapt the configuration file: WordPress and Joomla.
Learn more
Link to this FAQ: https://faq.infomaniak.com/2851
Has this FAQ been helpful?