Knowledge base
1000 FAQs, 500 tutorials and instructional videos. Here, there are only solutions!
Create a photo gallery in Site Creator
This guide explains how to create galleries with your photos in Infomaniak's Site Creator.
Create a photo gallery
Prerequisites
- Access Site Creator:
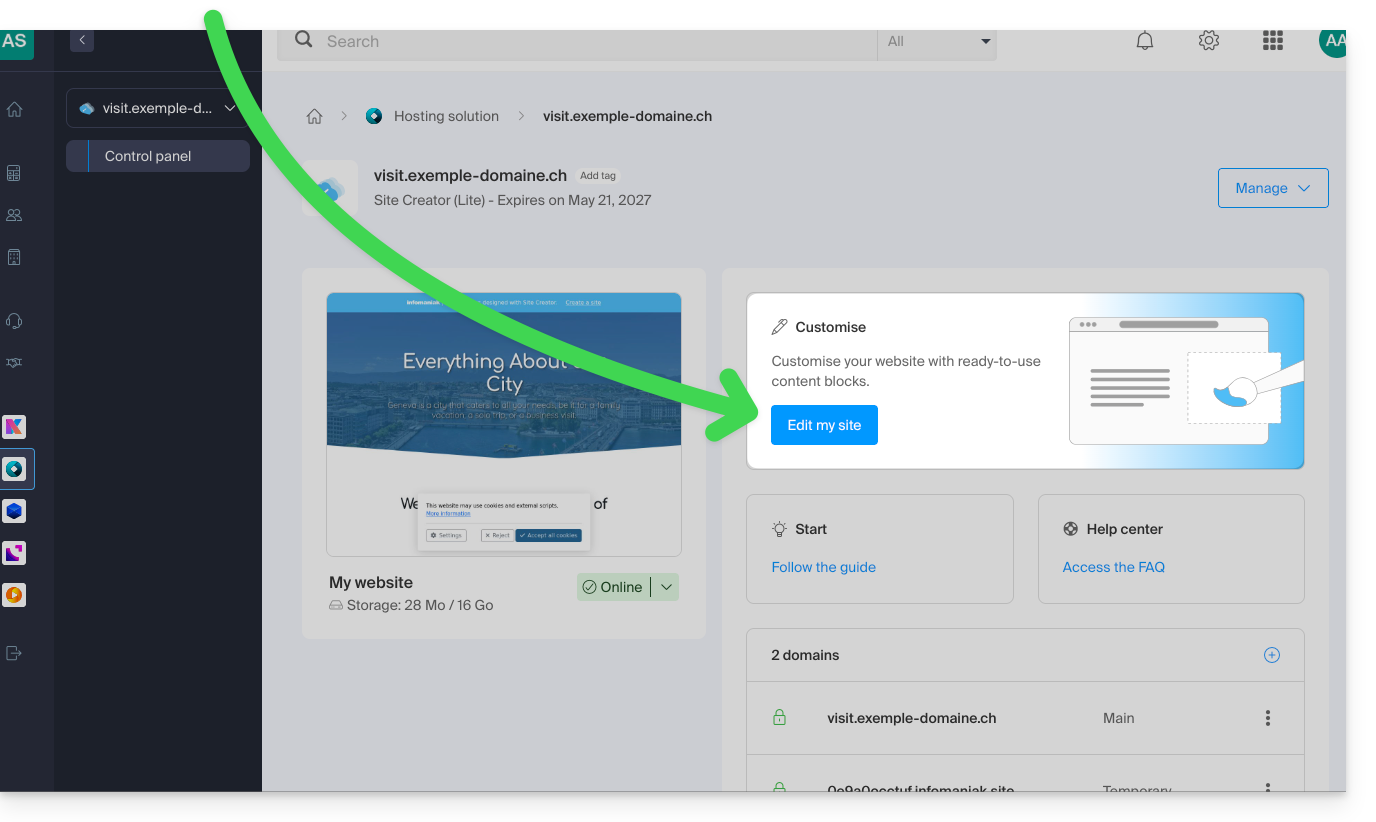
- Click here to access the management of your product on the Infomaniak Manager (need help?).
- Click directly on the name assigned to the Site Creator in question.
- Click on the Edit my site button to start the editor:
Once in Site Creator:
- Click on the Settings button in the left-hand menu; the list of your pages will appear.
- Click on the Add a page button below the existing tree:
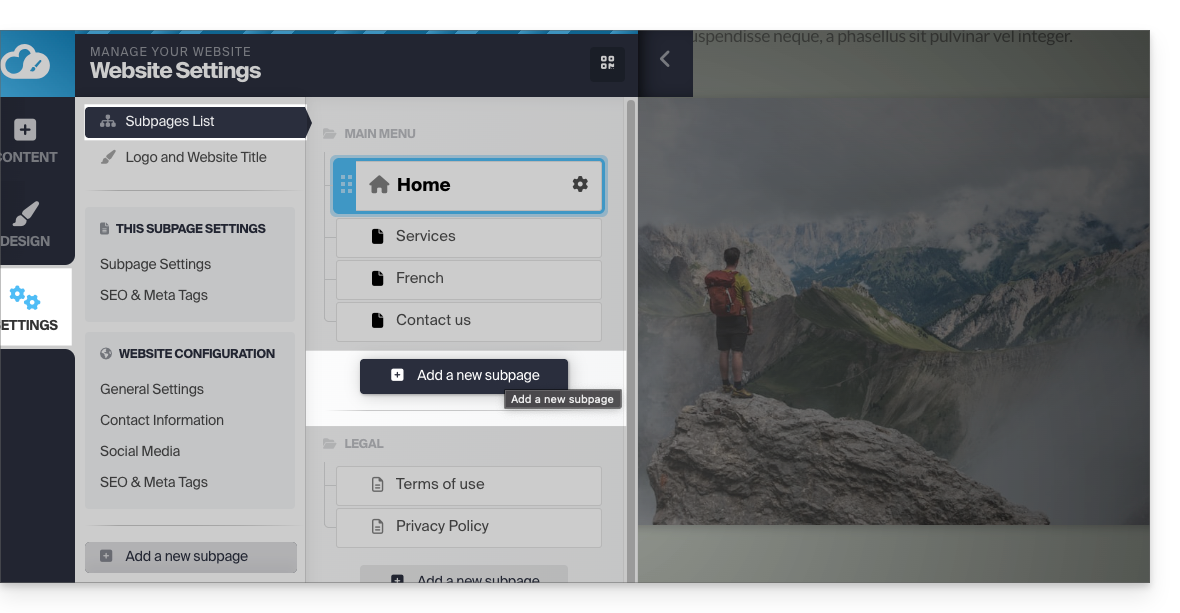
- Activate Show more options to choose the page type PHOTO GALLERY:

- Validate; the new page with the photo gallery module will appear on the screen:
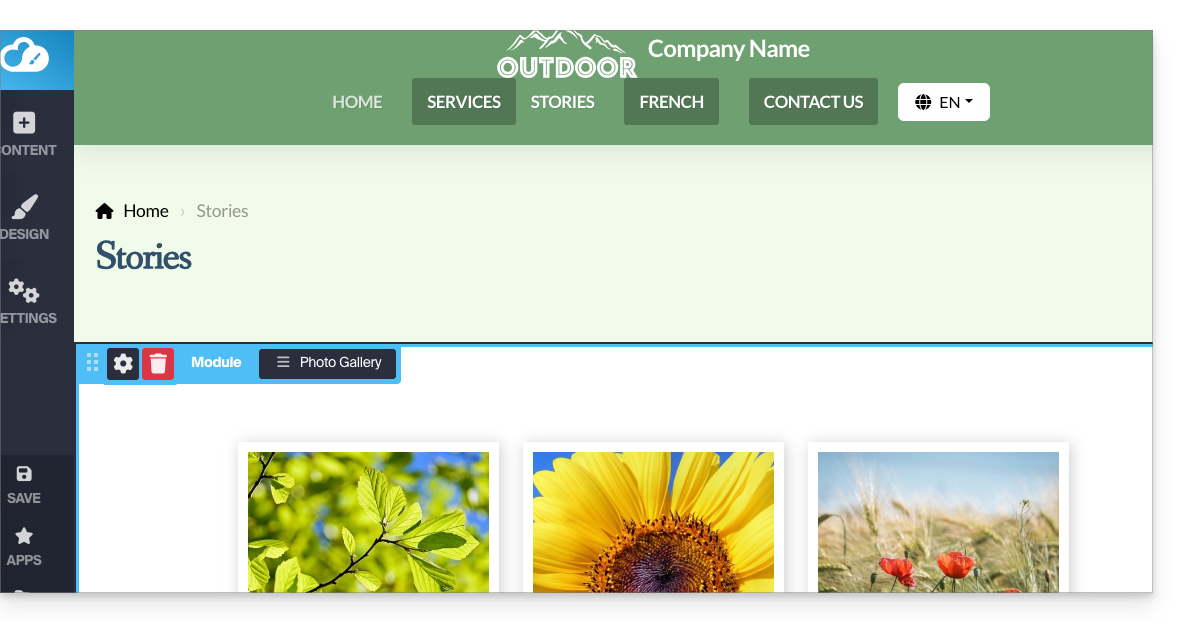
Configure the photo gallery
To do this:
- Hover over the module to access the gallery settings.
- Click on Edit:
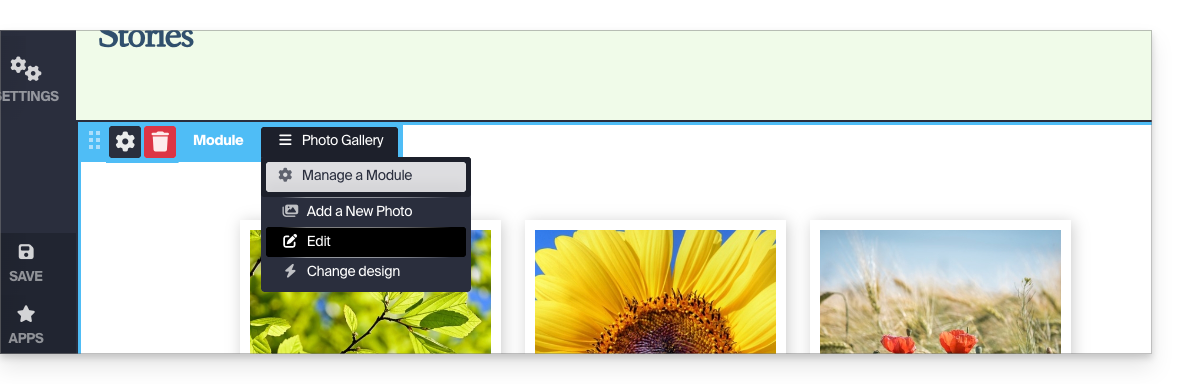
Photo albums
You can create additional photo galleries for your different albums: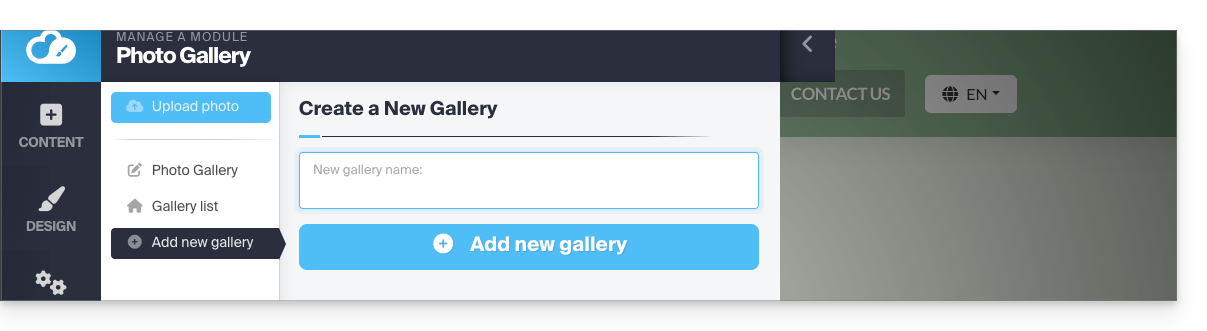
Change the order of photos
Once your gallery is created, each new photo you upload from your computer is added to the end of the photo list; you can easily change this order by dragging the photos with the mouse when editing a gallery: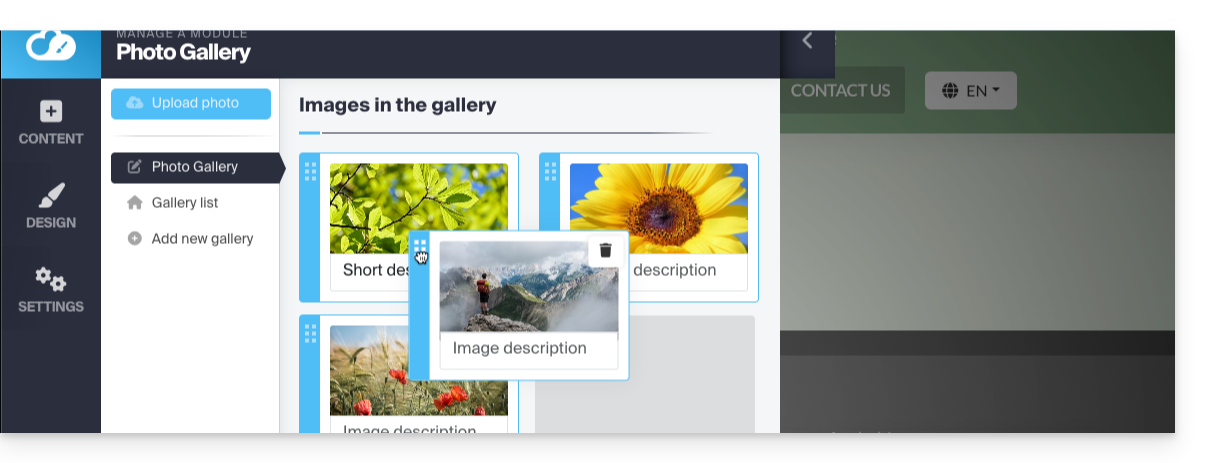
In addition, you can add a description to any of your photos; below each image, you will notice the "Image description" field. Start typing your description there and press the green button to save the changes:
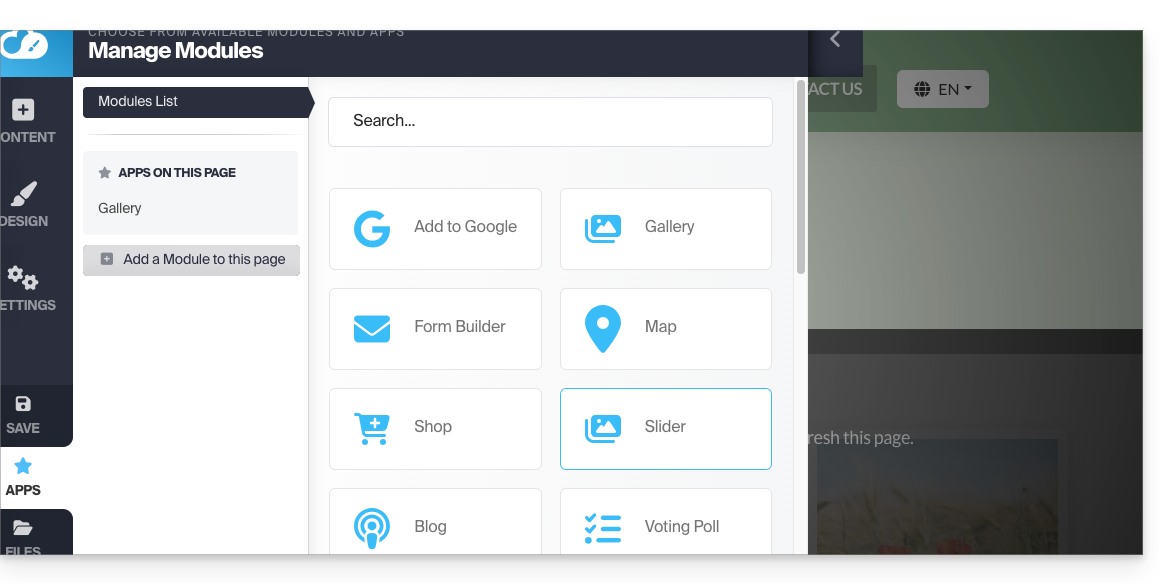
Add an image slideshow widget
To configure one or more dynamic Slider widgets, on which one or more photos will slide laterally (without any connection to the photo galleries described above):
- Click on the Applications button in the left-hand menu.
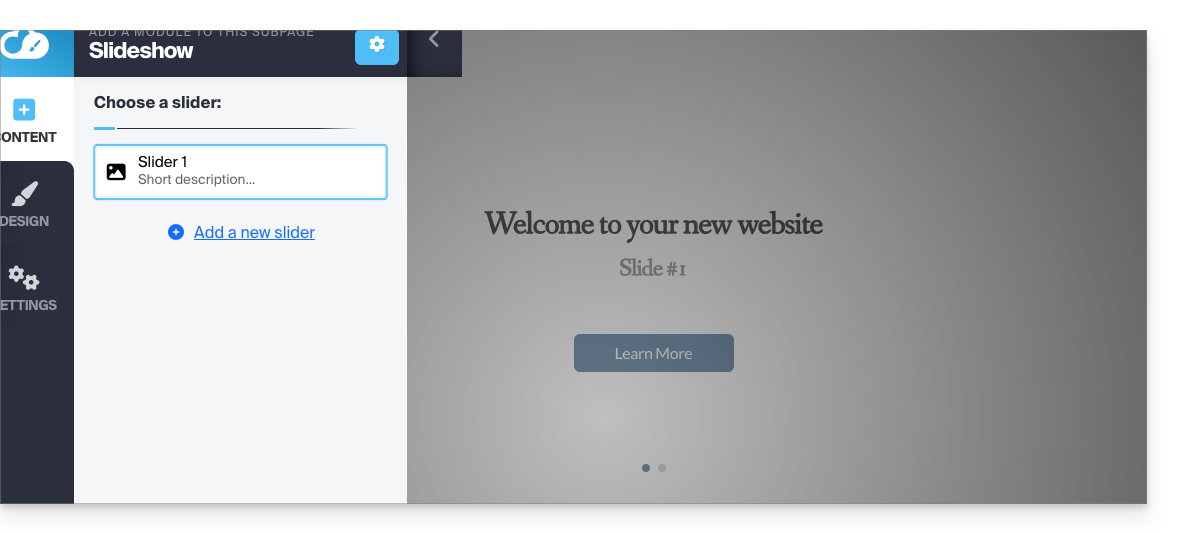
- Click on Slider:
- Configure the widget according to your preferences.
- Insert the configured widget in the desired location by clicking on Content, then Apps, and choosing Slider:
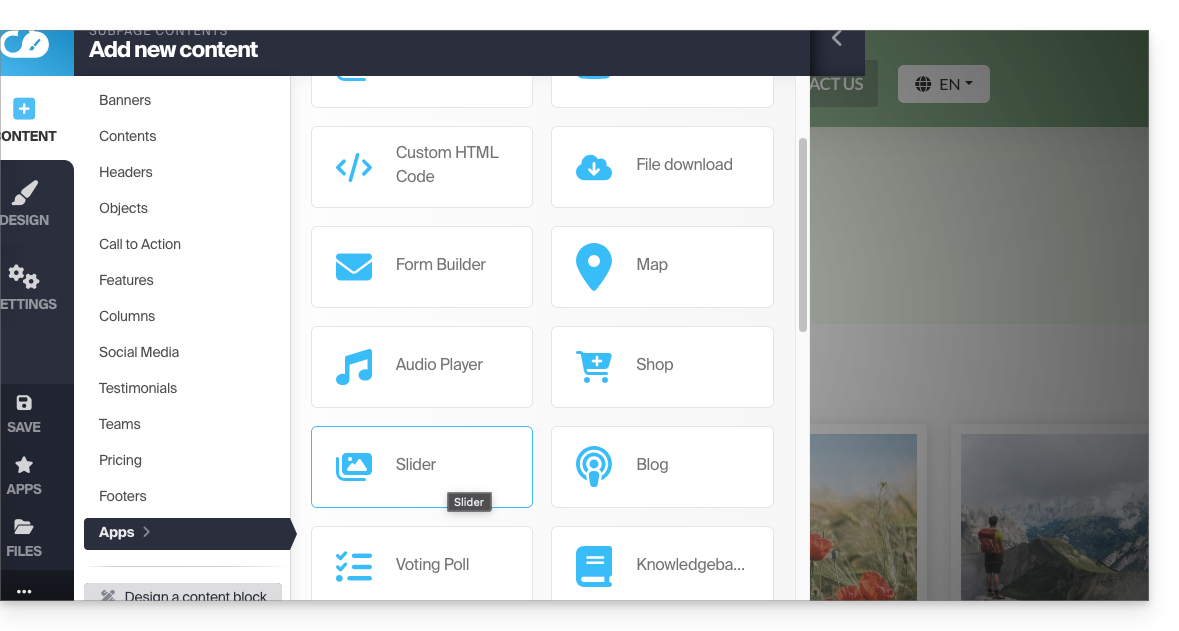
- Select the Slider you created to insert it on the page:
Link to this FAQ: https://faq.infomaniak.com/2725
Has this FAQ been helpful?