Knowledge base
1000 FAQs, 500 tutorials and instructional videos. Here, there are only solutions!
Manage content blocks in Site Creator
This guide concerns content blocks, which are one of the most important elements of Infomaniak's Site Creator.
Introduction
- Content blocks allow you to easily create content on your pages.
- There are all kinds of blocks available, including separators, price lists, site maps, and simple text or image blocks, etc.
- They are generally preconfigured to make it easier for you to get started.
Adding a content block
Prerequisites
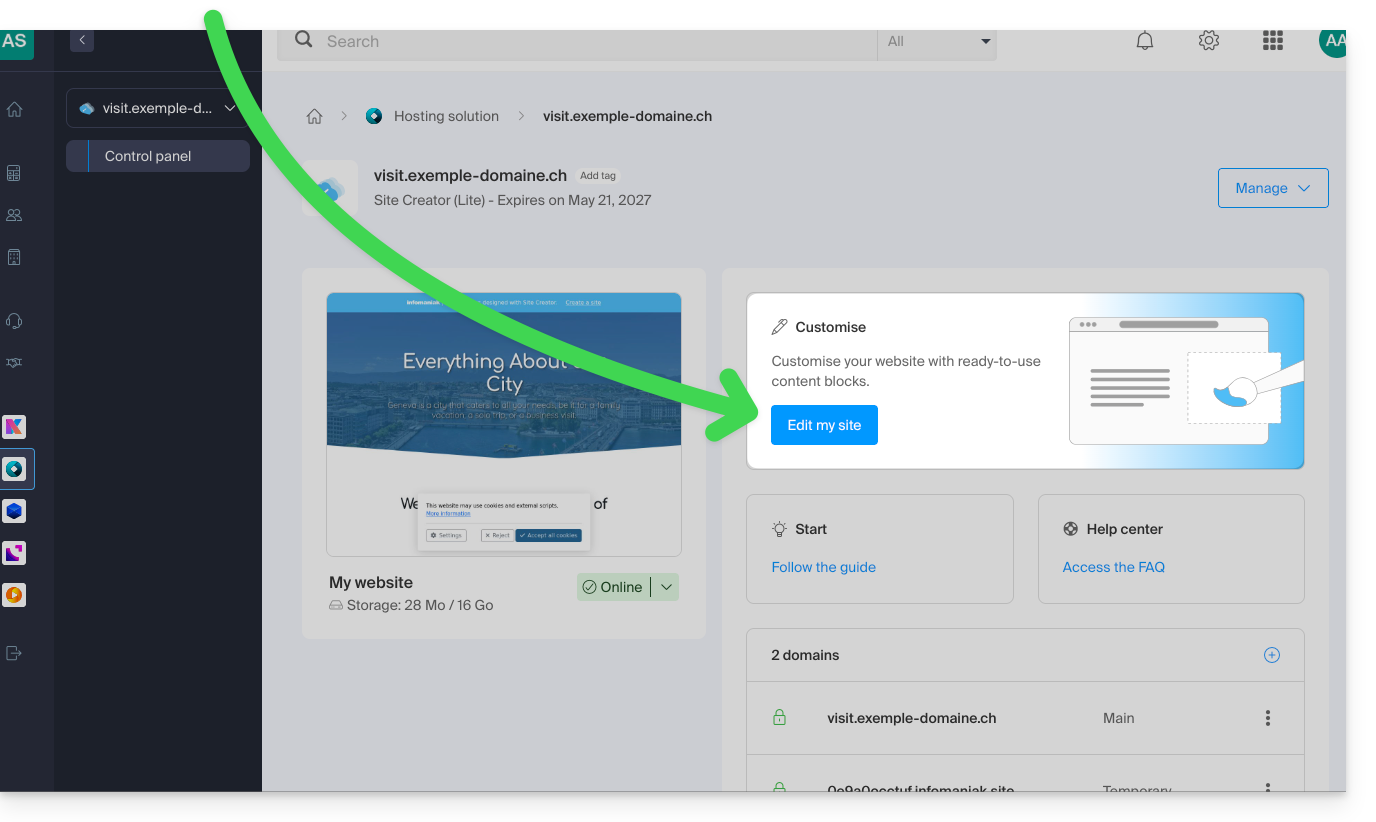
- Access Site Creator:
- Click here to access the management of your product on the Infomaniak Manager (need help?).
- Click directly on the name assigned to the Site Creator in question.
- Click on the Edit my site button to start the editor:
Once in Site Creator:
- Click on the Content button in the left-hand menu: the list of blocks will appear.
- Choose the desired category on the left, then the desired content on the right.
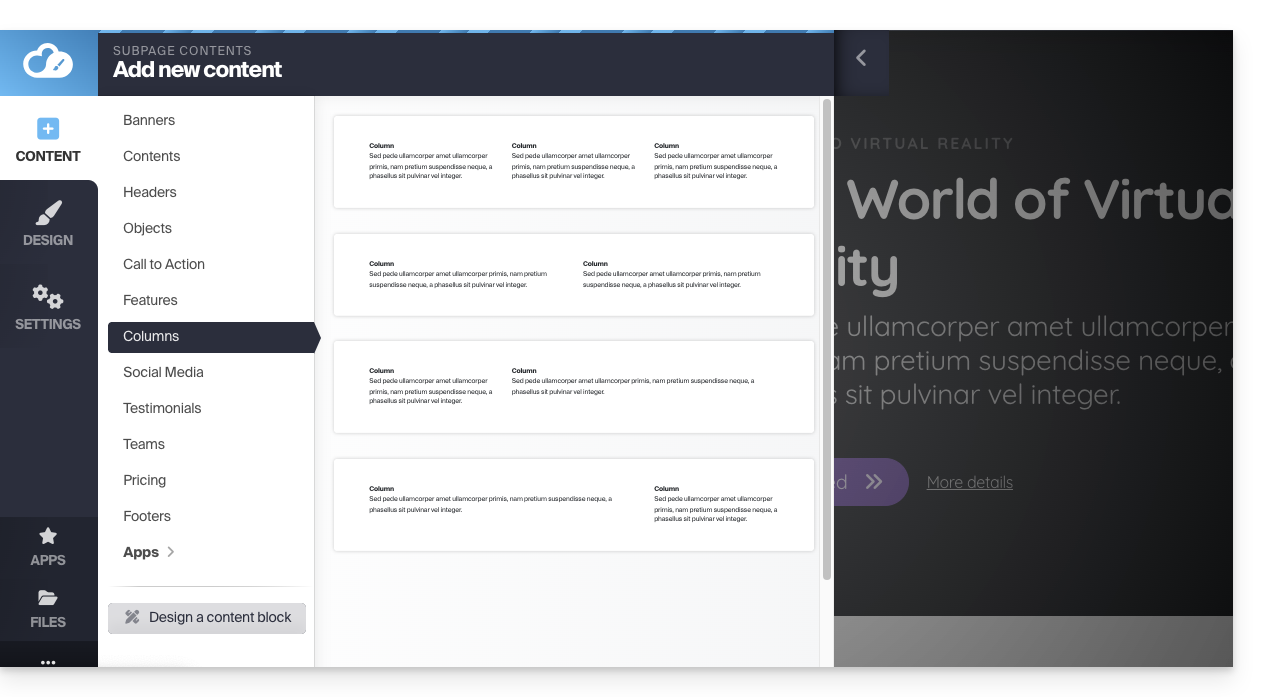
By clicking on the desired content, you will add it to the page you were editing.
Another option: go directly to the page and hover over the space above or below an existing block: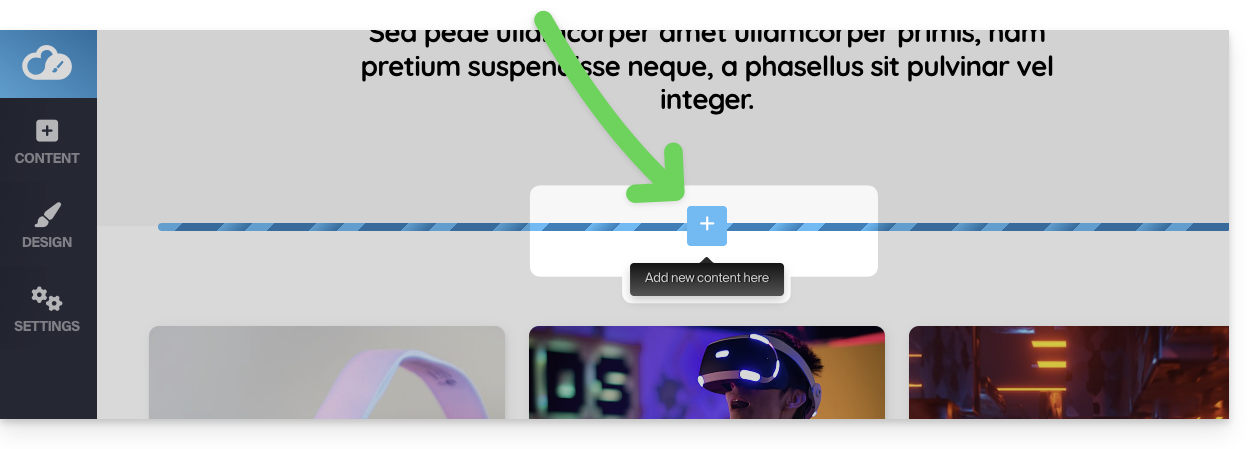
Delete a content block
Hover over the block to be deleted on your page and click on the trash can that appears when you hover over it: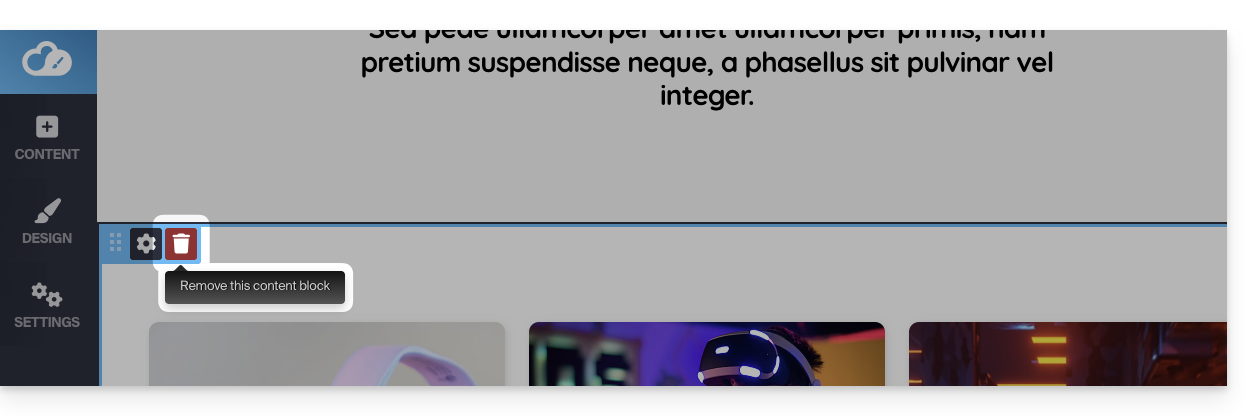
Confirm the deletion and it will disappear.
You can undo this type of operation.
Duplicate a block
Hover over the block to be duplicated on your page and click on the gear icon that appears when you hover over it.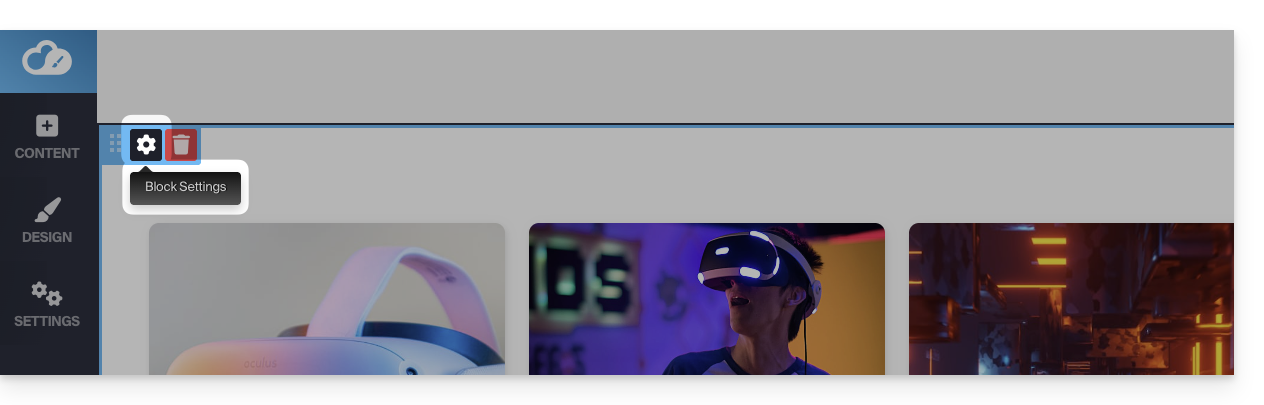
Then, choose the desired location for its duplication: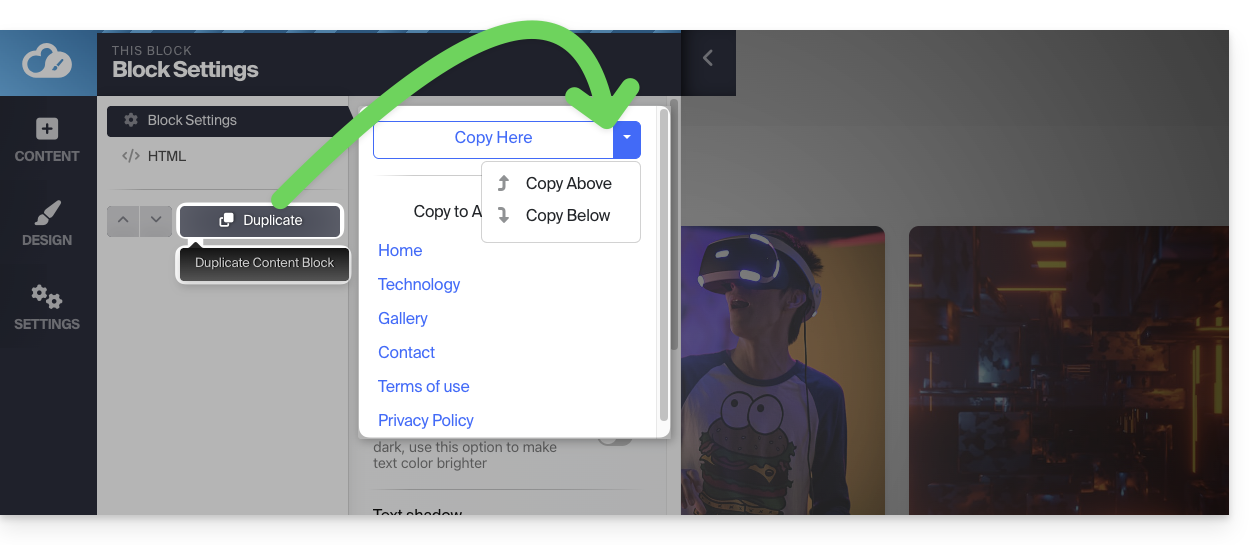
Edit a content block
Each editable element of the content block will be highlighted when you move your mouse over it. Simply click on one of these elements to start editing.
In addition, you can edit the HTML code (recommended for advanced users only) if you need more control over any content block; this allows you, for example, to insert an HTML code for subscribing to the Infomaniak Newsletter.
You can also delete certain elements from your content blocks: when editing text, there is the "arrow to the right" button that displays more options and the Delete button: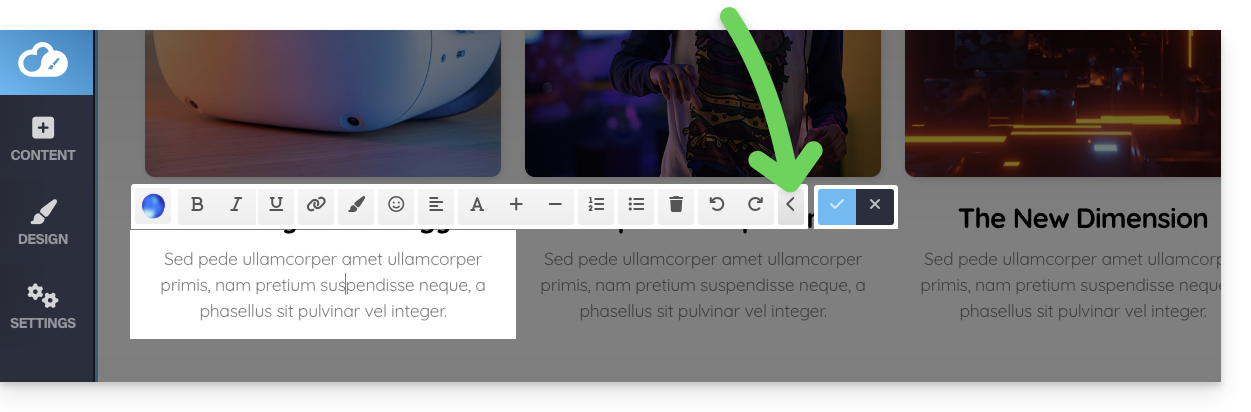
To edit an image, click on it and a new window will appear. In the lower part, there is the Save button on the right and the red Delete button on the left: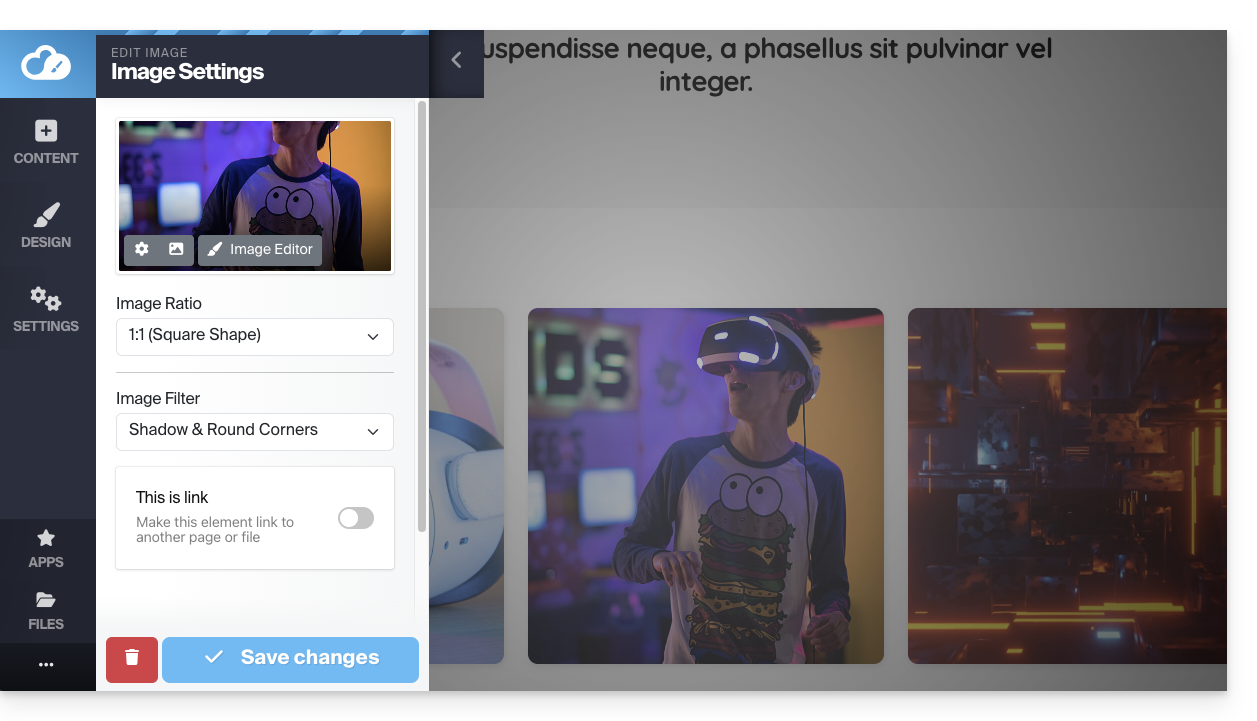
Create a content block template
In the left sidebar, under the content that can be added to your page, you will find a button to Design a content block: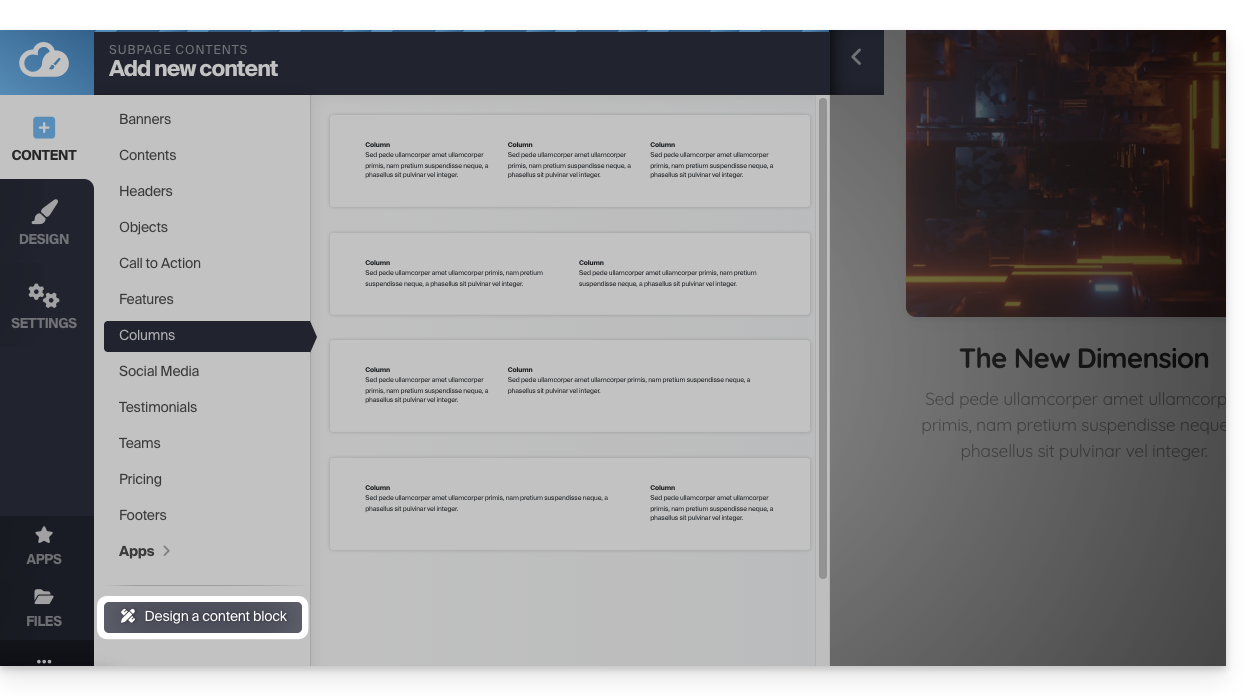
All the elements that make up the blocks are arranged on the left. You can drag them to your template block to design your ideal block. This will be inserted into your page by clicking on Apply changes at the bottom of the page: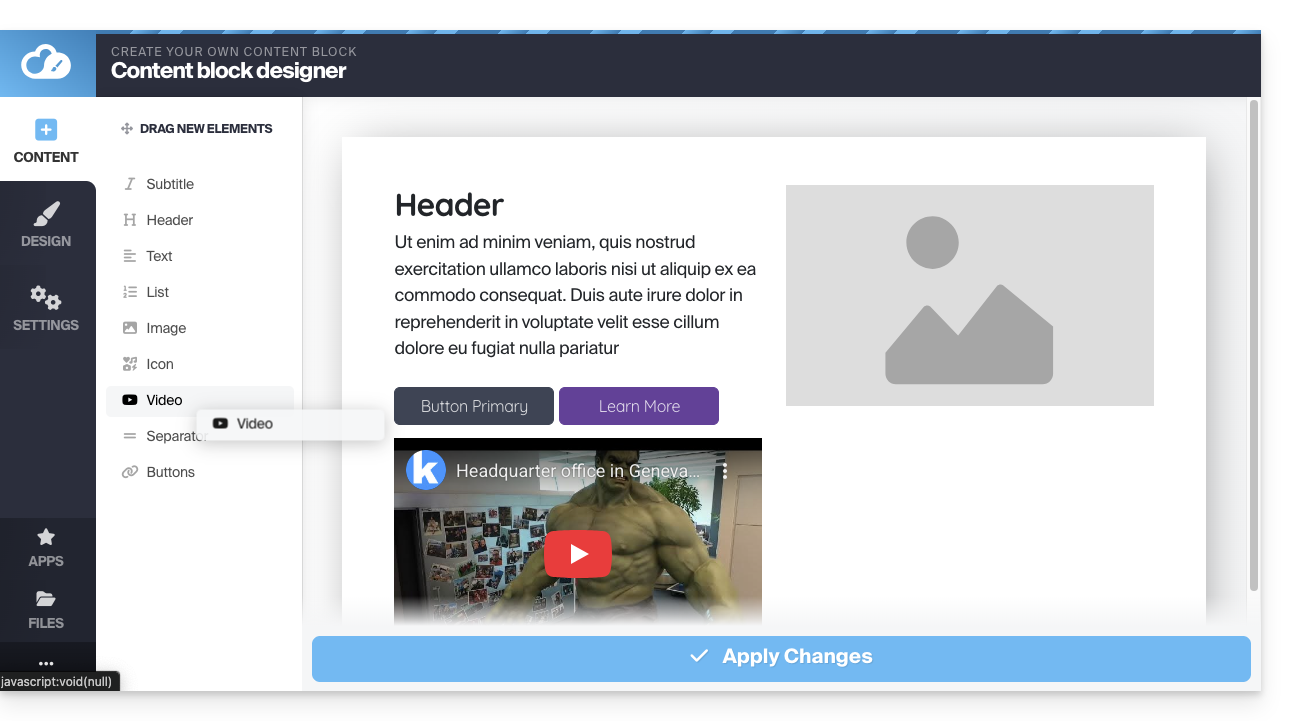
Modify the block margins
Hover over the content block to be modified and click on the gear icon:
Scroll through the settings to Default block spacing and click on it to define your own settings: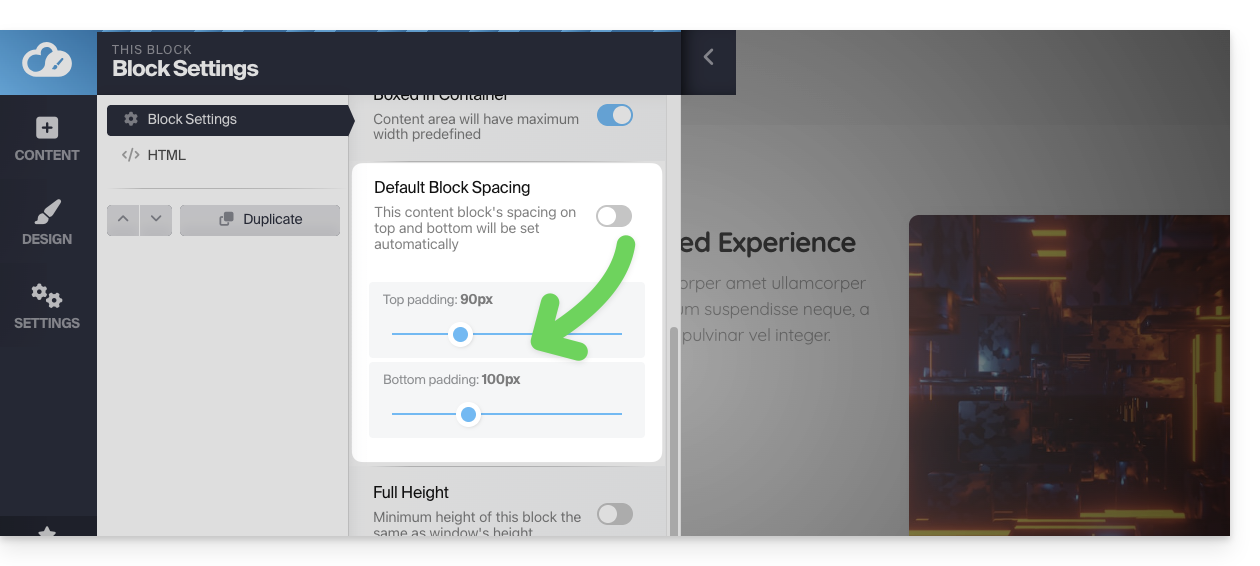
The settings cogwheel also allows you to change the background color or image of the block: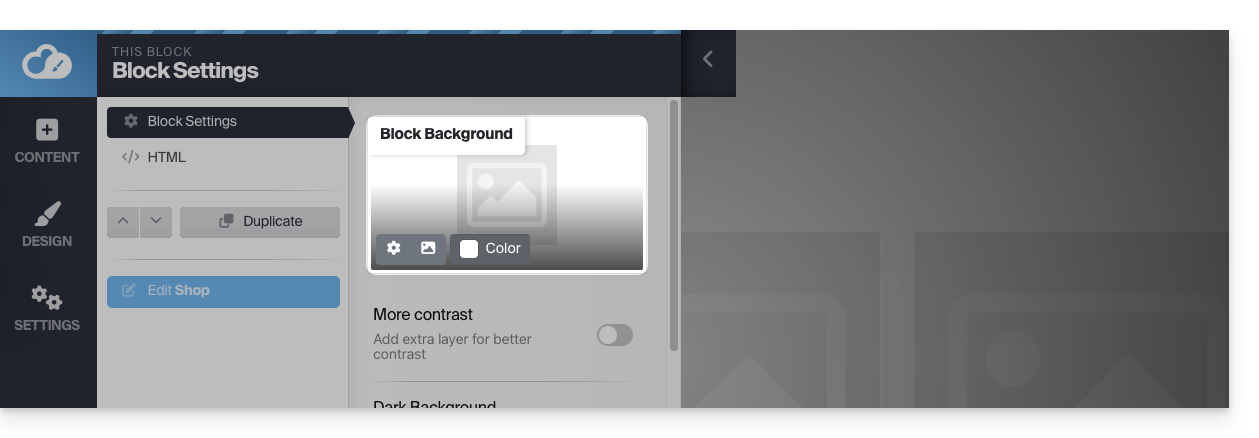
Move a block up or down
The content of your page is divided into "blocks". You can add more blocks and rearrange them.
Hover over the content block you want to move, then click on the dots area in the upper left corner; hold down to move the block: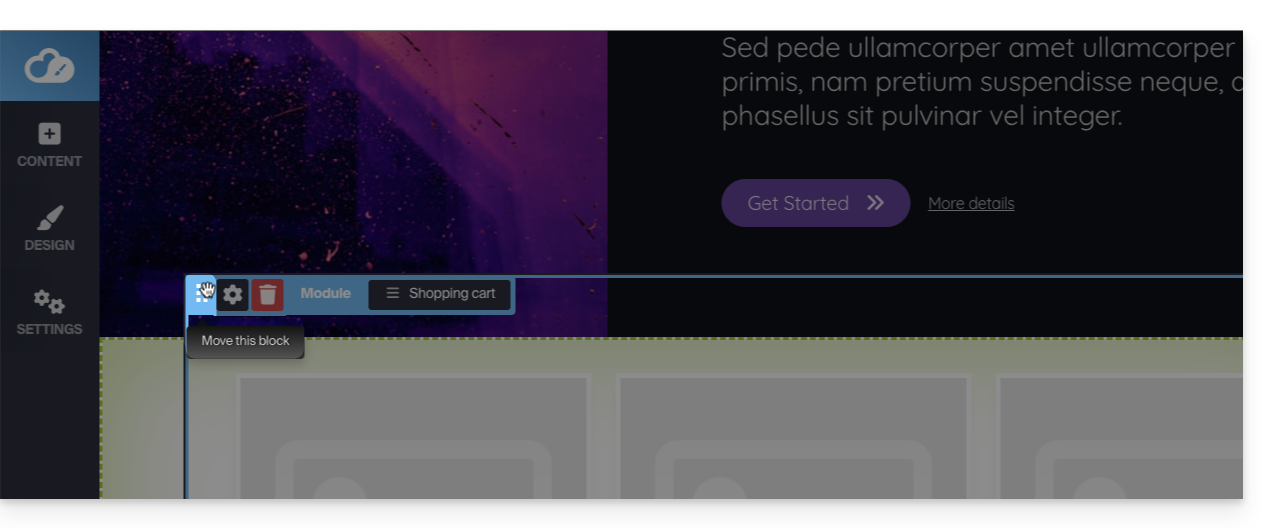
Create space between two blocks
To create horizontal space between content blocks, add a separator manually: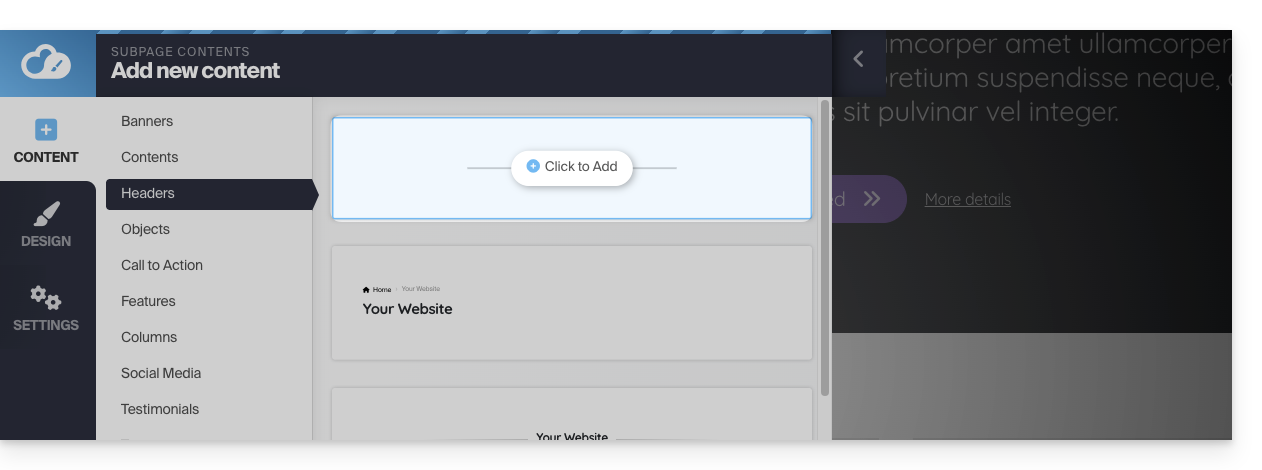
You can then define its color and size by clicking directly on the separator: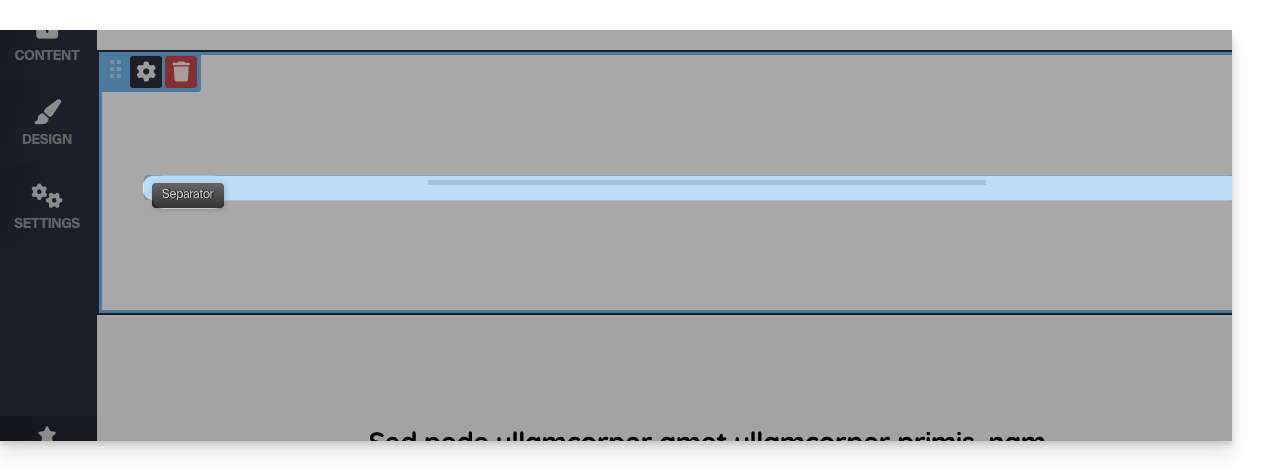
You can also "decorate" the top and bottom of a block in a more automatic way by activating the Decoration option when editing a block: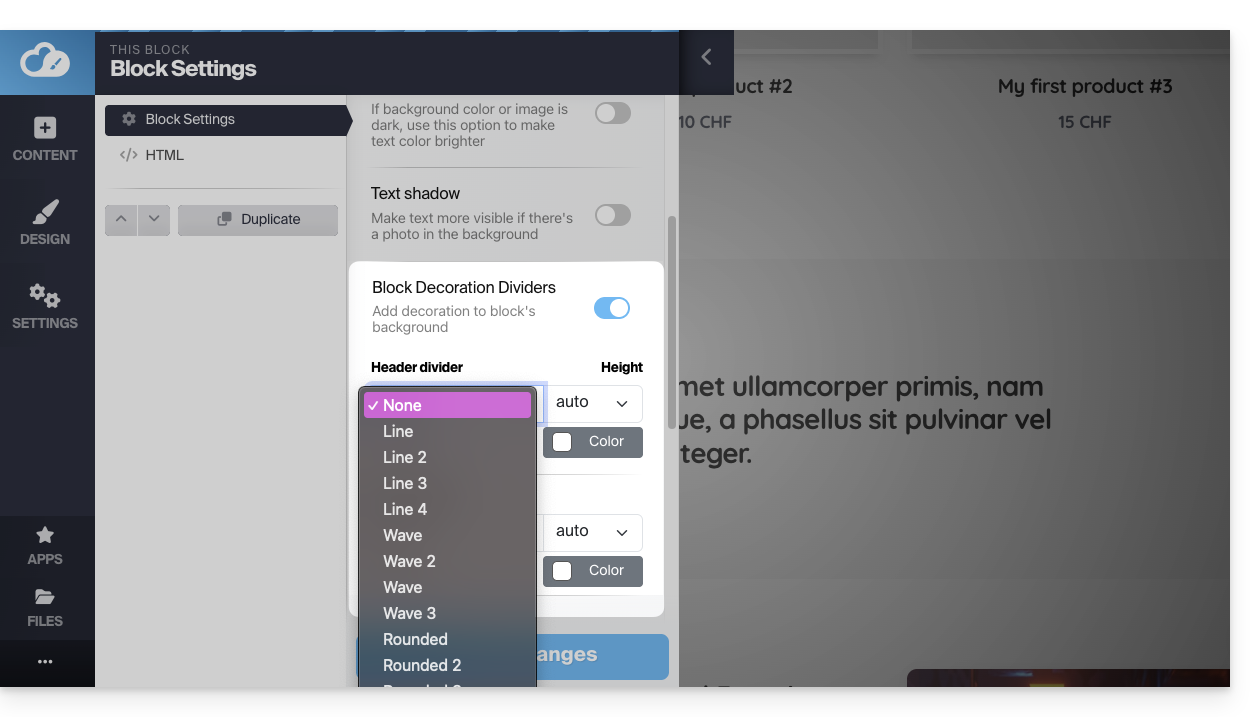
Link to this FAQ: https://faq.infomaniak.com/2708
Has this FAQ been helpful?