Knowledge base
1000 FAQs, 500 tutorials and instructional videos. Here, there are only solutions!
Set up a store on infomaniak.events
This guide explains how to set up the Infomaniak ticketing system by configuring a store whose public version will be published on the infomaniak.events portal.
Preamble
- The Infomaniak.events portal brings together events and activities both local and internationally renowned headliners.
A simple and quick online tool
To access the online ticketing options:
- Click here to access the management of your product on the Infomaniak Manager (need help?).
- Click directly on the name of the ticketing concerned.
- Click on Ticketing Portal in the left sidebar menu.
- Click on Online Store in the left sidebar menu.
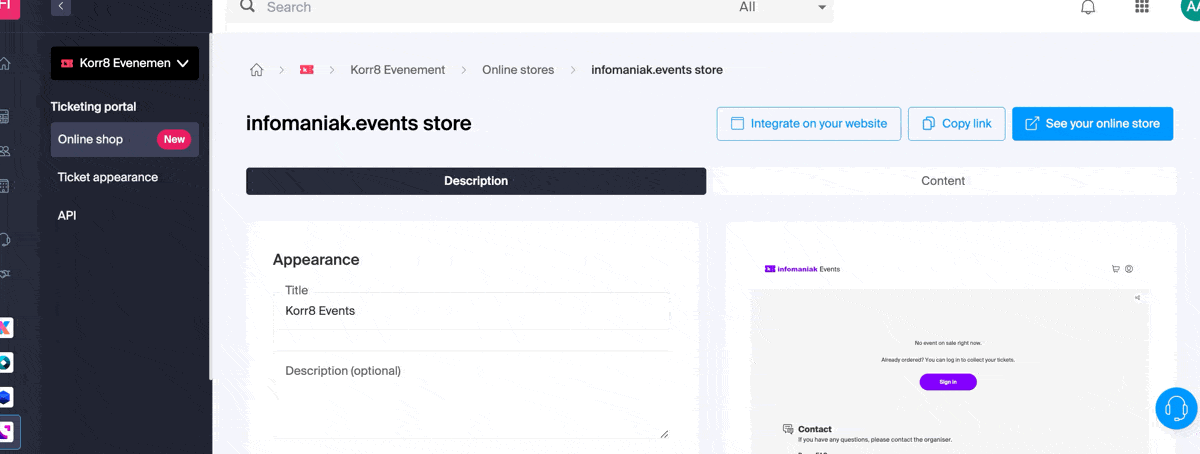
- Click on the Manage your store button:

Configure and publish the store
Personalize your online store with a custom image, your own colors, and by choosing the content of your store. You have two tabs available:
- The first tab allows you to customize the display settings of your online store:
- Customize the ticketing here, change the colors, add an image, etc.
Formats:1000 x 1414px, vertical image, and custom image:2500 x 1000px - The changes are directly visible in real-time:

- Customize the order of each category and click on the action menu ⋮ located to the right of the item concerned to rename them if necessary.
- Advanced settings allow you to define the payment methods available in the store and to activate and customize the message displayed when there are no tickets for sale:

- Customize the ticketing here, change the colors, add an image, etc.
- The second tab allows you to define the content that will be displayed, such as events, passes, or gift vouchers:
- Decide on this tab what will be available for sale in your store.
- If you do not need to manage each item, you can of course simply choose the first option to display all content.
- You can also choose to limit the display of events based on a specific location.
- Or choose each content individually.

Once configured, your main store will be directly published on the infomaniak.events portal if you leave the option enabled.
Do not publish on Infomaniak.events
If you do not want the event to be published on the infomaniak.events portal, enable the option at the bottom of the first tab to keep the store private:
- This is useful for personal events, such as birthdays or weddings, or events whose ticket sales should not be available to the general public, such as specialized conferences.
Retrieve the integration links
Once your event is published, it will be published directly on infomaniak.events so that all visitors can directly buy tickets.
You can also place a link directly on your website, share it on social media, or retrieve it to generate a QR code for your posters: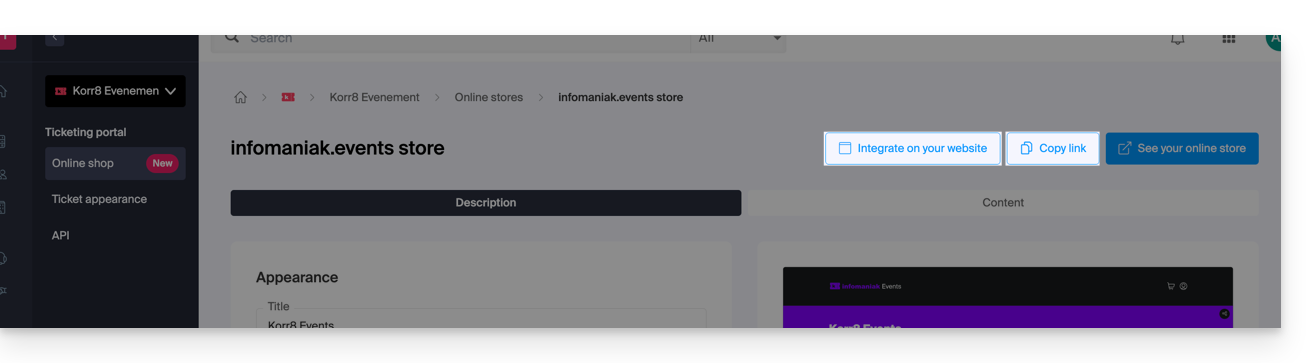
Display only the checkout tunnel
The buttons in the top right of your store page also allow you to retrieve the script link for integration on your site:
An option forces the visitor to stay on an event until the end of their order (once the option is enabled, the shopping cart is no longer shared between different events and the checkout tunnel leads the customer to the payment page without allowing them to purchase other tickets from the rest of your events).
Advanced integration
If you want multiple custom links, or to inject HTML, JS code, or use an external CSS, you will need to use a custom store. Refer to this other guide on the subject.
Link to this FAQ: https://faq.infomaniak.com/2688
Has this FAQ been helpful?