Knowledge base
1000 FAQs, 500 tutorials and instructional videos. Here, there are only solutions!
Create a new email address
Update 03/09/2026
This guide explains how to create an email address from the Infomaniak Mail Service, the powerful and secure solution for hosting your email addresses.
Preamble
- To create multiple email addresses in bulk, refer to this other guide.
- To delete one or more email addresses, refer to this other guide.
Create an address on a Mail Service
Prerequisites
- Have a Mail Service on your Infomaniak Manager.
- Be Administrator or Legal Representative within the Organization.
- Have a quota of available addresses or adjust it in advance if necessary.
Next, to create a new email address:
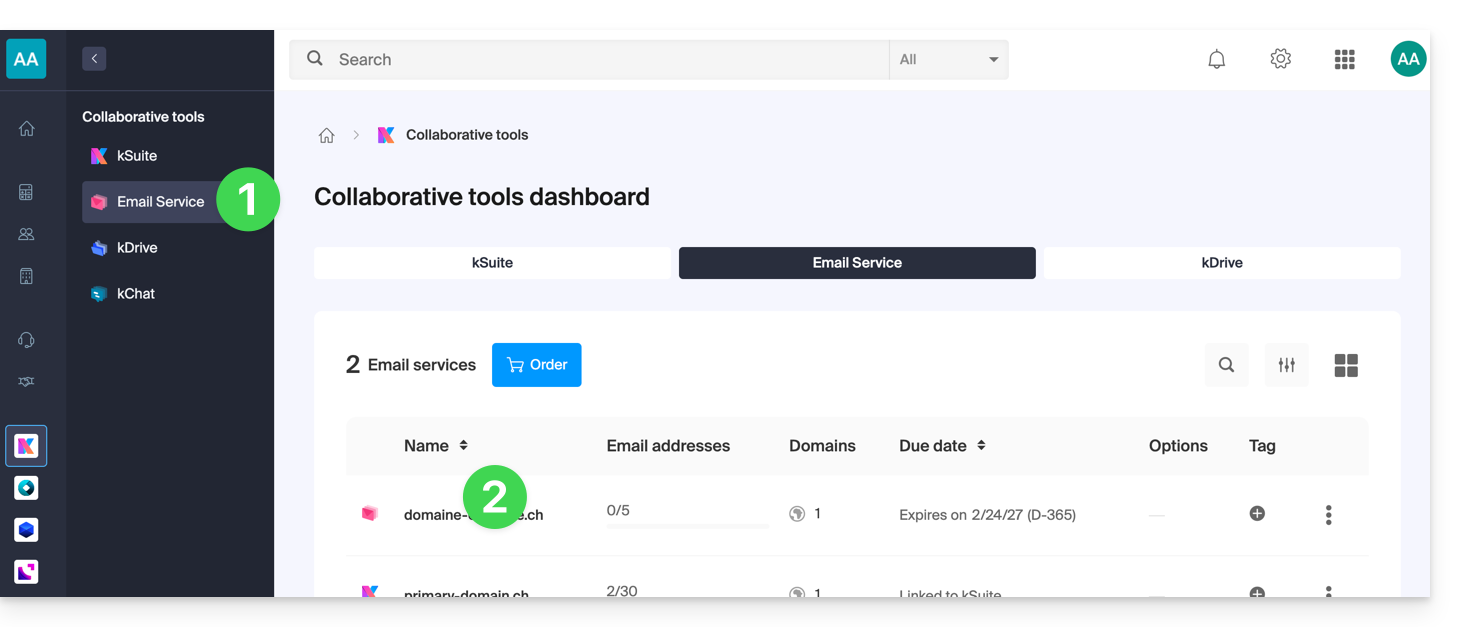
- Click here to access the management of your Mail Service on the Infomaniak Manager (need help?).
- Click directly on the name assigned to the Mail Service concerned:
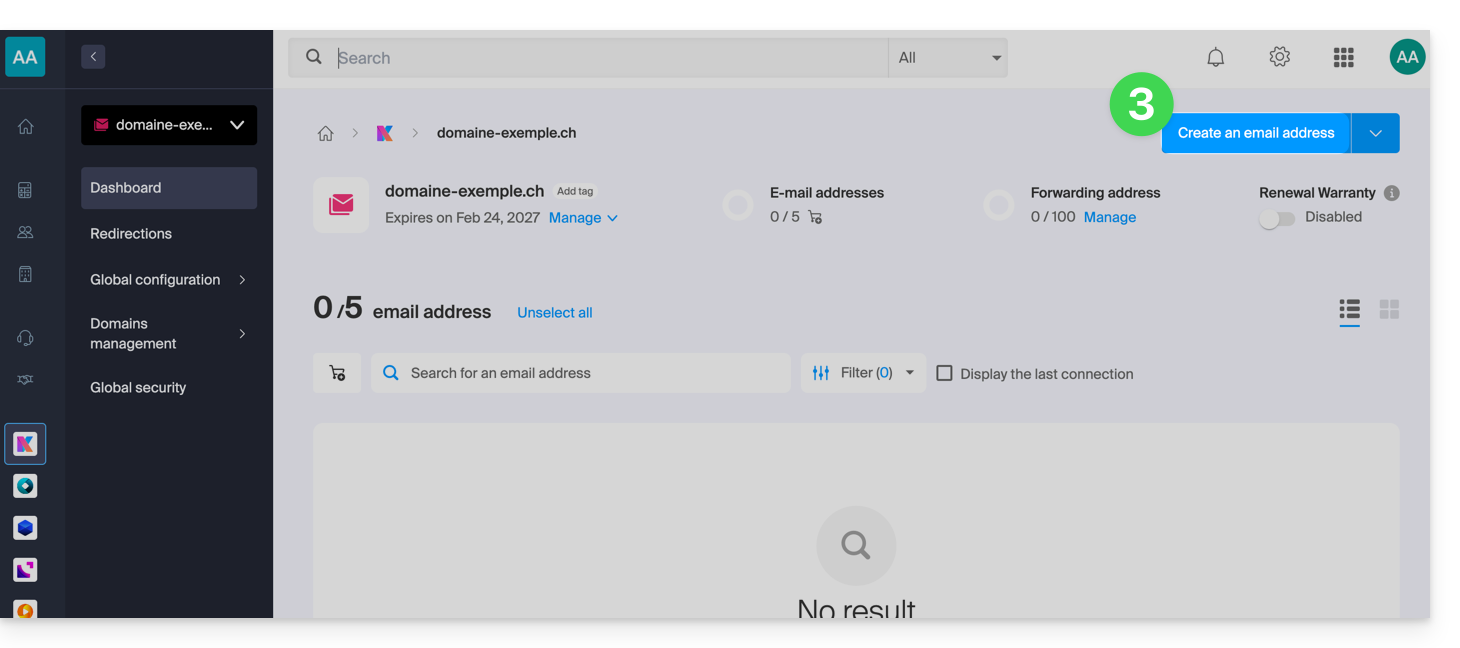
- Click the blue button Create an email address at the top right:
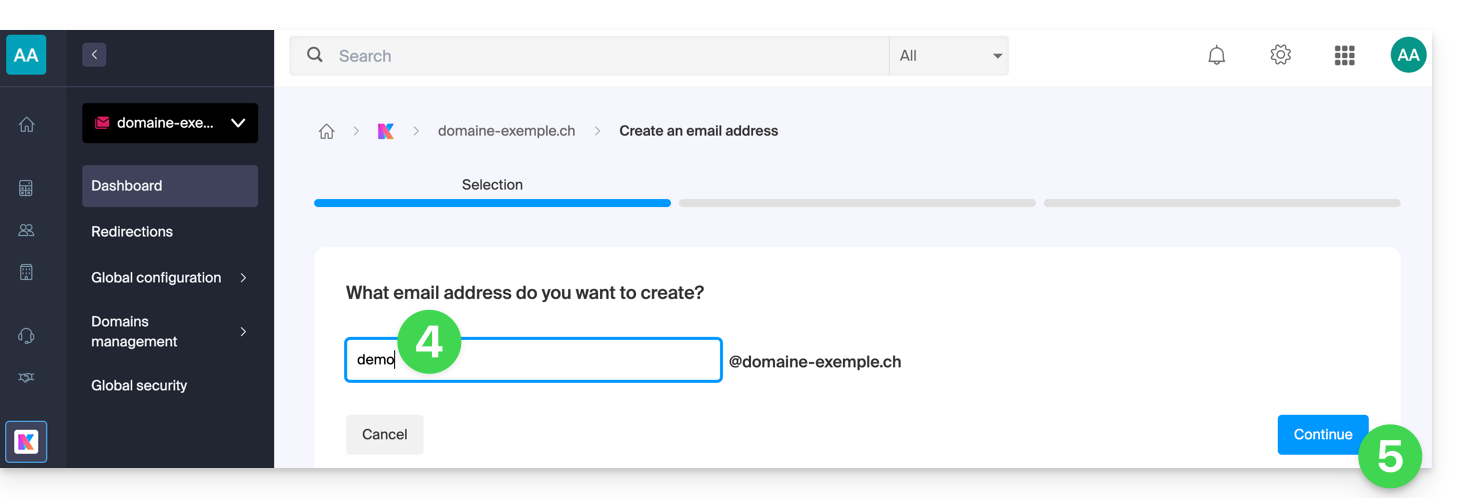
- Enter the name that will compose the email address.
- Click the button to continue:
- Select the creation mode suitable for your situation:
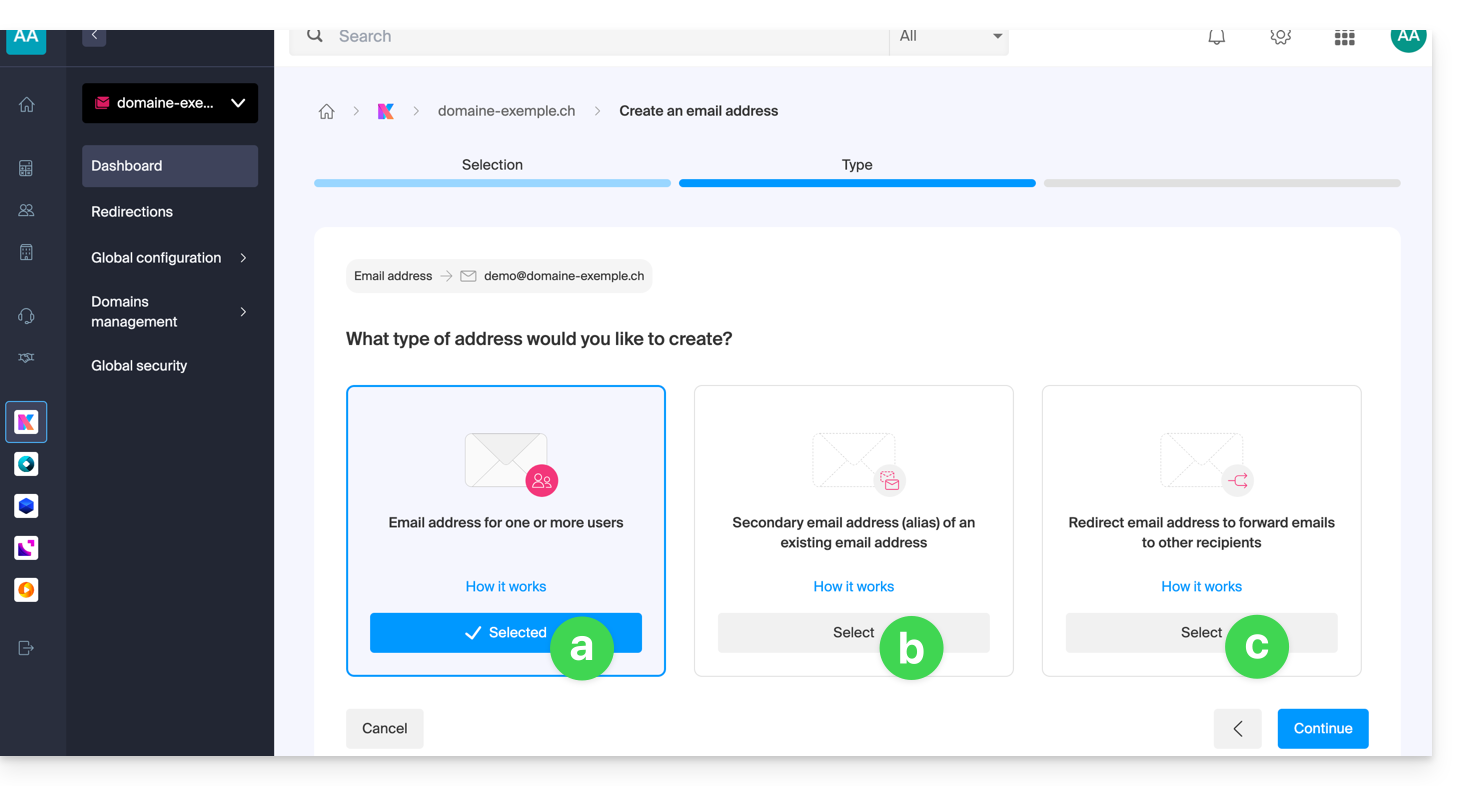
An address for you or other users [ ☍ ]
- Example: make the address directly visible on your Mail interface, or send invitations so that others can use it.
A secondary (alias) address [ ☍ ] that will not be deducted from the main quota
- Requires having a first email address, to which the new designation will be attached.
An address used only to redirect emails [ ☍ ] that will not be deducted from the main quota
- You will not be able to send messages from this address, but only forward incoming emails to the existing address of your choice.
- Click the button to continue after making your choice.
Additional actions (button )
Click on the chevron to the right of the Create an email address button to access additional actions: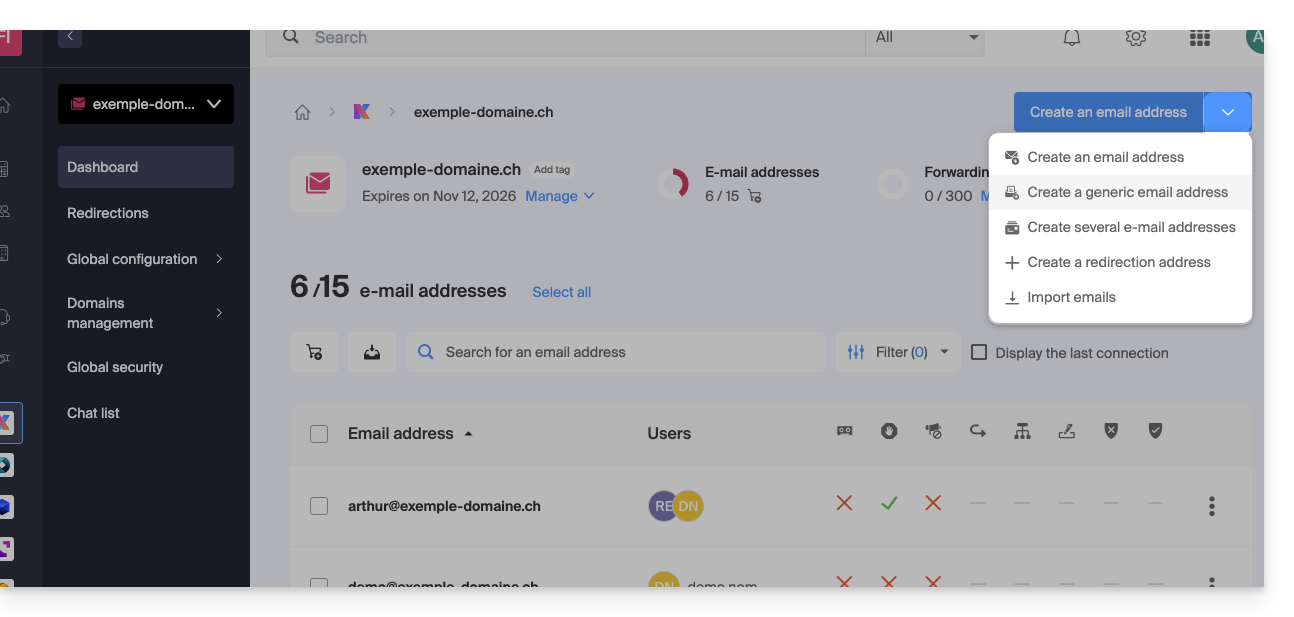
- Create a generic email address of type:
- no-reply (for sending confirmations, validations, invoices, etc.)
- catchall (allows receiving all messages for which there is no specific email address on your domain)
- Create multiple email addresses: allows you to create multiple email addresses at once using a
CSVfile. - Create “virtual” addresses used for redirection.
- Import content from other email addresses.
Link to this FAQ:
Has this FAQ been helpful?