Knowledge base
1000 FAQs, 500 tutorials and instructional videos. Here, there are only solutions!
Enable two-factor authentication (2FA) for Infomaniak account logins
This guide explains how to enable two-factor authentication to secure your Infomaniak account login (and therefore access to kSuite tools, hosting, etc.).
Introduction
- This two-step validation, also known as multi-factor / two-factor authentication (2FA), protects access to your Infomaniak account by:
- the password of your choice
- and a second method of identity verification, such as a code obtained on your mobile device.
- If a malicious person were to decipher or steal your password, they would still need a validation code that only the legitimate user can obtain on their mobile device.
- Refer to this other guide if you are an administrator of an Organization and want to enforce 2FA for all users who have not yet enabled it.
Enable two-step validation
To increase the security level of your Infomaniak account:
- Click here to log in and access the two-factor authentication management on the Infomaniak Manager.
- Once logged in, you can choose a 2FA method:
- the Infomaniak Authenticator app for iOS / Android devices
- another method
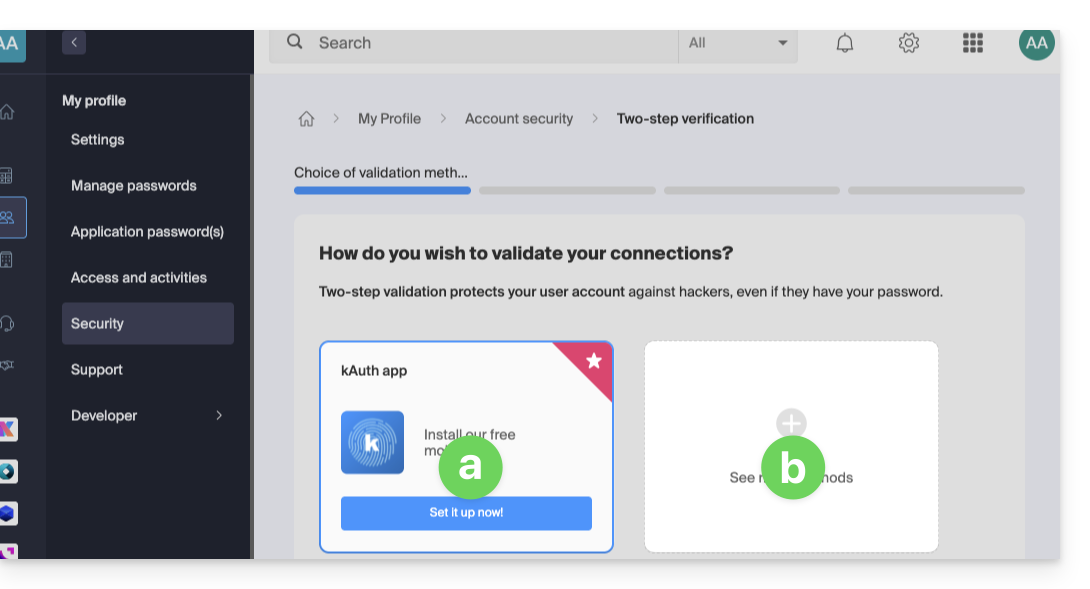
Choose the validation method
In section a above, you can download and configure the iOS / Android app Infomaniak Authenticator (please refer to this other guide for more information):
- It allows you to receive a push notification YES / NO to authorize or deny login to your Infomaniak account.
- It also generates a one-time use code, including offline, to allow login.
- If another Infomaniak app (Mail, Euria, kDrive, etc.) is installed and your user ID is also connected to it, the authorization request will be made through that app; please refer to this other guide for more information.
In section b above, you can choose to configure another method from the following: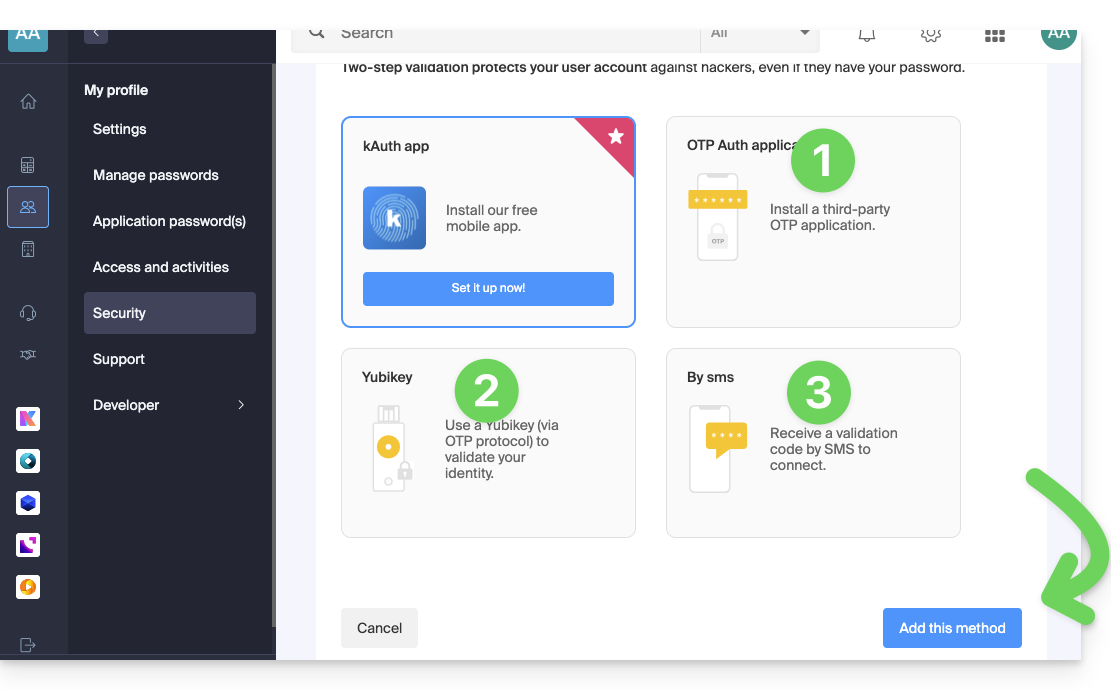
- any OTP application (such as Authy, for example) to obtain a one-time use code,
- YubiKey (from Yubico); please refer to this other guide for more information,
- SMS (only for CH / FR / BE / DE countries) to obtain a one-time use code.
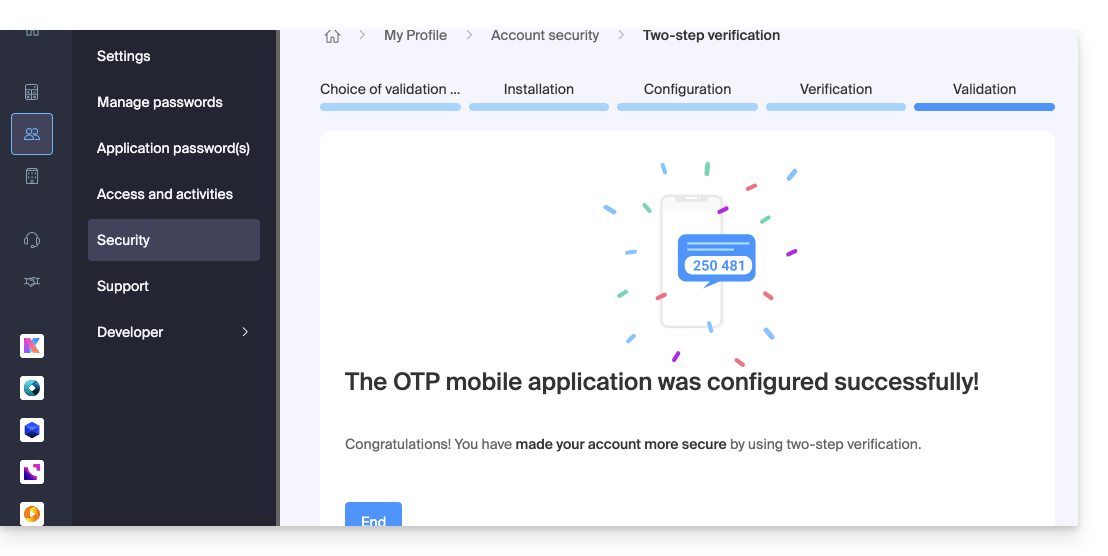
Then, click the button to add the method and follow the information displayed on the screen to complete the configuration.
In all cases, carefully note the backup codes offered for download after each configuration: download and keep a copy of these codes in a safe place, as they will be the only way to access your account if you lose your credentials or to access your account without access to your phone.
Be careful with existing synchronizations
Once two-factor authentication is enabled, to access certain tools (such as CardDAV/CalDAV synchronization), it is necessary to create application passwords.
There is no need to call Infomaniak, as they do not have any of your codes or passwords. For any assistance with 2FA, please refer to this other guide.
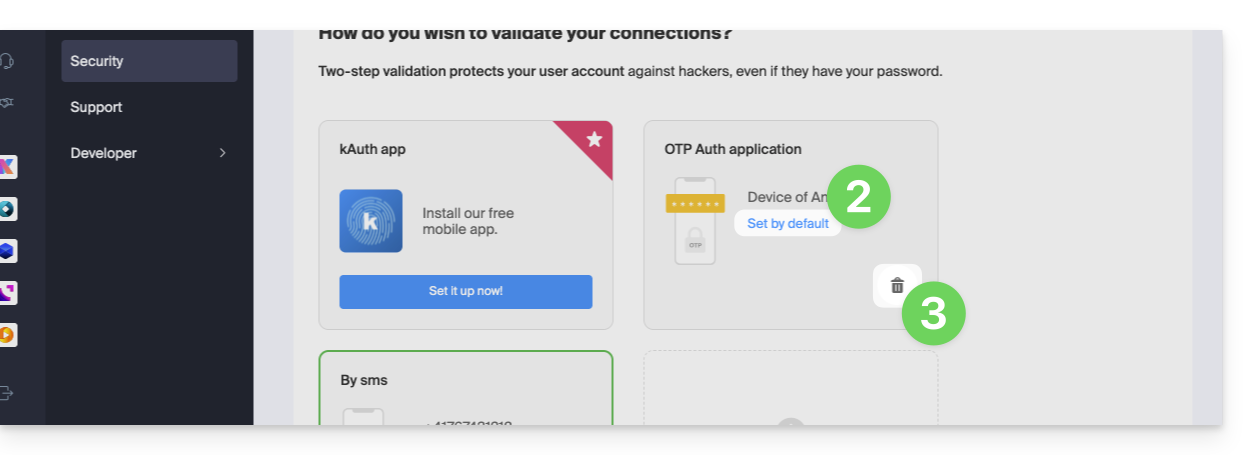
Change the default option or remove one
If you have enabled multiple validation methods (SMS, OTP application, etc.), you can define which one will be offered by default during each login.
However, note that the default method will remain the validation in the Infomaniak app installed (Mail, kChat, kDrive, etc.) on your devices.
- Click here to log in and access the two-factor authentication management on the Infomaniak Manager.
- Click the button to set it as default.
- Click the trash can to remove and no longer offer the selected method:
To completely disable 2FA, please refer to this other guide.
Require authentication each time the browser is opened
To prevent cookies from being saved when closing browser windows, and therefore require authentication each time you access the Infomaniak Manager when you restart the browser…
… on Chrome
In the Google Chrome settings (chrome://settings/content/siteData – paste this into the address bar, or refer to the official documentation), specify the address [*.]infomaniak.com: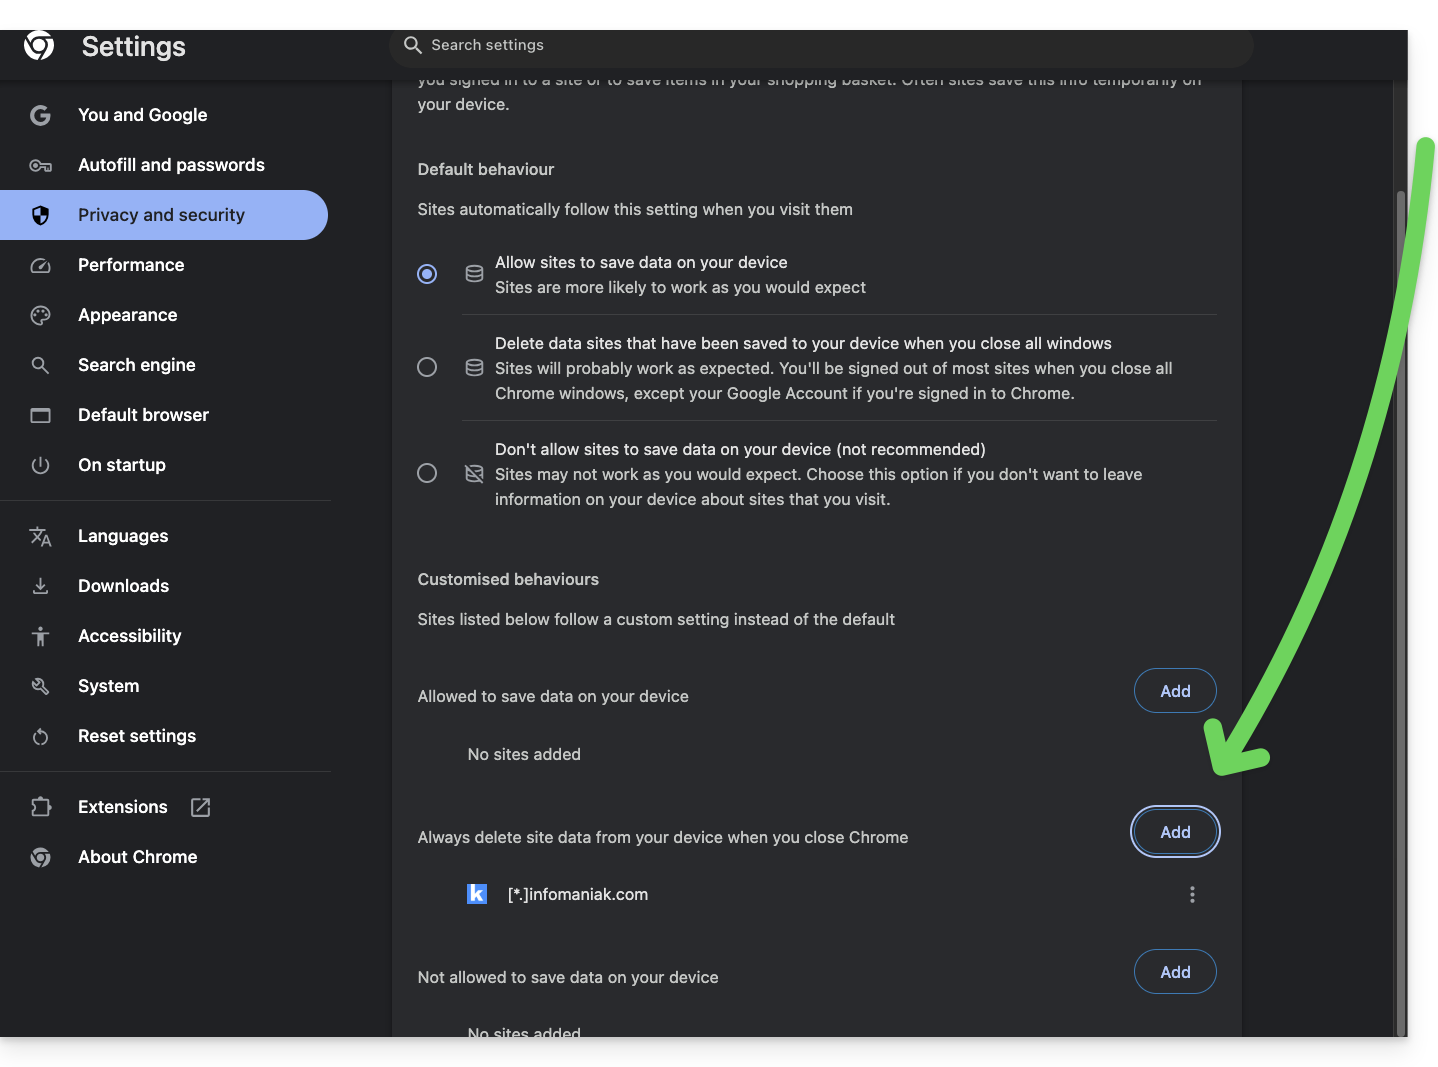
Link to this FAQ: https://faq.infomaniak.com/1940
Has this FAQ been helpful?