Knowledge base
1000 FAQs, 500 tutorials and instructional videos. Here, there are only solutions!
Group contacts on the Infomaniak Contacts Web app
This guide details the possibility of grouping contacts within Infomaniak address books of the Infomaniak Web app Contacts (online service ksuite.infomaniak.com/contacts).
Introduction
- Creating a contact group makes it easier to reach them.
- This also facilitates the sending of emails intended for a specific type of contact.
Form the group
To manage contact groups:
- Click here to access the Infomaniak Web app Contacts (online service ksuite.infomaniak.com/contacts).
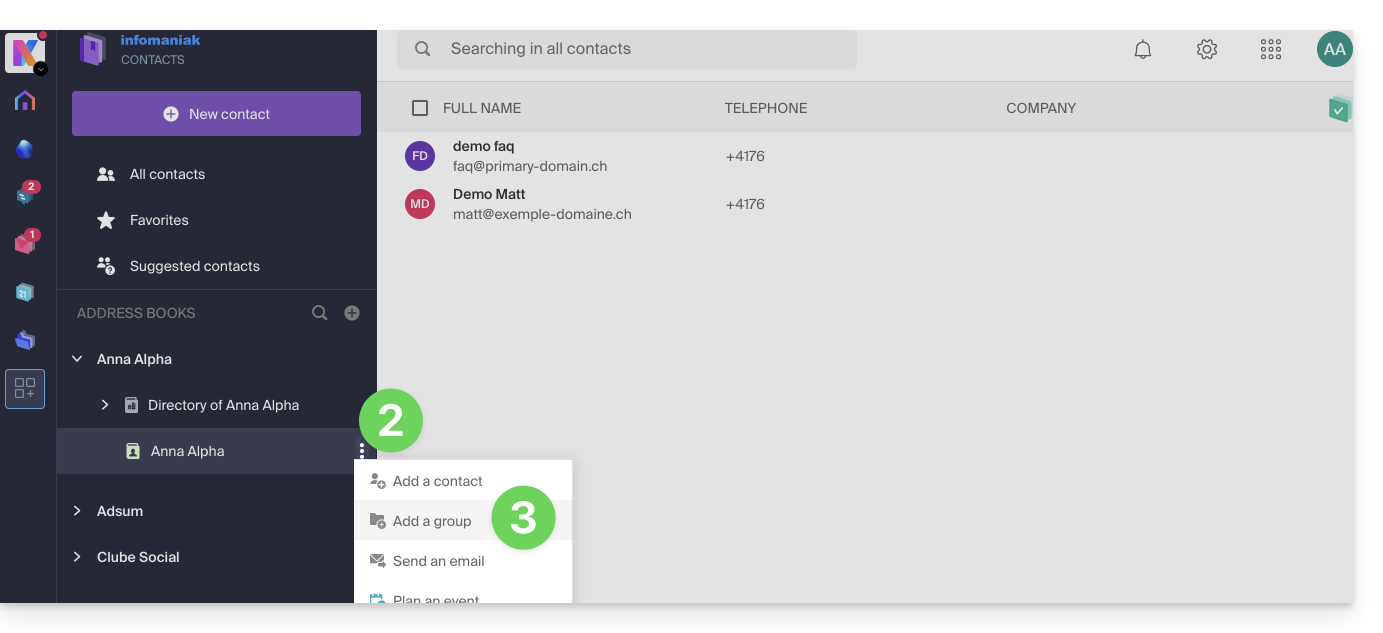
- Click on the action menu ⋮ located to the right of the address book concerned.
- Click on Add a group:
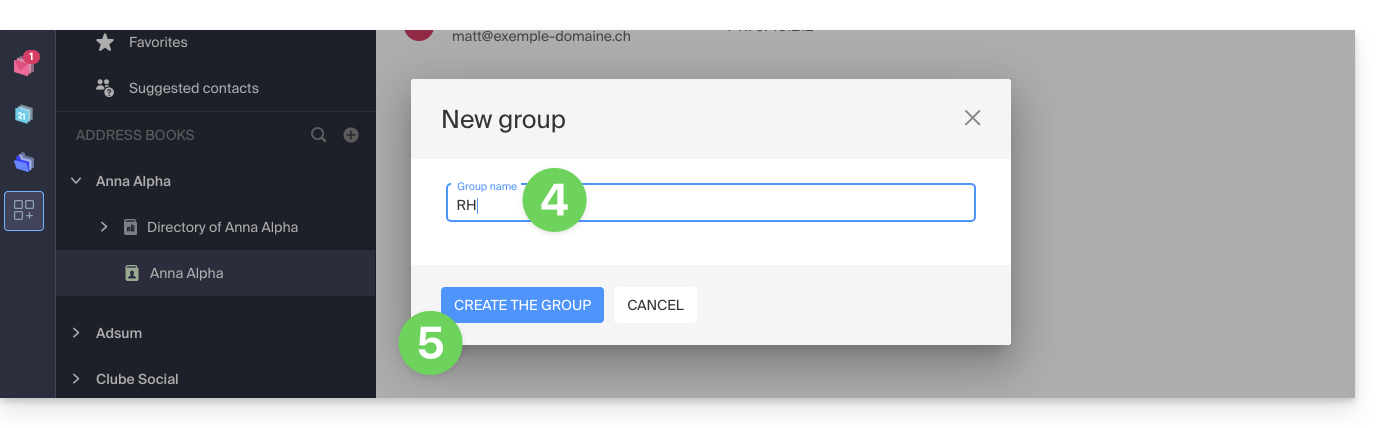
- Enter the group name.
- Click the blue button to validate (and thus create automatically the “folder” with the name of the group chosen, as well as a second mandatory “folder” that will group all contacts that will not be classified in your new group, called “Contacts without group”):
- From the main address book or from “Contacts without group”, drag/drop the contacts that should be associated with this new group:

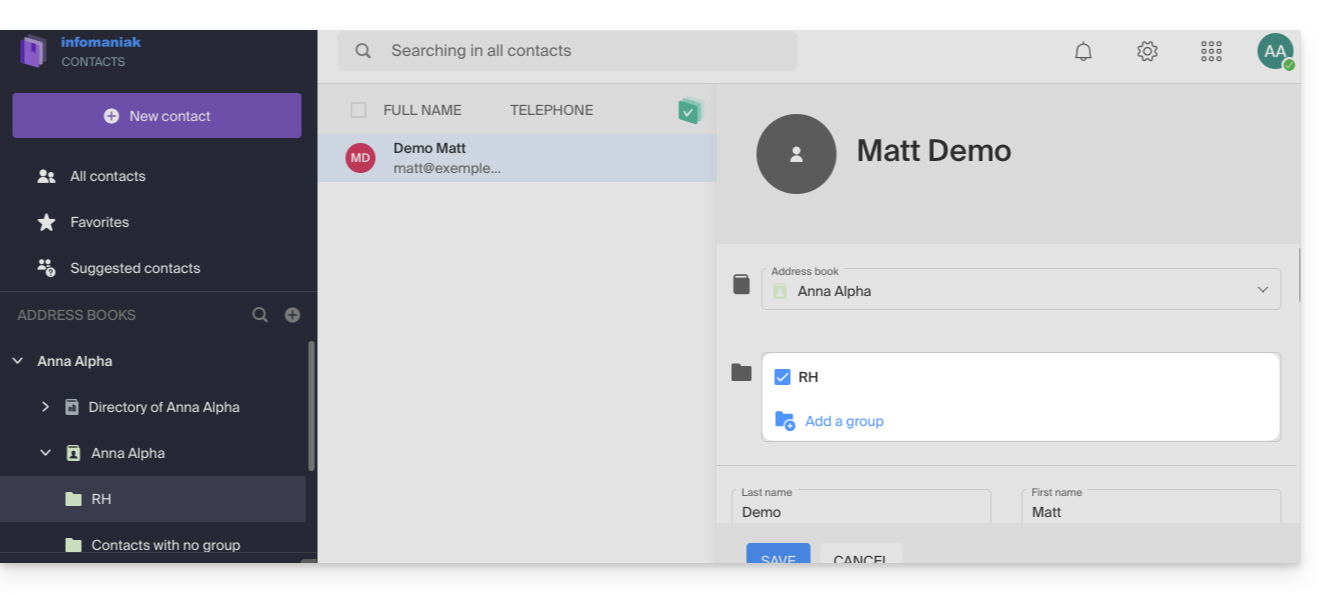
- You can also assign membership to one group or another when editing a contact.
- To modify the membership of a contact to an address book or a group, you simply need to check/uncheck the corresponding boxes and save the changes:
Workgroups
If you have defined one or more workgroups…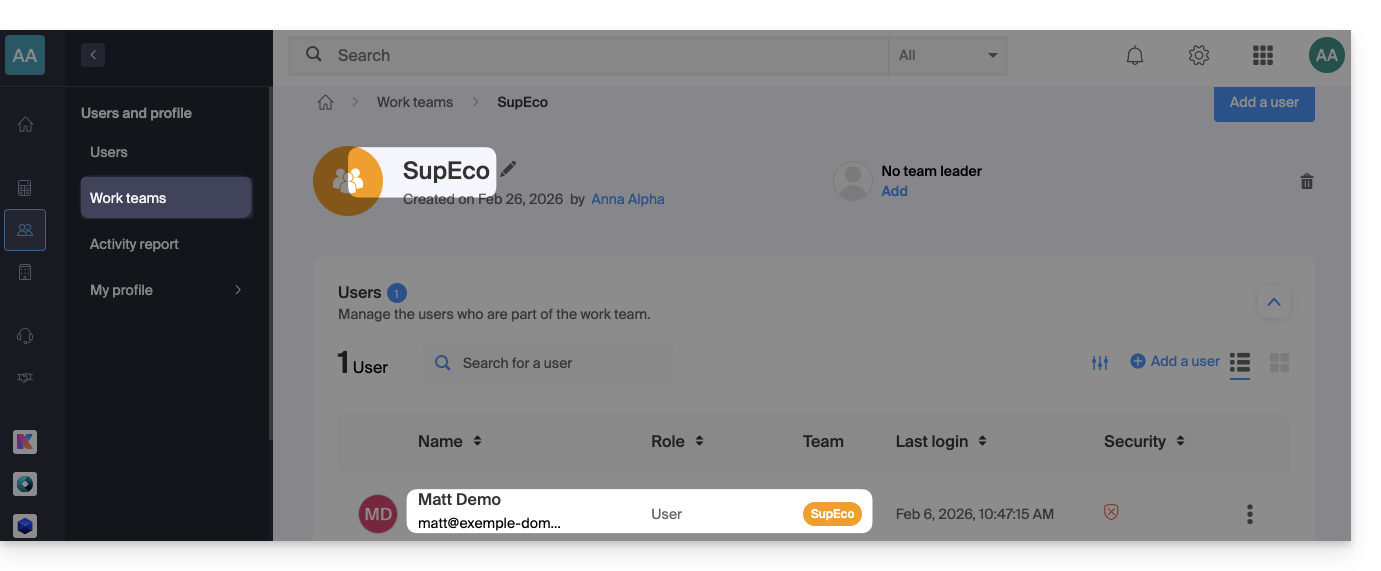 … then the users placed within them will be automatically visible in the Organization address books section:
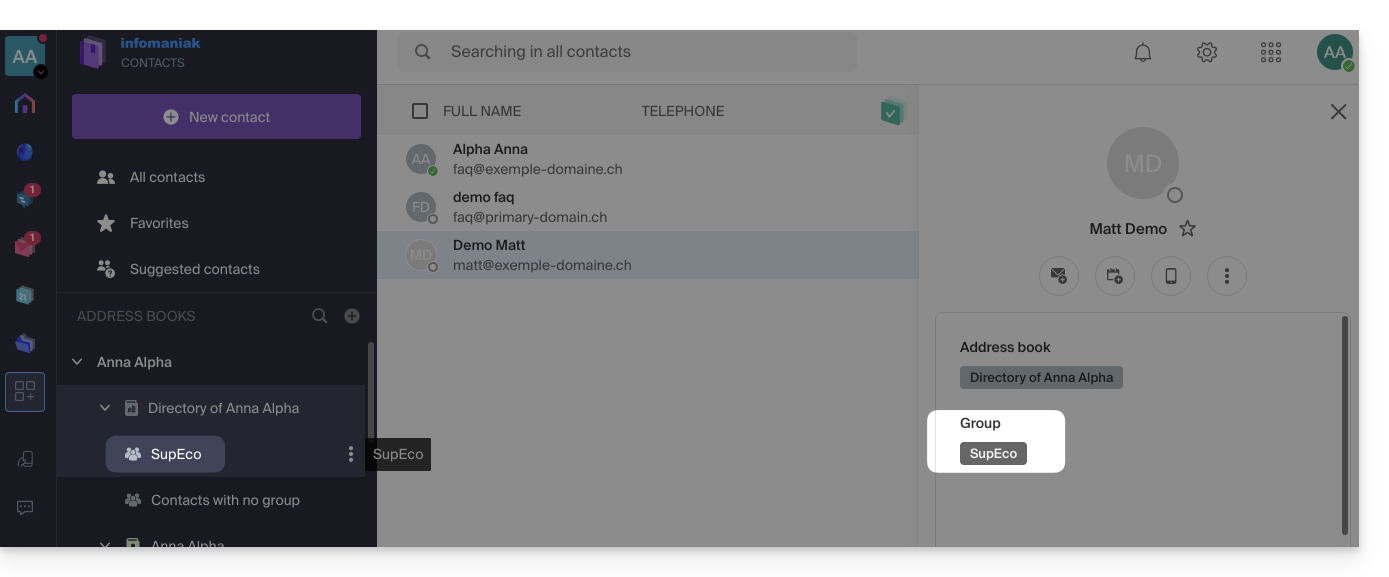
Delete a group with or without contacts
When you choose to delete a contact group, you can decide whether the contacts contained should also be deleted or not: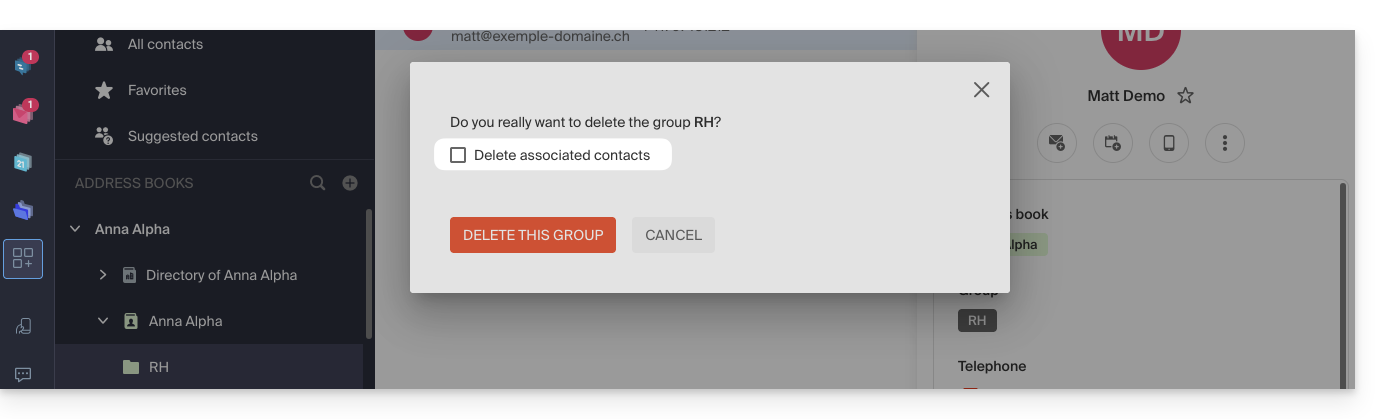
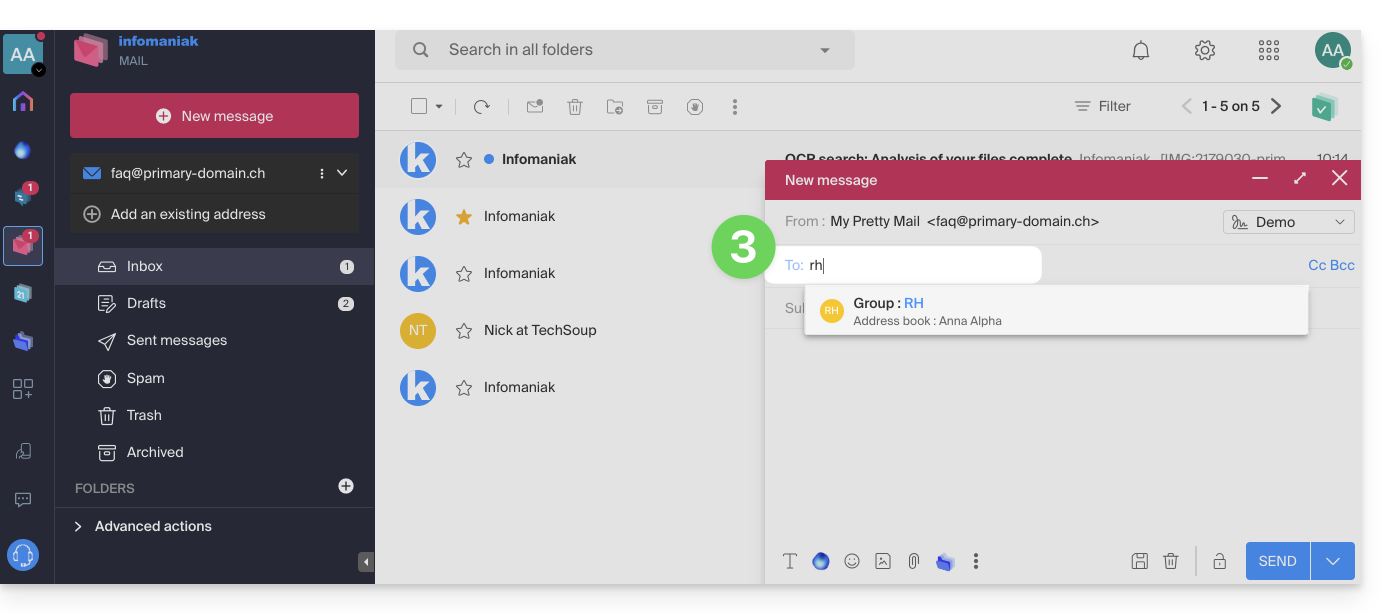
Group sending
To send an email to the entire group:
- Click here to access the Infomaniak Web app Mail (online service ksuite.infomaniak.com/mail).
- Compose a new message.
- Type the beginning of the notebook name to make it appear and select it:
- You can also click on the "A" to the left of the recipient address field to access your address book and its subfolders (contact groups):
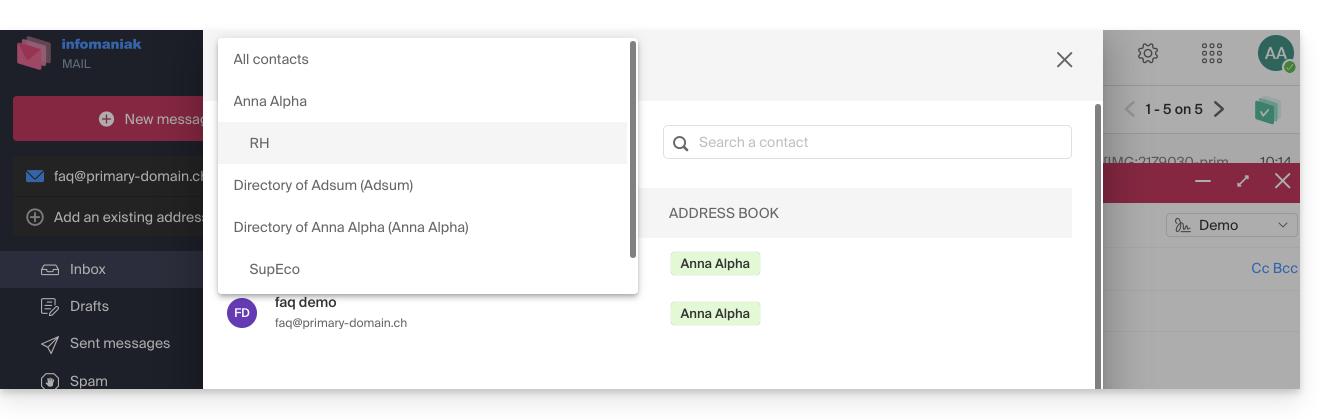
- Of course, it is also possible to use the contacts currently in your address book to send them an individual or group message by typing their first letters.
- You can also click on the "A" to the left of the recipient address field to access your address book and its subfolders (contact groups):
You can share an entire address book with other users (users you have invited and selected, of course) but not just a specific group.
Link to this FAQ:
Has this FAQ been helpful?