Knowledge base
1000 FAQs, 500 tutorials and instructional videos. Here, there are only solutions!
Quickly access an Infomaniak email address
This guide presents, in the same way as Generate a mail password quickly, the quick methods for viewing a mail address with Infomaniak tools.
Access a mail address
To use the existing mail address demonstration@exemple-domaine.ch:
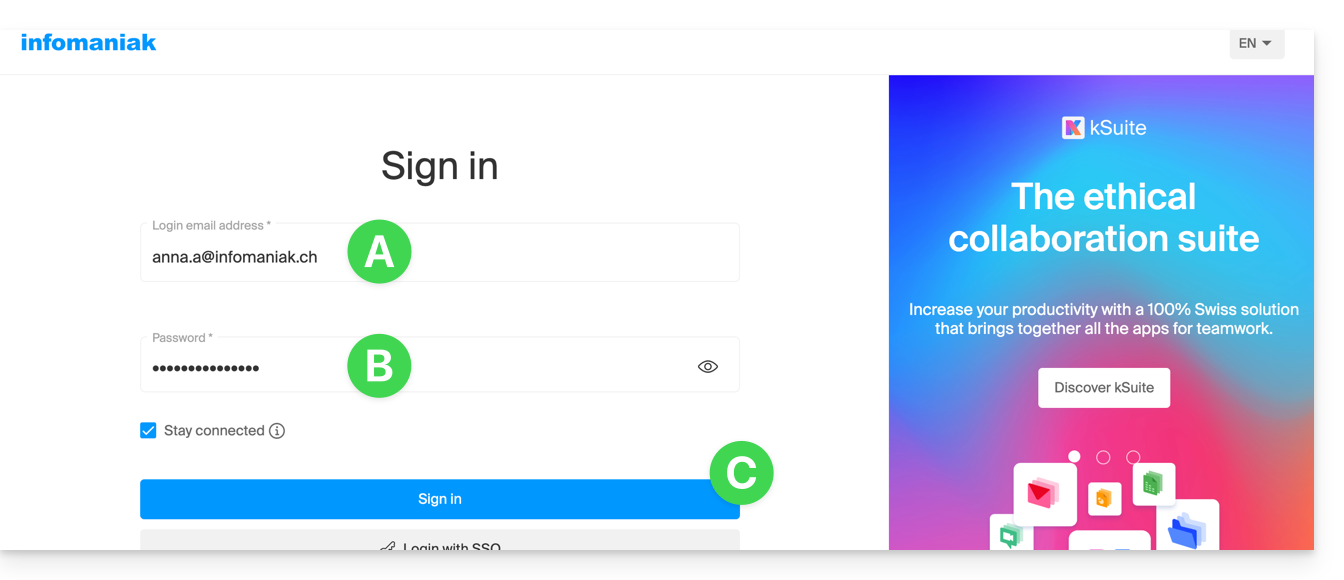
- Enter the login ID for your Infomaniak account and its password on the page https://manager.infomaniak.com/:
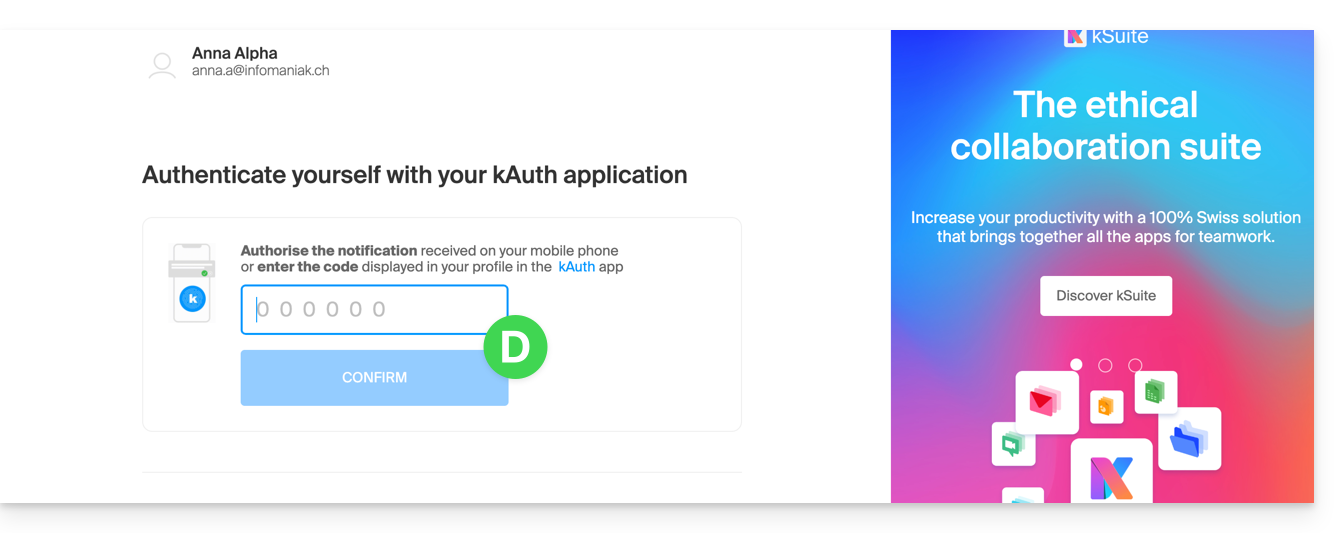
- Validate the entry in the Manager with the 2FA (two-factor authentication) method initially defined:
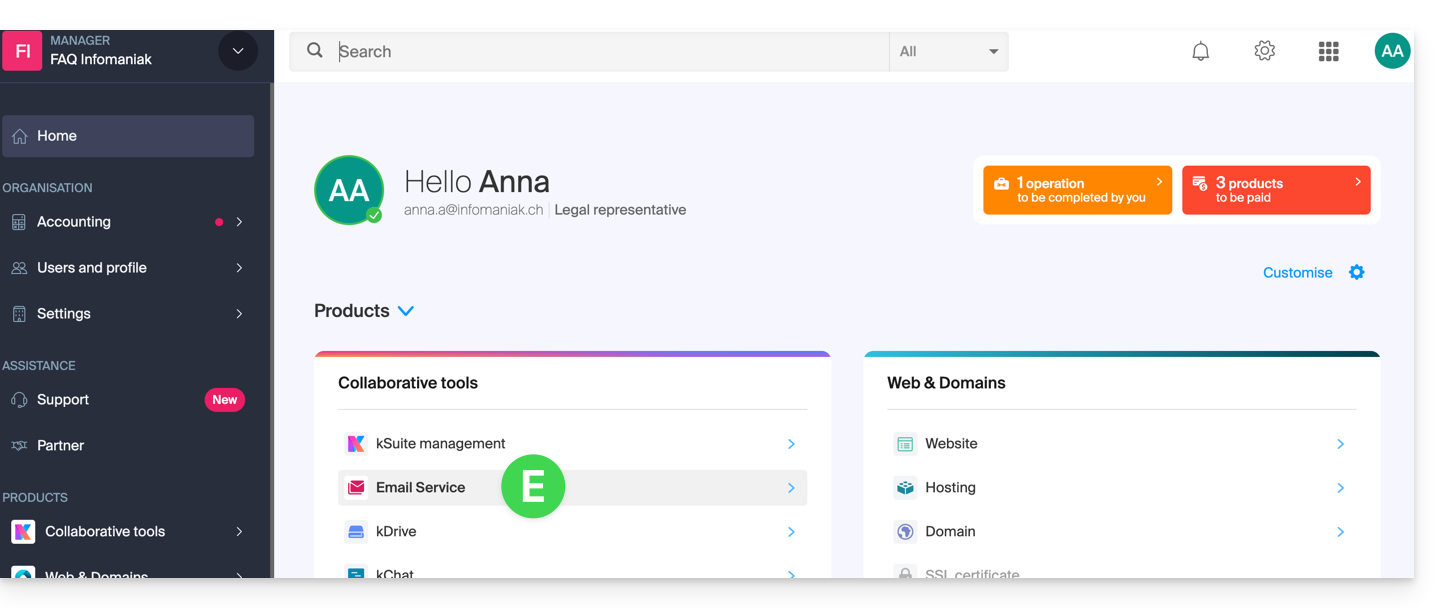
- Once on the dashboard, click on Mail Service:
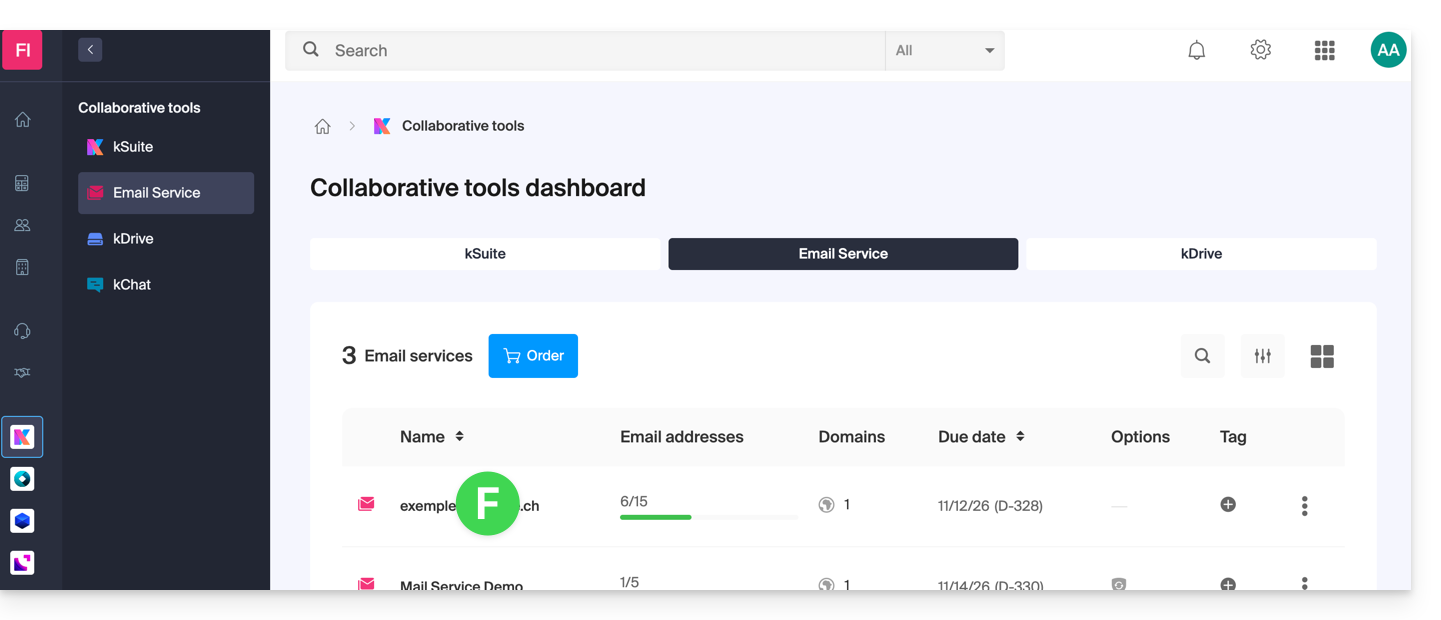
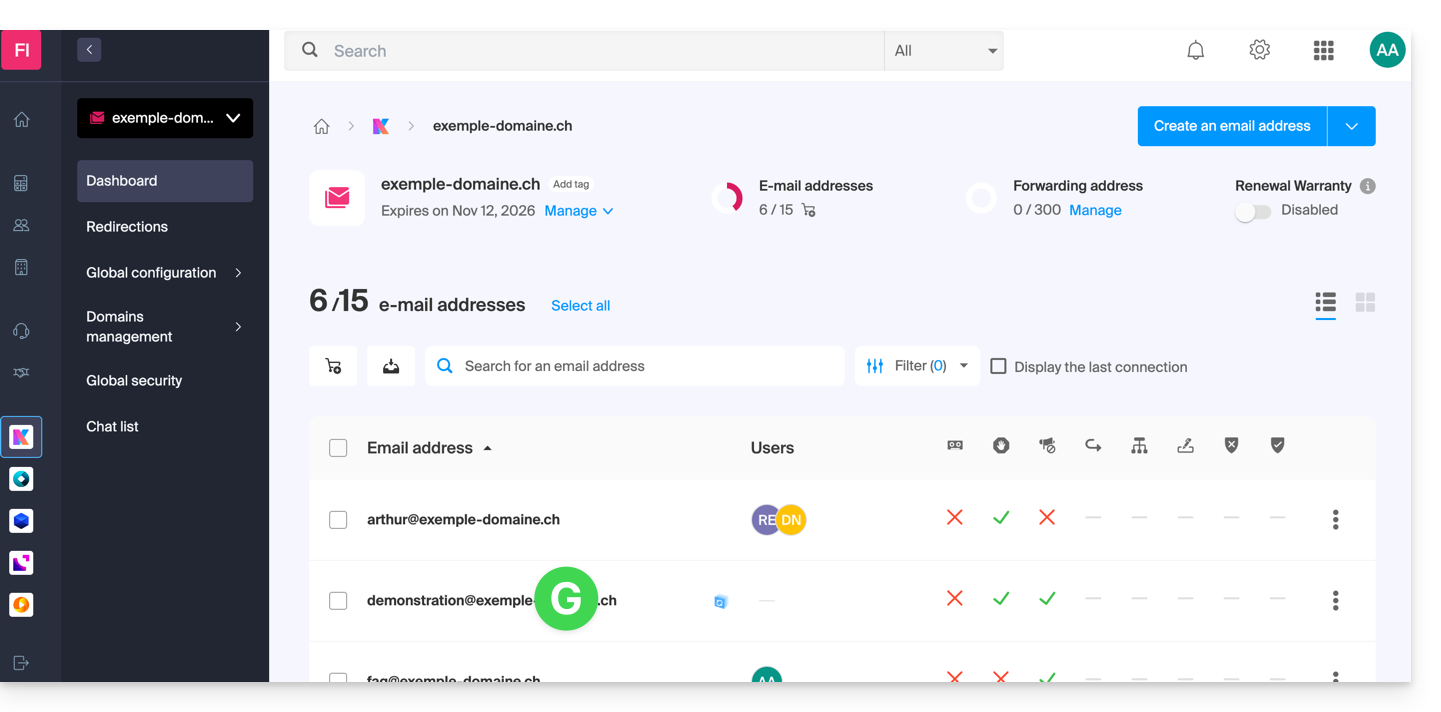
- Once on your Mail Services, click on the name / domain name to which the mail address in question belongs:
- Once on the Mail Service to which the address belongs, click on the mail address in question:
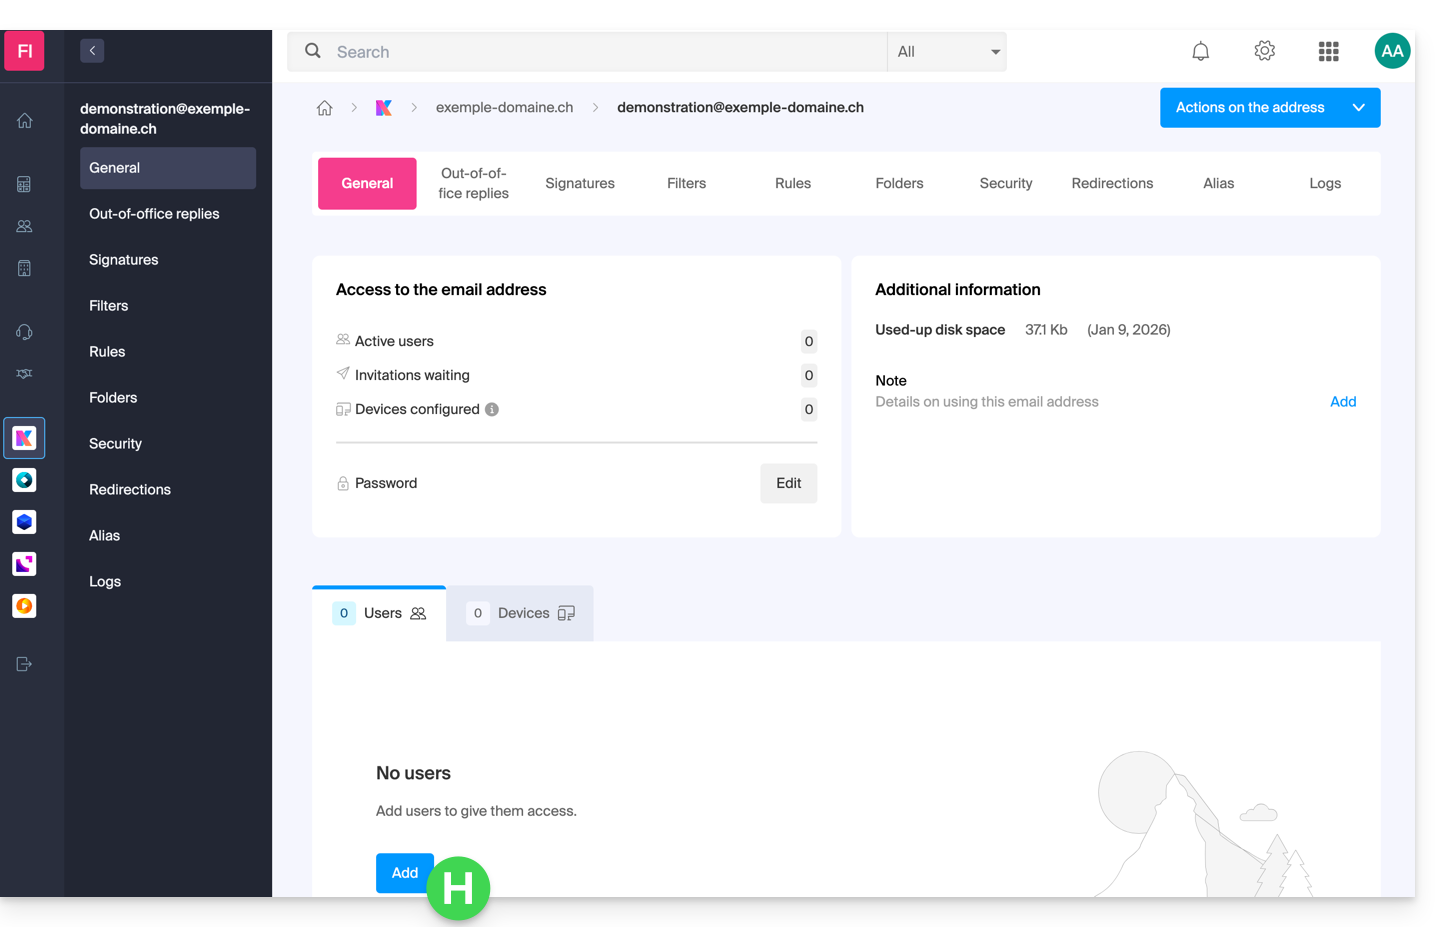
- Once on the mail address in question, click the Add user button:
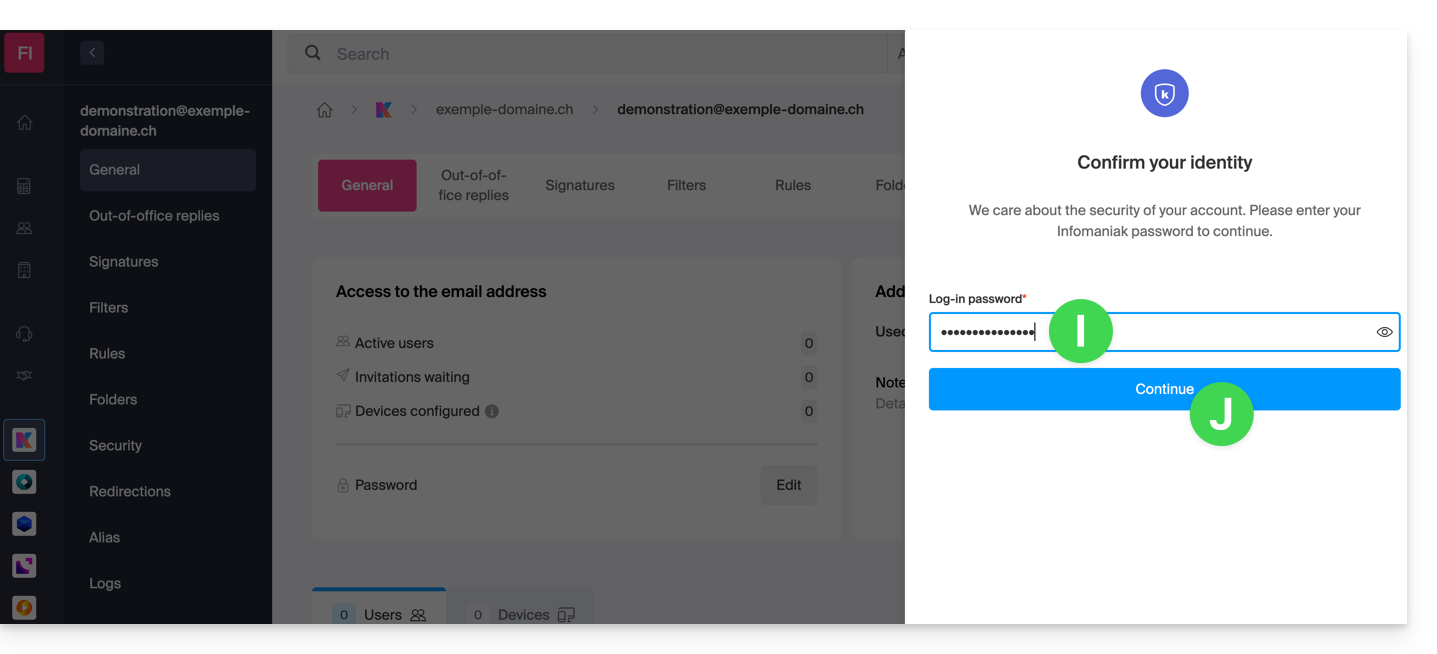
- It may be necessary at this stage to re-enter the login password (the one from point B above):
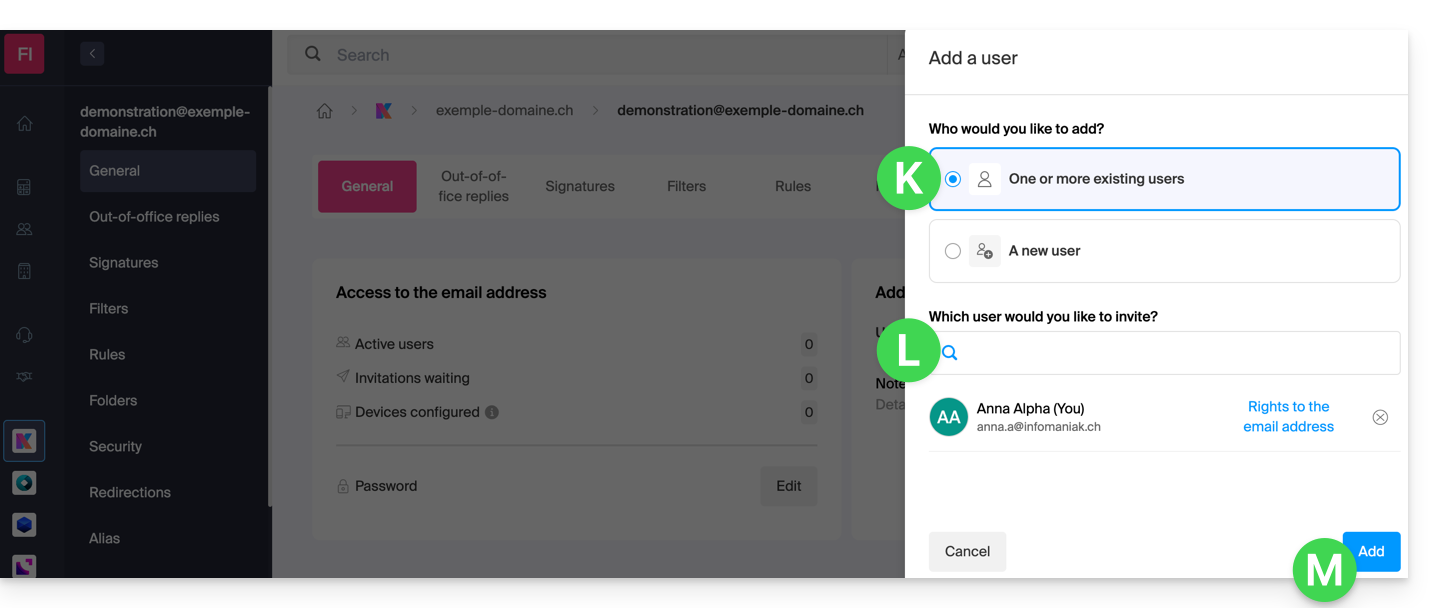
- Then choose the option to add an existing user, then click on the field below, which displays the list of users in the Organization to which you are connected, and click on your user (your login ID for the Infomaniak account). Validate the addition with the button at the bottom right:
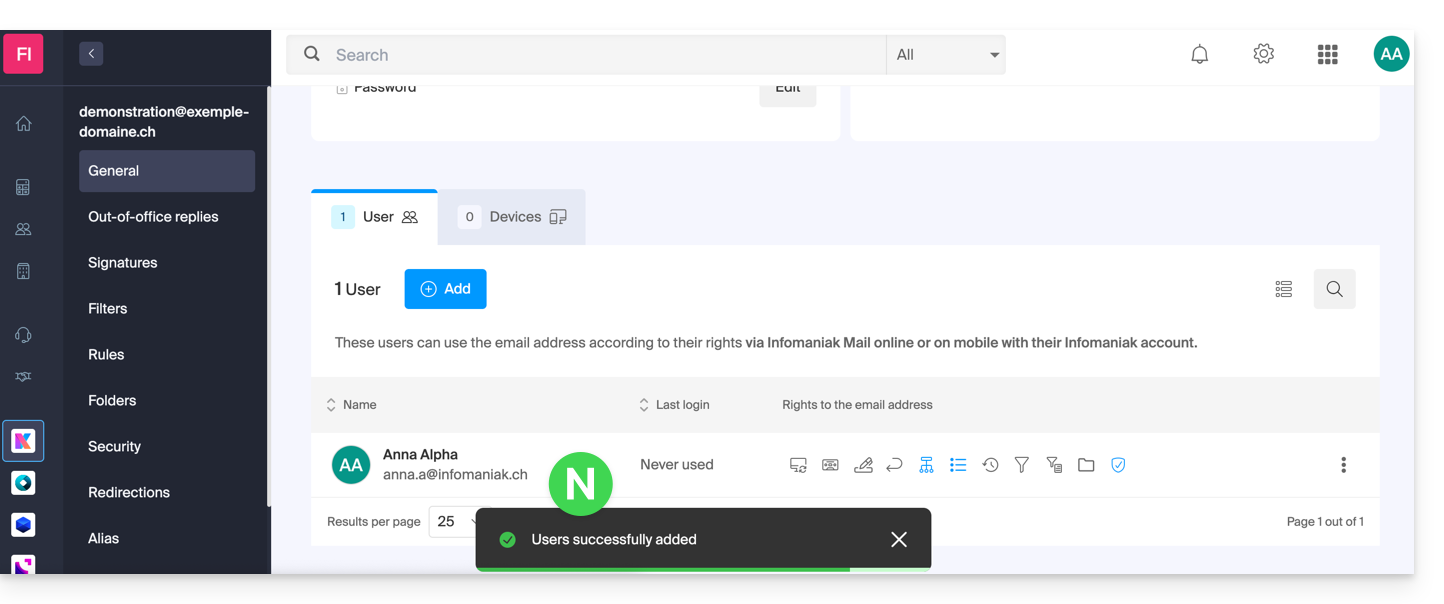
- It's done, your own user has been added:
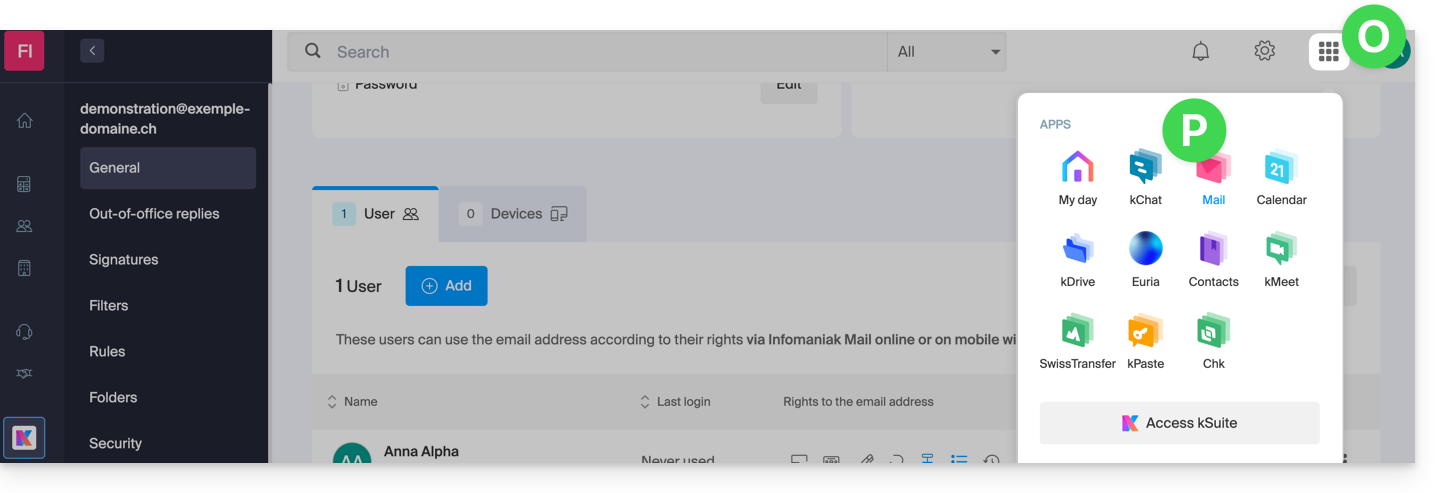
- Then click on the icon at the top of the screen to open the my kSuite tools and click on the Infomaniak Web app Mail:
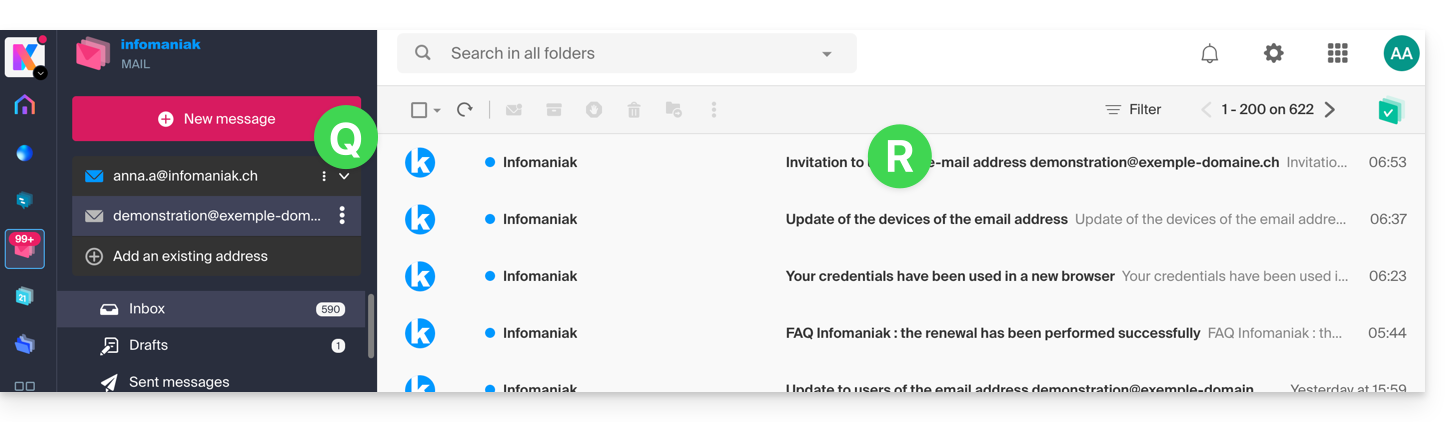
- The mail address has been successfully added to the Web app Mail (click if necessary on the chevron to expand the address menu and access it). An information email has been sent to the user (yourself in this case) to notify of the operation:
Grant access to a mail address
To quickly allow a third party to use the existing address demonstration@exemple-domaine.ch:
- Follow points 1-7 above.
- At the step below, choose the “New user” option. Validate the addition with the button at the bottom right:

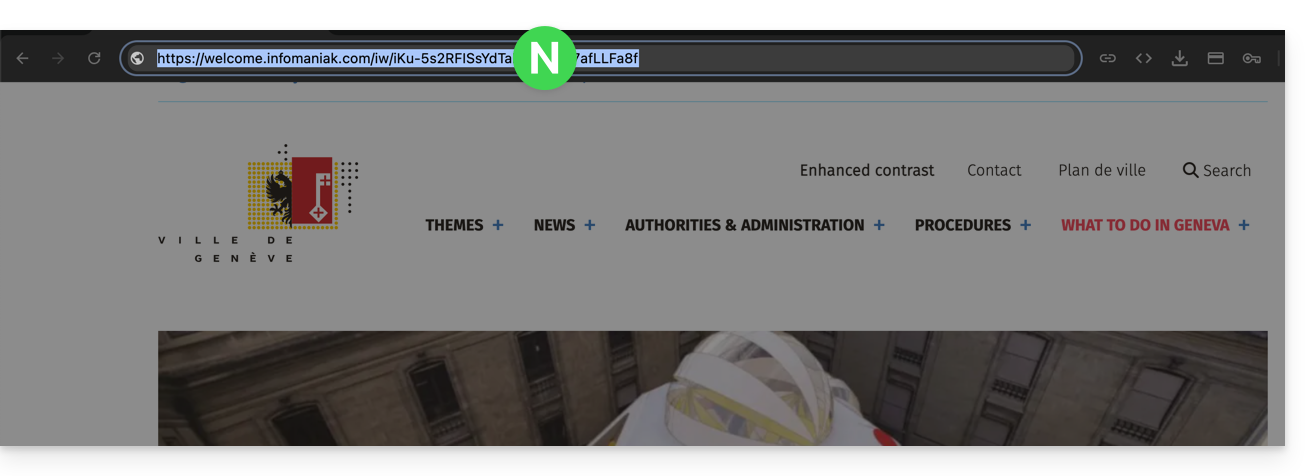
- Copy the invitation link (it is of the form
https://welcome.infomaniak.com/iw/abcdef-12345.....):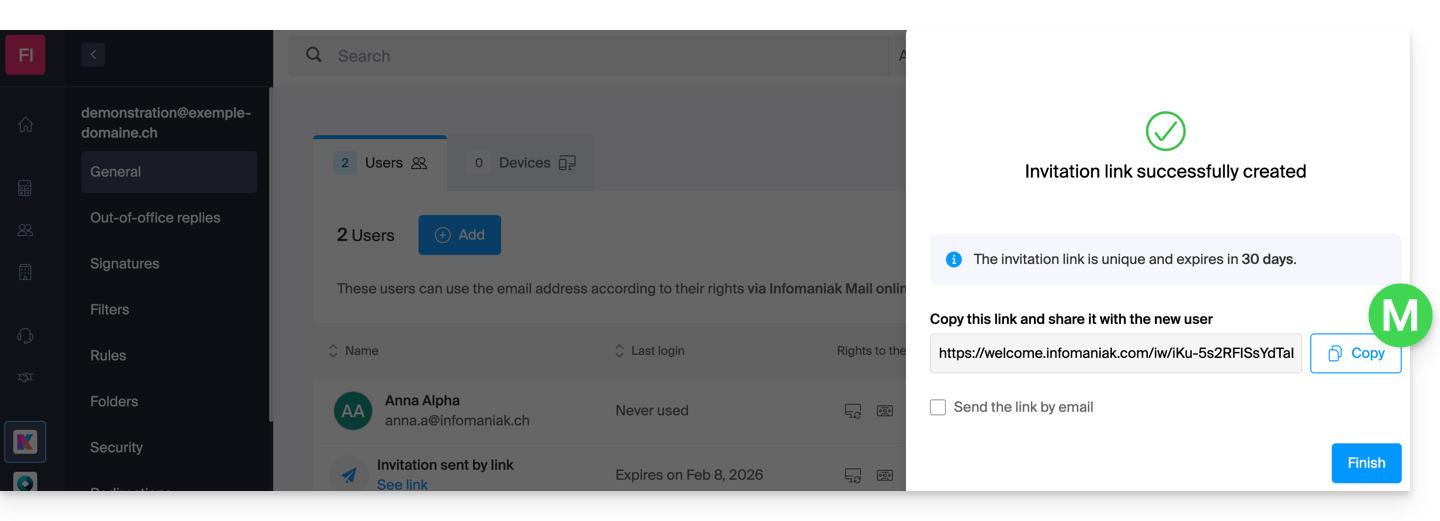
- The third party executes the invitation link in their browser:
- She enters her email address...
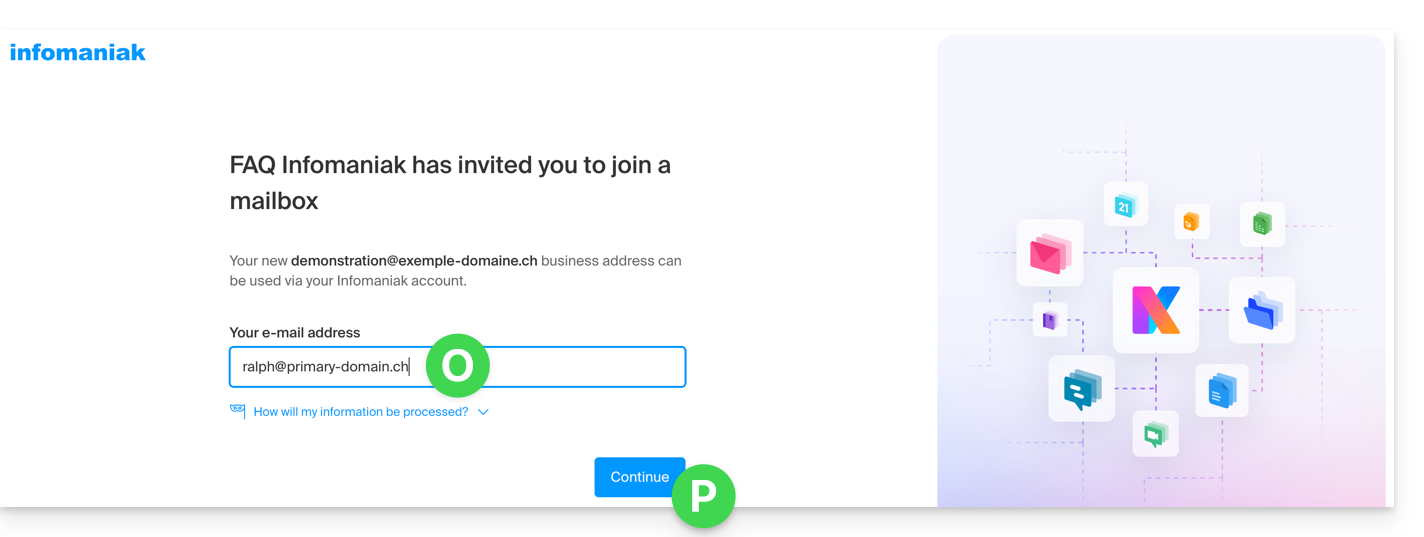
If the third party is already using the Infomaniak Web Mail app...
The email address that the third party indicates in point 5 above must match their Infomaniak account login ID.
That's it: the user is redirected to the Infomaniak Web Mail app, which will display the email address to which the invitation link referred:
If the person was already logged in to their Infomaniak account, then the step 5 above is even shorter as the user only needs to click to be redirected to the new email address to consult: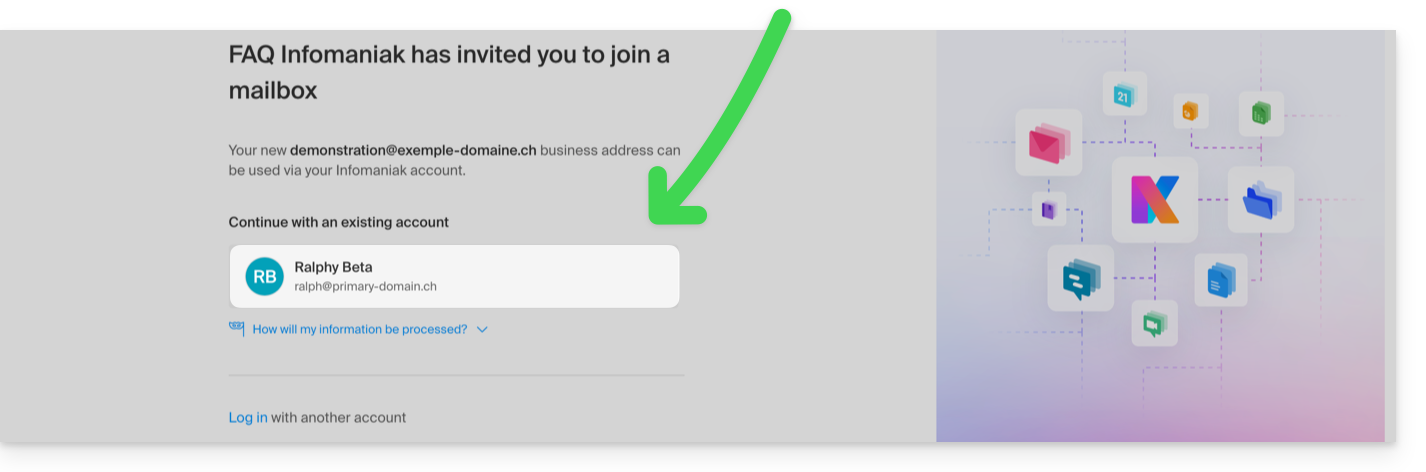
If the address is not immediately visible, check if the Infomaniak account is linked to multiple Organizations, and if so, choose to display emails from all Organizations: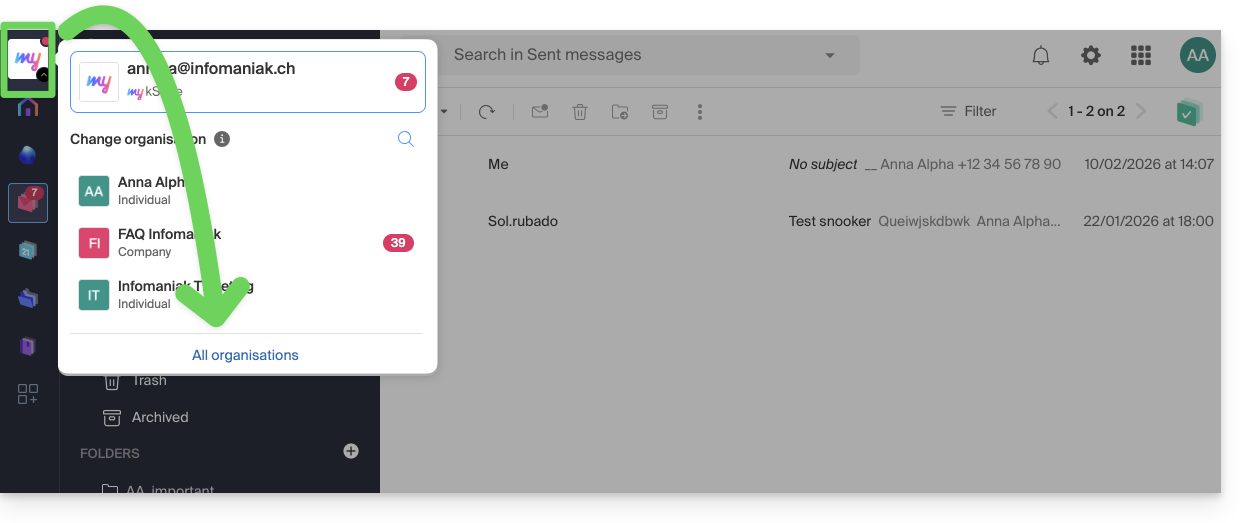
If the address to which the invitation belongs still does not appear, try to refresh the browser page (Command ⌘ + R on macOS and Ctrl + F5 on Windows).
If the third party is not yet using Infomaniak...
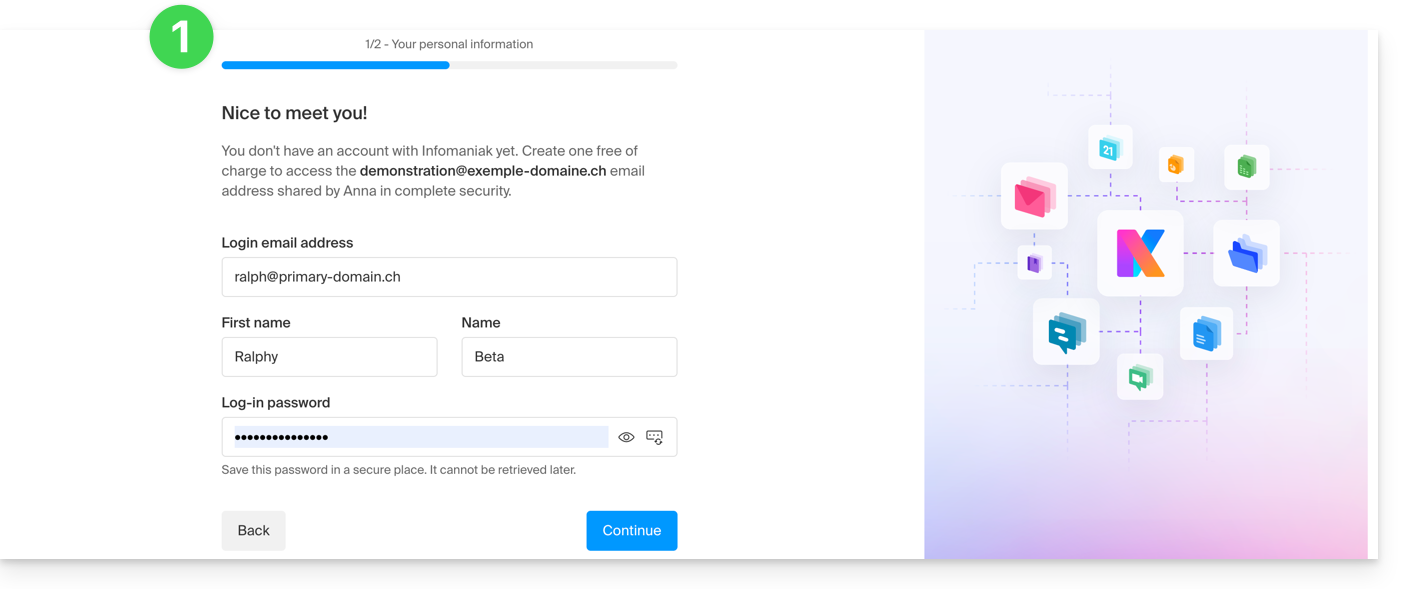
After indicating their email address in point 5 above, the third party will be invited to create an Infomaniak account:
- They will need to provide their details and create a password for logging into their Infomaniak account:
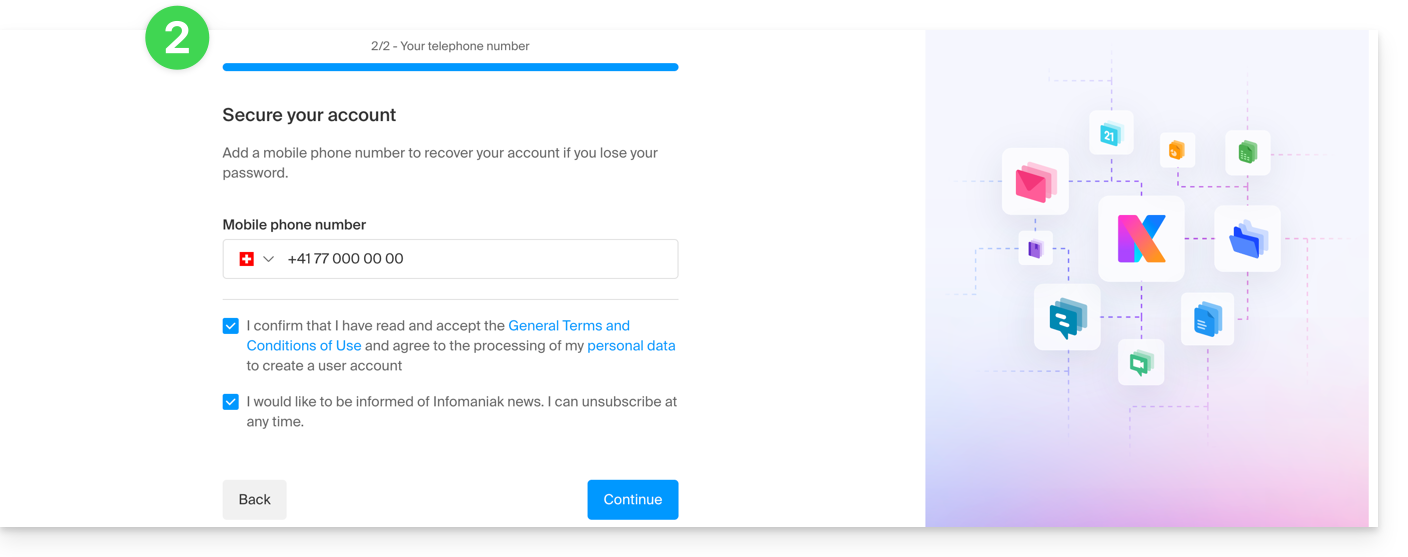
- They will need to provide a phone number and accept the general terms and conditions:
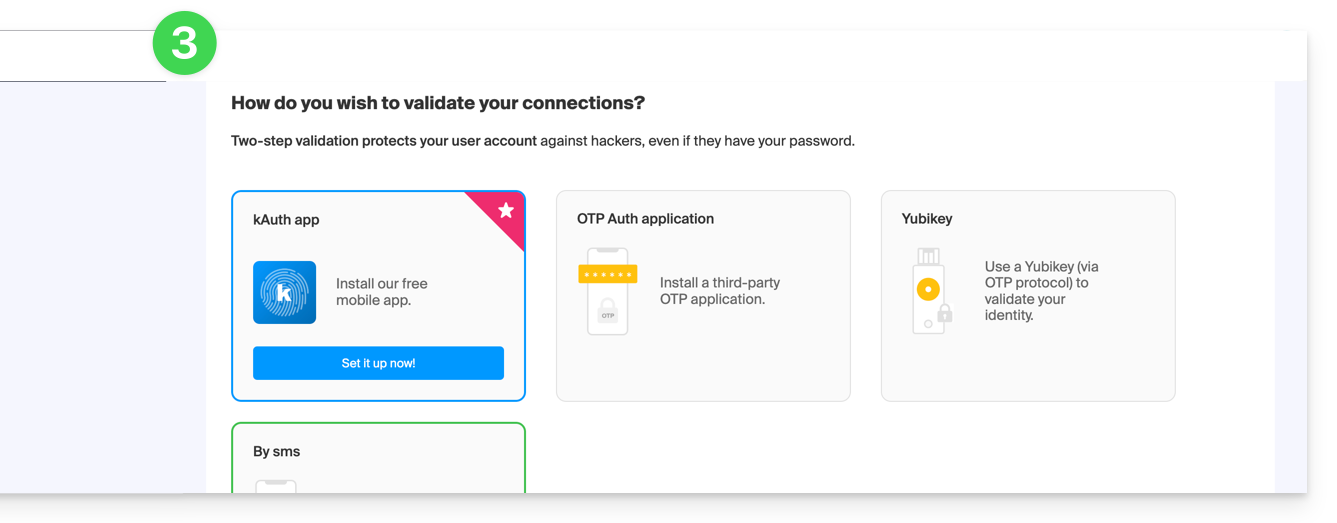
- They will need to add a two-factor authentication (2FA) method to secure access to their Infomaniak account:
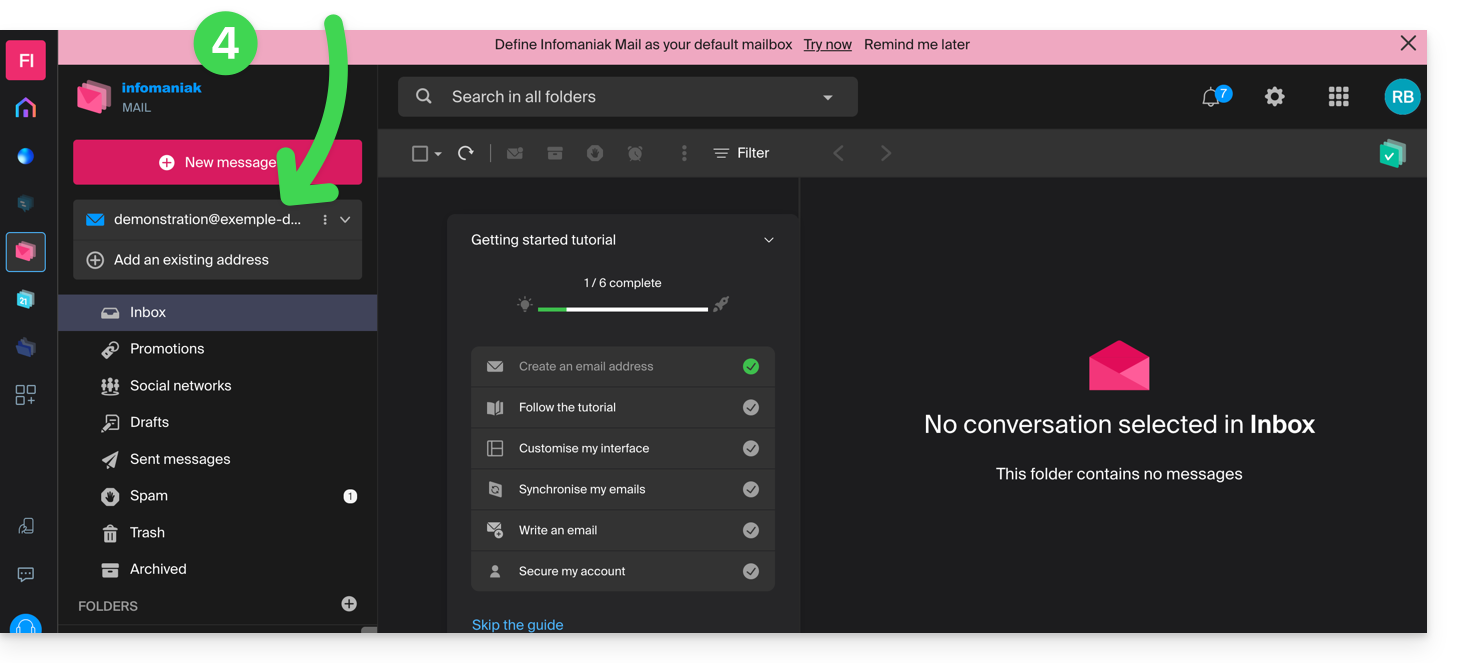
- Once the 2FA method is added, that's it: the user is redirected to the Infomaniak Web Mail app, which will display the email address to which the invitation link referred:
Also refer to this other guide.
Link to this FAQ:
Has this FAQ been helpful?