Knowledge base
1000 FAQs, 500 tutorials and instructional videos. Here, there are only solutions!
Invite a user to access an email address
This guide presents, in the same way as adding devices (email passwords), the methods to allow a user (friend, colleague, client, family member, etc.) to view and use an email address created within an Infomaniak Mail Service, on the Infomaniak Web App Mail (online service ksuite.infomaniak.com/mail).
Preamble
- Refer to this other guide if you wish to access it yourself, with your own user.
- No password should be transmitted to the user you are inviting.
- The email address will be automatically added to the Infomaniak Mail interface of the user, after accepting the invitation.
- If the email address in question is used as a login identifier for an Infomaniak account, it cannot be shared for security reasons.
Invite to use the email from the Mail Service
To allow an already active user to access the email address you wish to share:
- Click here to access the management of your product on the Infomaniak Manager (need help?).
- Click directly on the name assigned to the product in question.
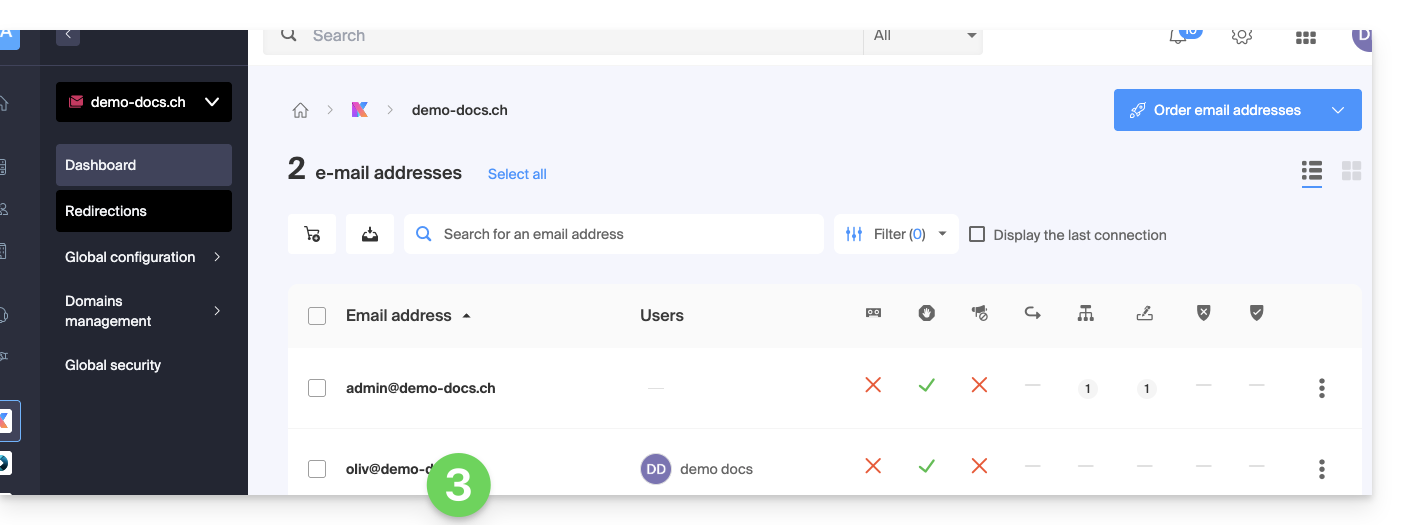
- Click on the email address concerned in the table that appears:
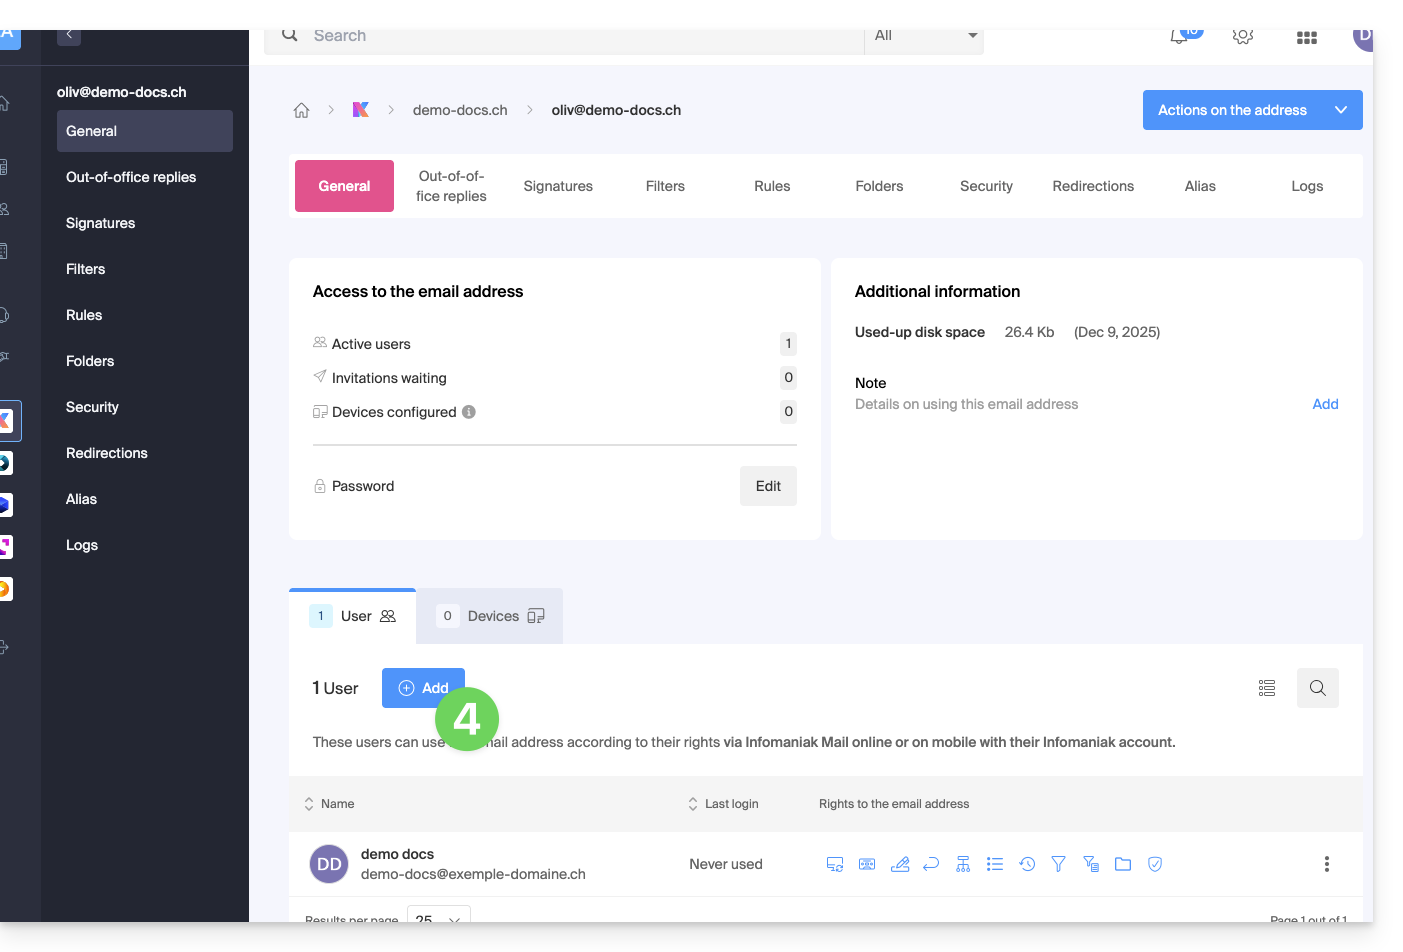
- Click on Add above the table of users currently accessing the email in question on Mail:
- Enter the password to log in to your Infomaniak account if prompted.
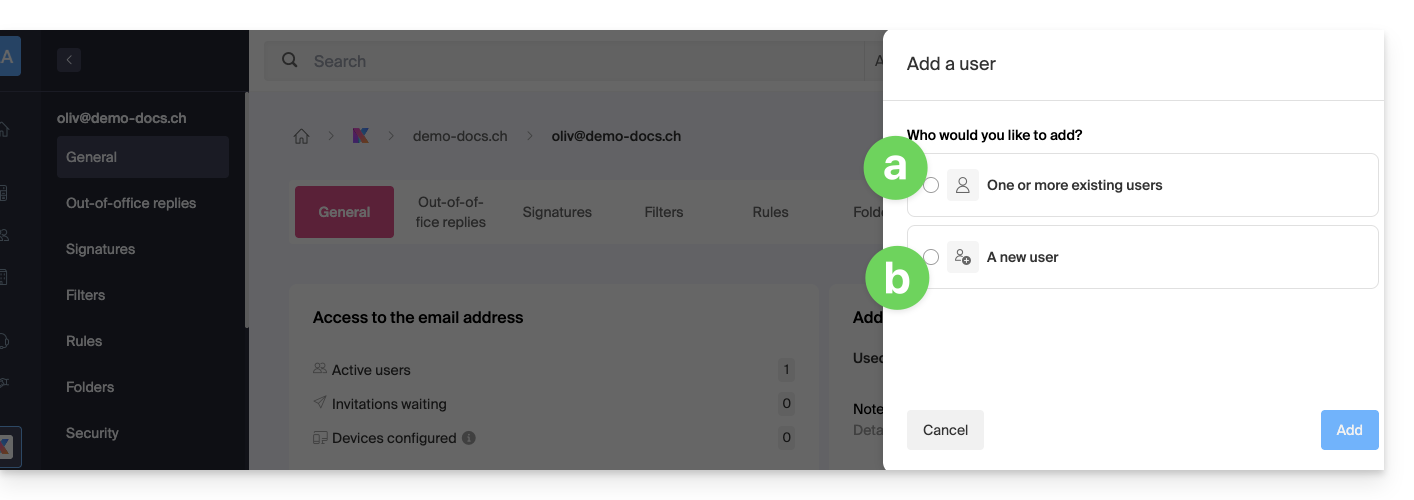
- Choose (a) one of the existing users within your Organization or (b) an external user to the Organization:
Choice [a]: existing user in the Organization
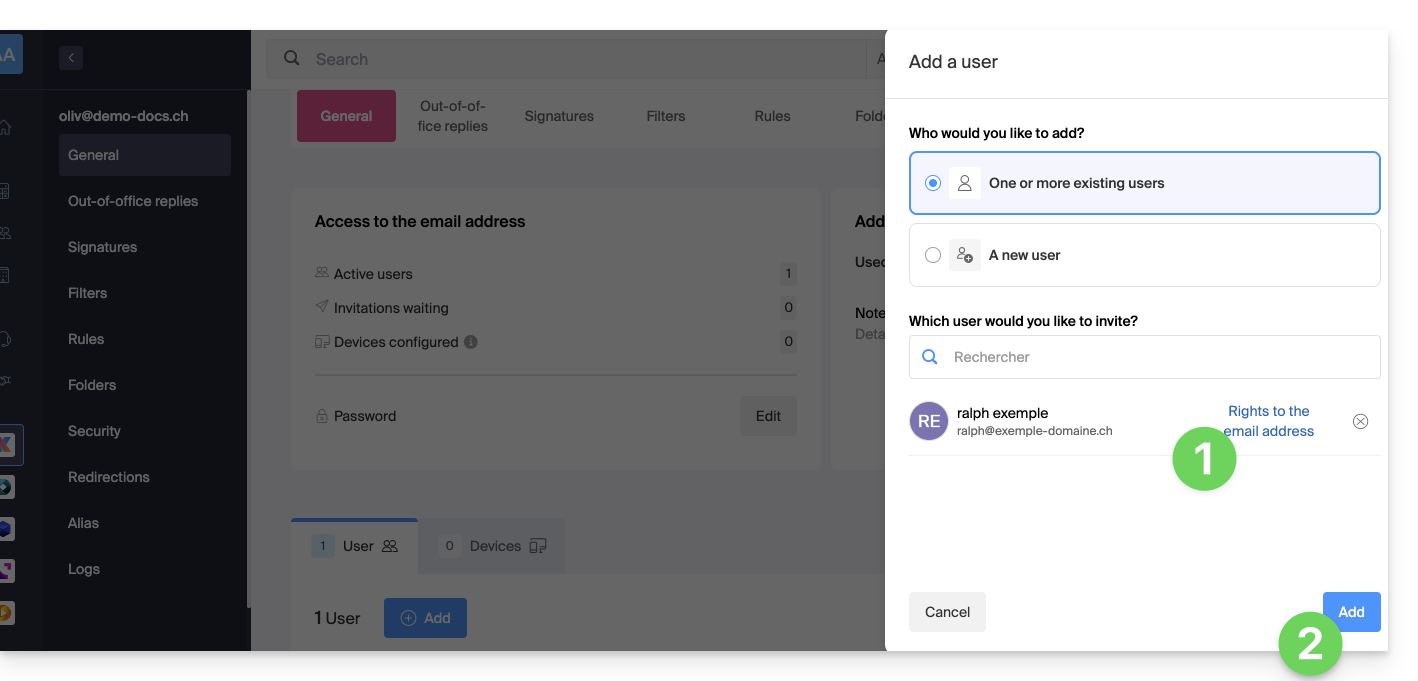
When the third party who needs access to the email is already part of the Organization, nothing could be simpler:
- The email address in question will be automatically visible and accessible to the selected user on the Infomaniak Web App Mail (online service ksuite.infomaniak.com/mail) with the specified permissions.
- Click the button to Add the user:
- After adding, it is always possible to restrict the user by clicking on the icons corresponding to the permissions…
- …or even revoke their access to the email address:
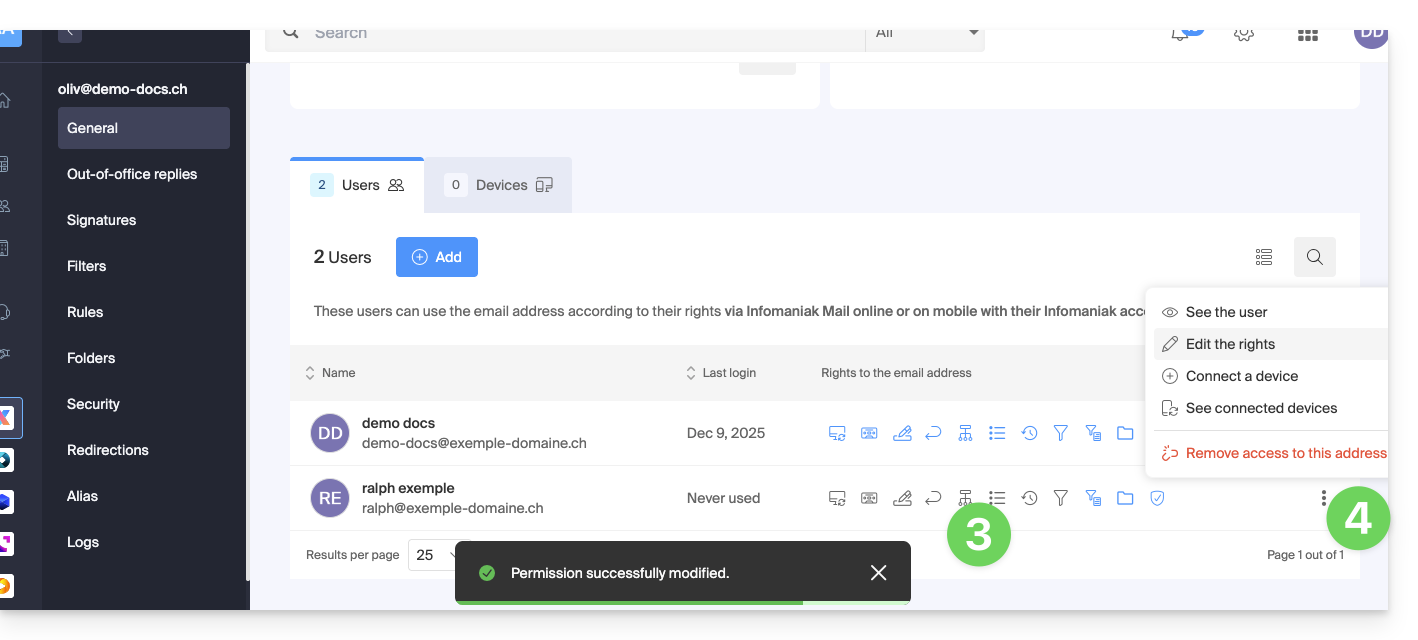
The user in question has access to the email address concerned: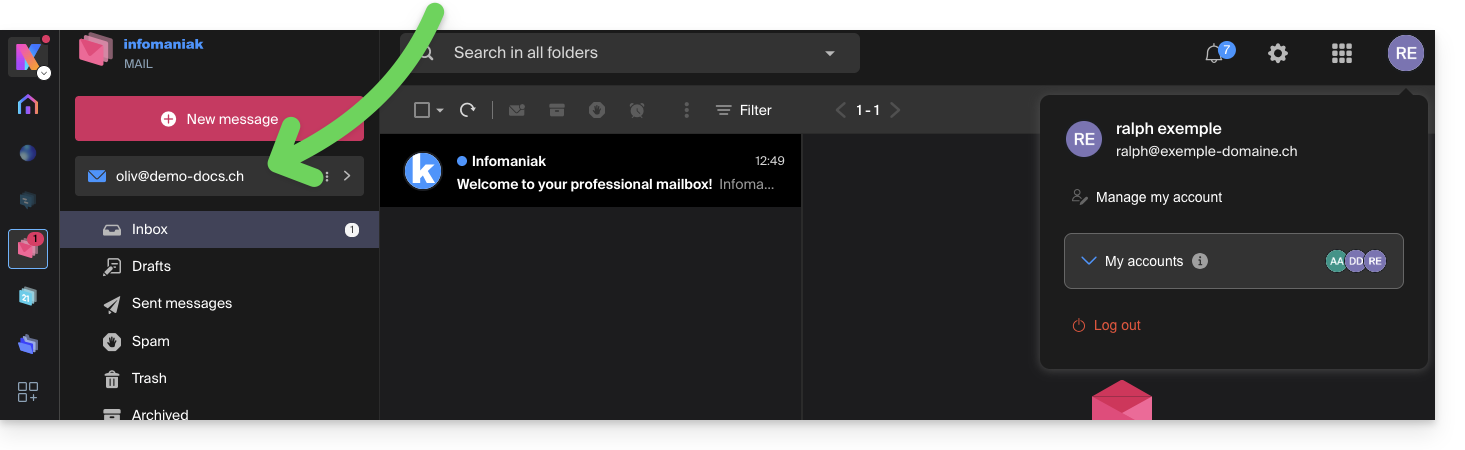
Choice [ b ]: external user to the Organization
If the third party is not at all attached to the Organization, either because they do not yet know Infomaniak, or because they have their own Organization on their side:
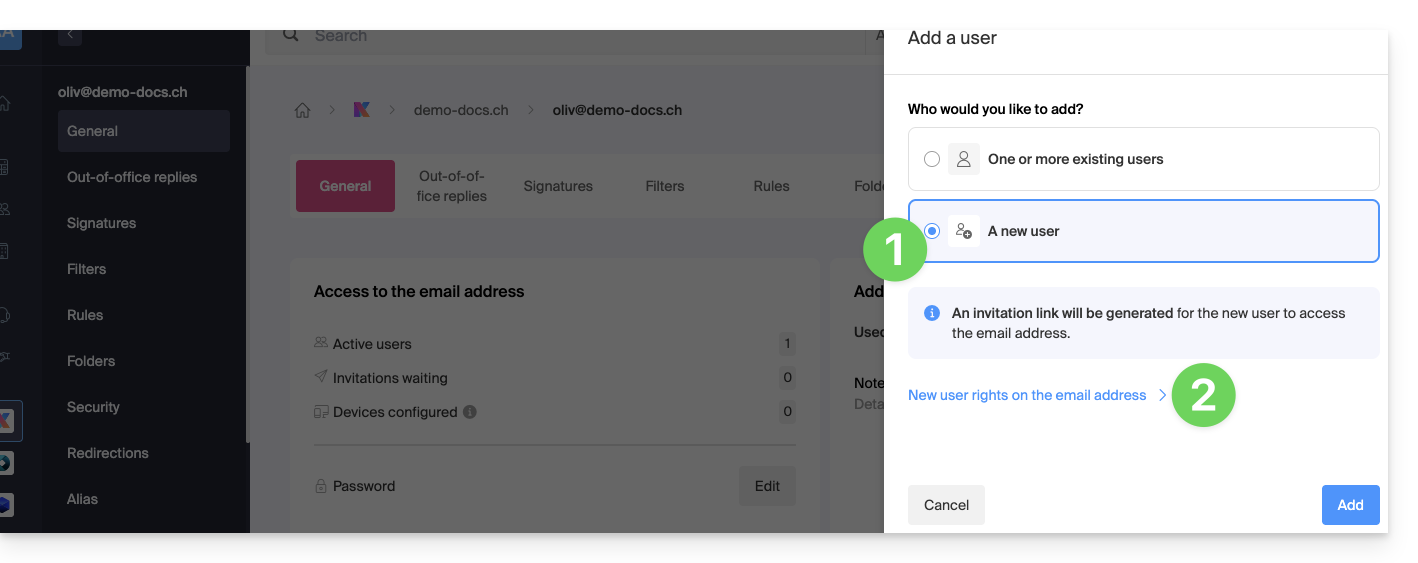
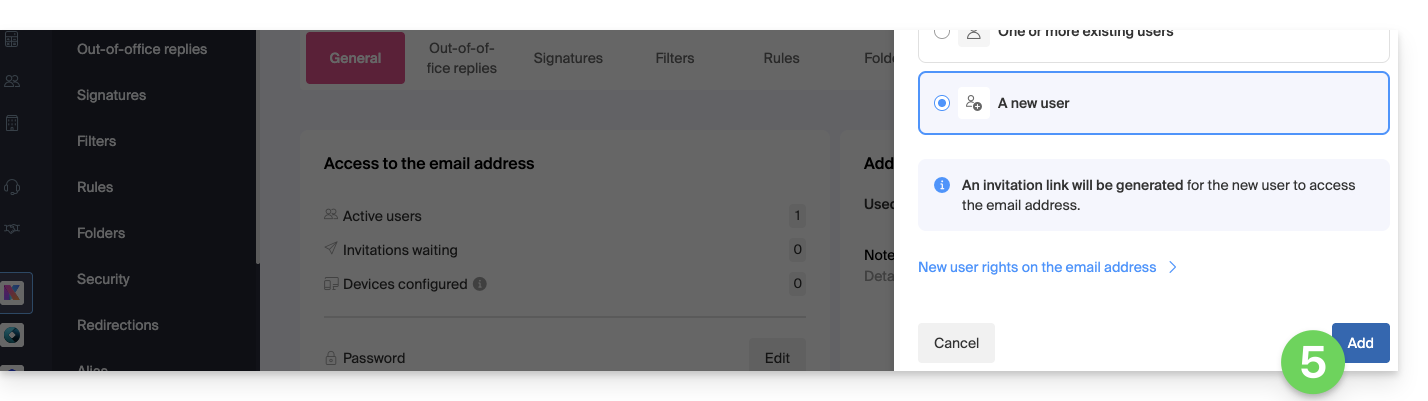
- Click on the radio button to select the choice of new user.
- Click to configure the user's rights:
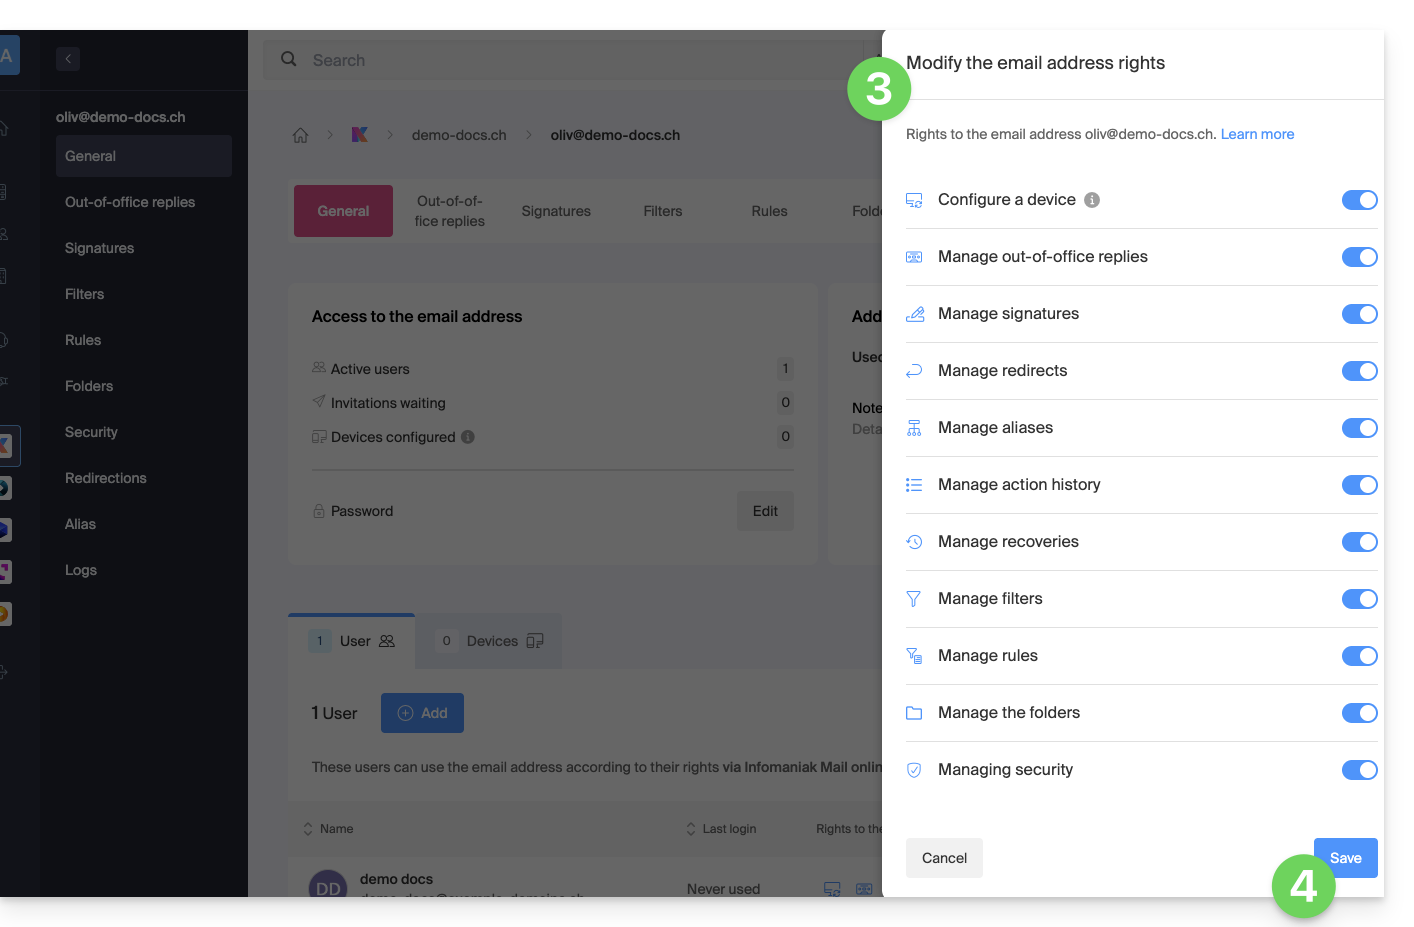
- Modify if necessary the permissions granted to the user for the email address concerned.
- Save the changes:
- Click on the button to Add the user:
- The invitation is created (in the form of a URL type
https://welcome.infomaniak.com/iw/abcdef-12345..…) and the user just needs to execute the link (see below) for the email address concerned to be added to their Infomaniak Mail. - It is possible to send the invitation by email:
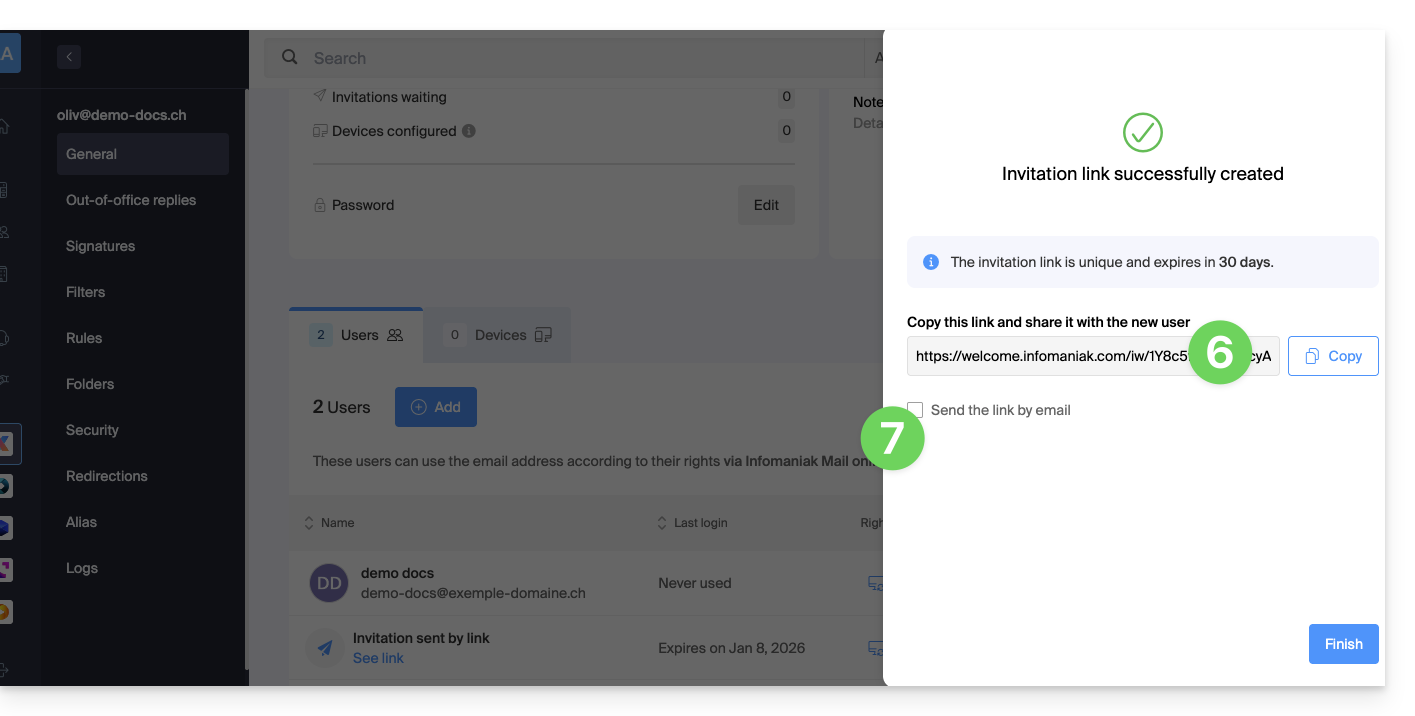
- The invitation is visible under the email address user tab, and it is possible to delete it at any time:

If the third party already uses the Infomaniak Web Mail app…
The user (third party) executes the invitation link while being logged in to their Infomaniak account…
- …or if they log in to their account after executing the invitation link:
- If necessary, the user can still switch accounts before attaching the address if necessary:
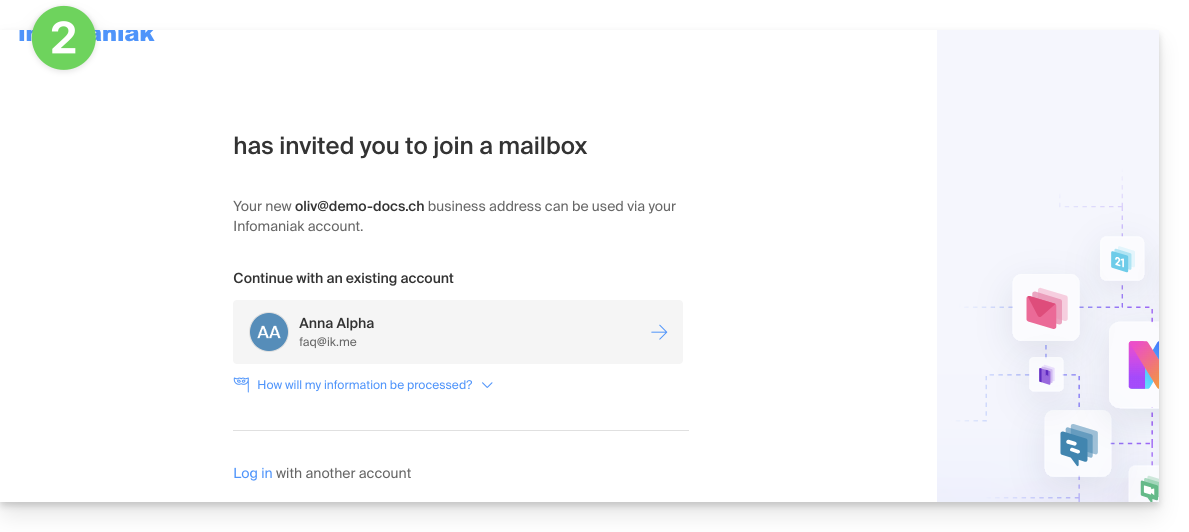
- The user in question has access to the email address concerned once they have chosen which Organization:
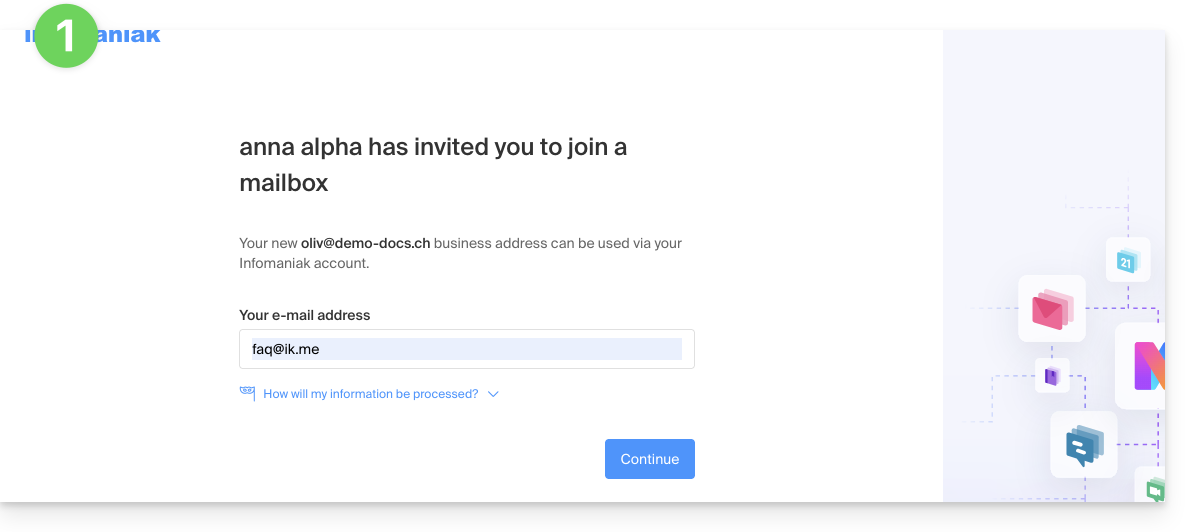
If the third party does not yet use Infomaniak…
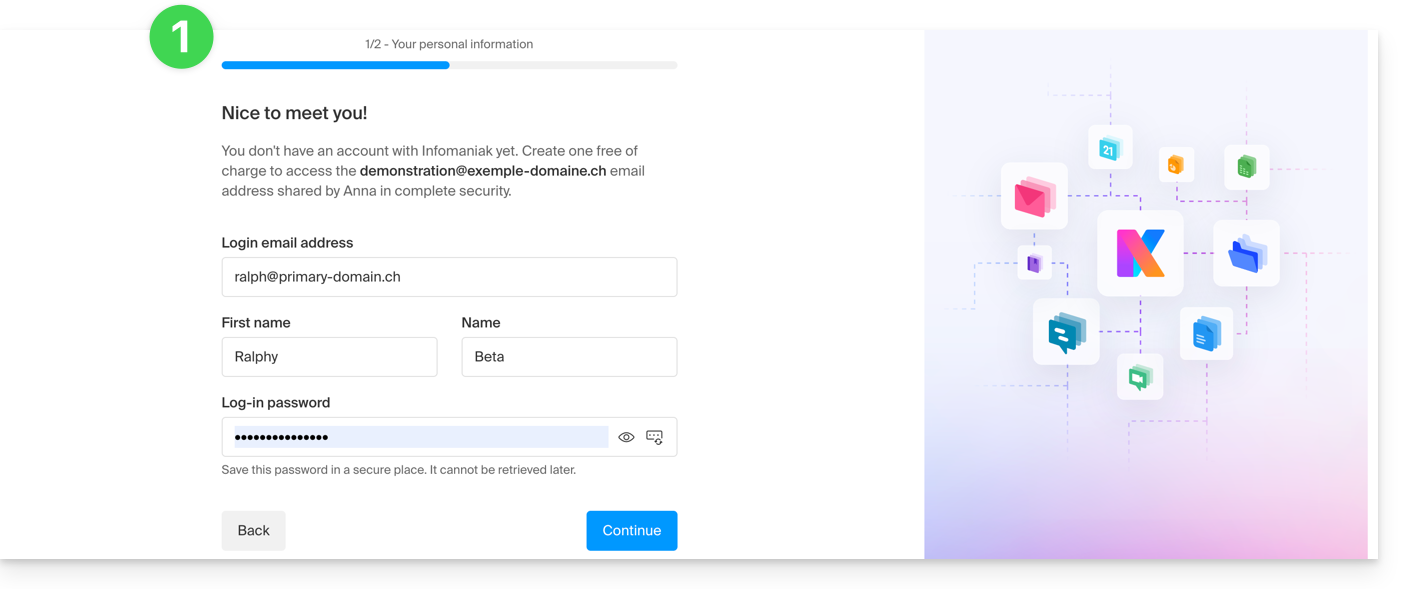
After executing the received invitation link and indicating their email address, the third party will be invited to create an Infomaniak account:
- They will need to provide their details and create a password to log in to their Infomaniak account:
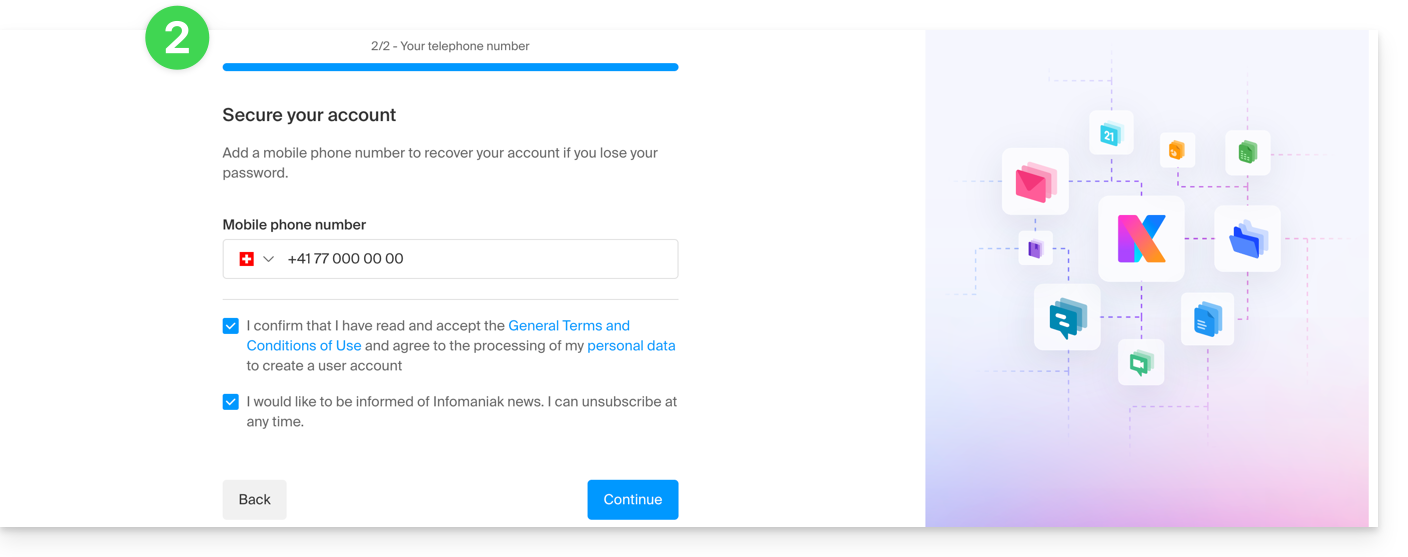
- They will need to provide a phone number and accept the general terms and conditions:
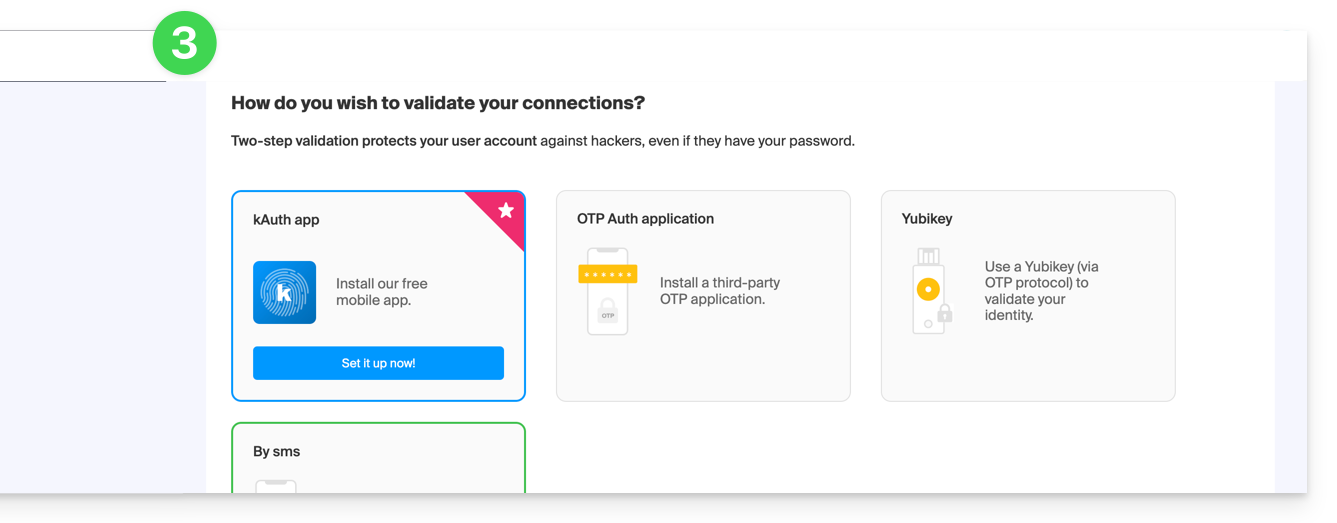
- They will need to add a two-factor authentication (2FA) method to secure access to their Infomaniak account:
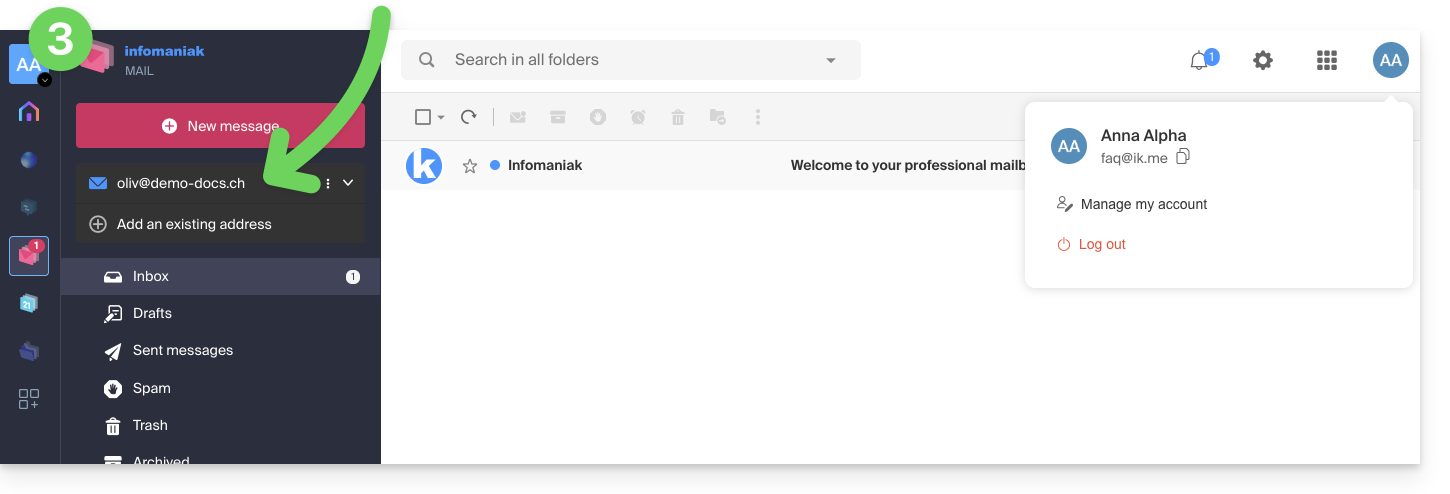
- Once the 2FA method is added, that's it: the user is redirected to the Infomaniak Mail web app, which will display the email address to which the invitation link referred:
In case of a problem
If the Invite button is not visible or remains grayed out, check that:
- your user account has sufficient permissions to administer the product in question
- the email address in question does not yet exist as a login identifier for an Infomaniak Organization
- the table under the button does not mention a user listed with an email address identical to the email address in question
Example: you want to invite someone to view the address anna.a@domain.xyz but the button is grayed out because a user anna.a@domain.xyz is listed in the table.
Solution: to be able to invite a new user to view the address in question, refer to this other guide.
If a message indicates that it is not possible to proceed for security reasons, refer to this other guide.
If the user cannot access the address
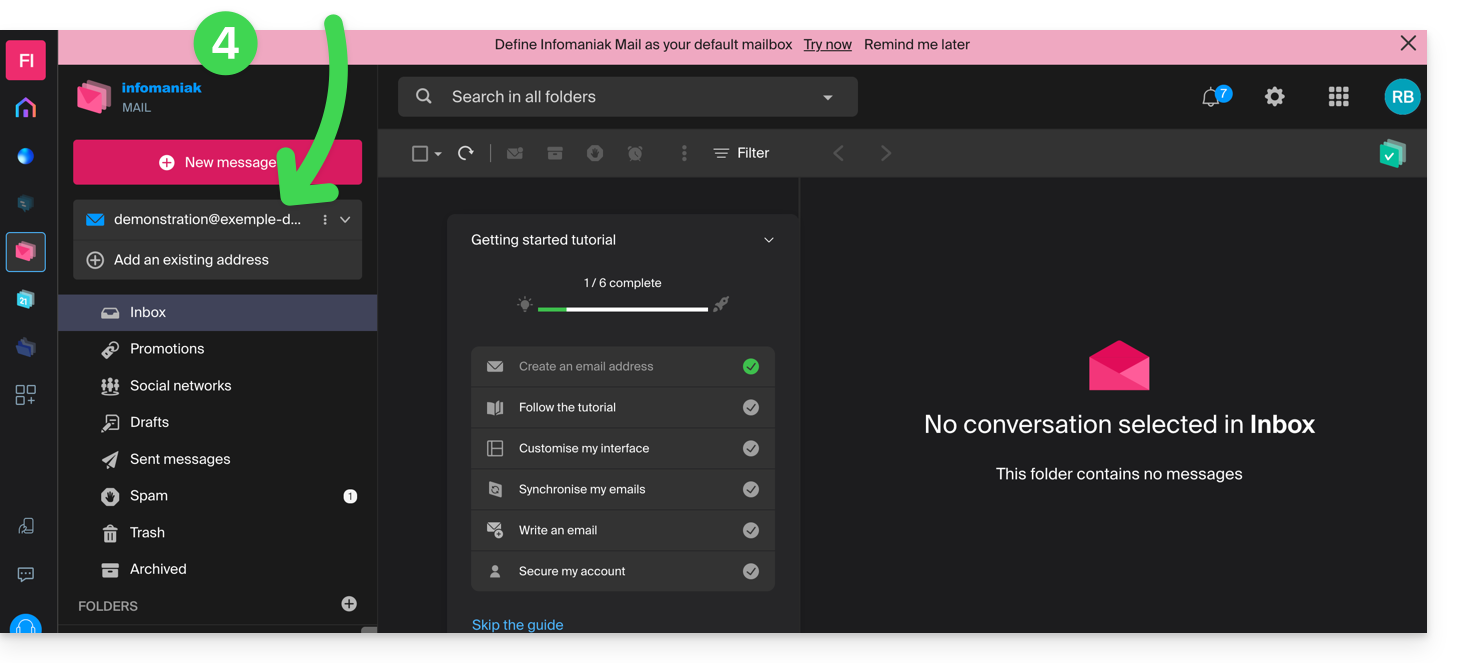
When a user is added, the email address is automatically added to their Infomaniak Mail apps:
They can switch between their addresses at any time via the dropdown located at the top left of the screen: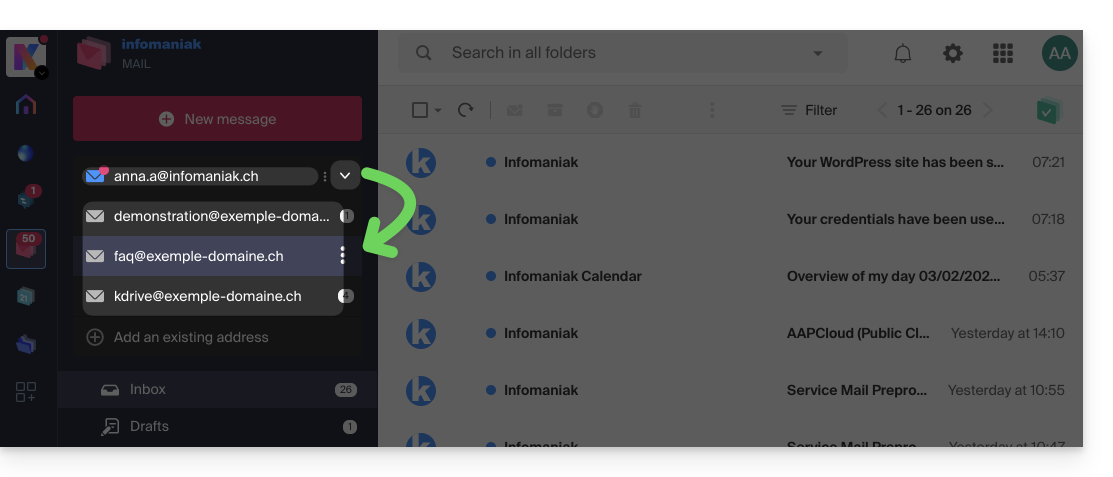
To do this, it is sometimes necessary to first choose to display, from the upper left part, all Organizations: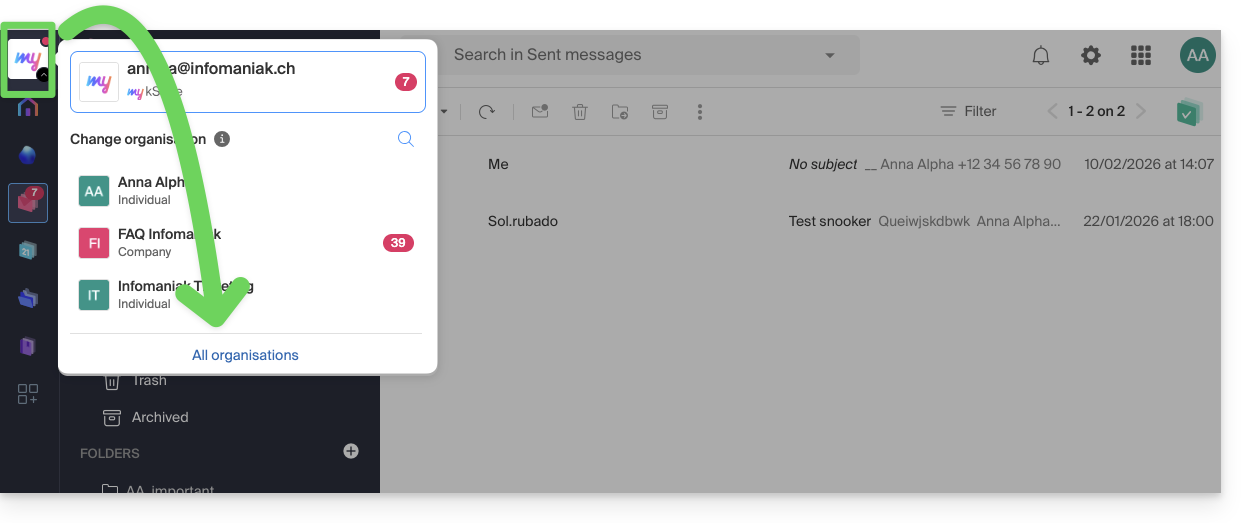
If the address on which the invitation depends still does not appear, try to refresh the browser page (Command ⌘ + R on macOS and Ctrl + F5 on Windows).
Link to this FAQ: https://faq.infomaniak.com/1478
Has this FAQ been helpful?