Knowledge base
1000 FAQs, 500 tutorials and instructional videos. Here, there are only solutions!
Restart a Cloud VPS / VPS Lite (including safe mode)
This guide explains how to restart an Infomaniak Cloud VPS / VPS Lite and what you can do if you no longer have access to the server.
Restarting a Cloud VPS / VPS Lite
The classic mode allows you to restart your server normally. To access your Cloud VPS / VPS Lite:
- Click here to access the management interface for your product on the Infomaniak Manager (need help?).
- Click directly on the name assigned to the product in question.
- Click on the Manage button.
- Click on Restart (classic mode):
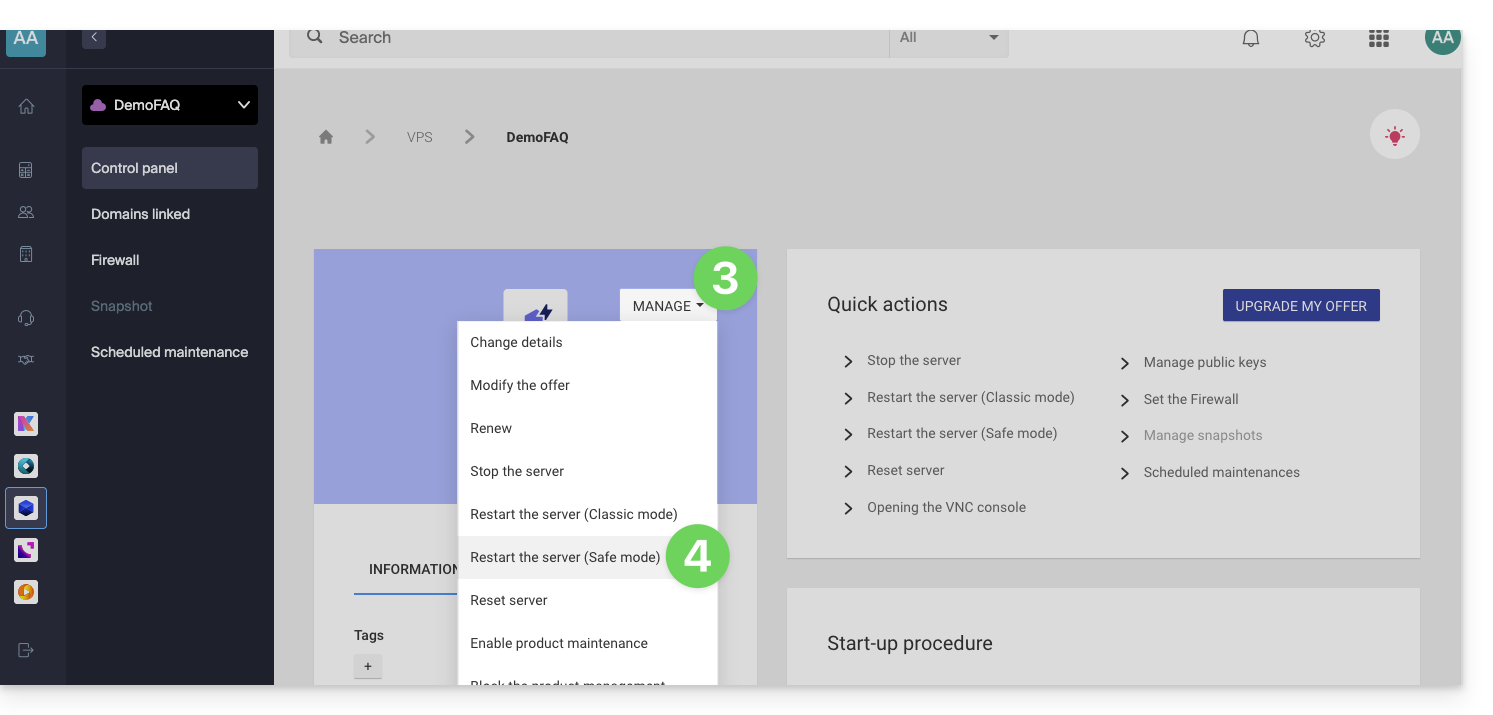
Enable/disable safe mode
If you have lost your SSH key, or made a configuration error, etc.
You have the option of restarting in rescue mode. This involves restarting from a base image from which you can mount the partitions of your cloud. In this way, you can modify/repair your configuration.
Please note: depending on the operating system installed, the system volume may be named /dev/sda, /dev/sda1, or /dev/vda; the same applies to the data volume /dev/sdb, /dev/sdb2, or /dev/vdb! Therefore, you should replace these indications with those that correspond to your situation.
To activate rescue mode:
- Click here to access the management interface for your product in the Infomaniak Manager (need help?).
- Click directly on the name assigned to the product in question.
- Click on the Manage button.
- Click on Restart (safe mode):
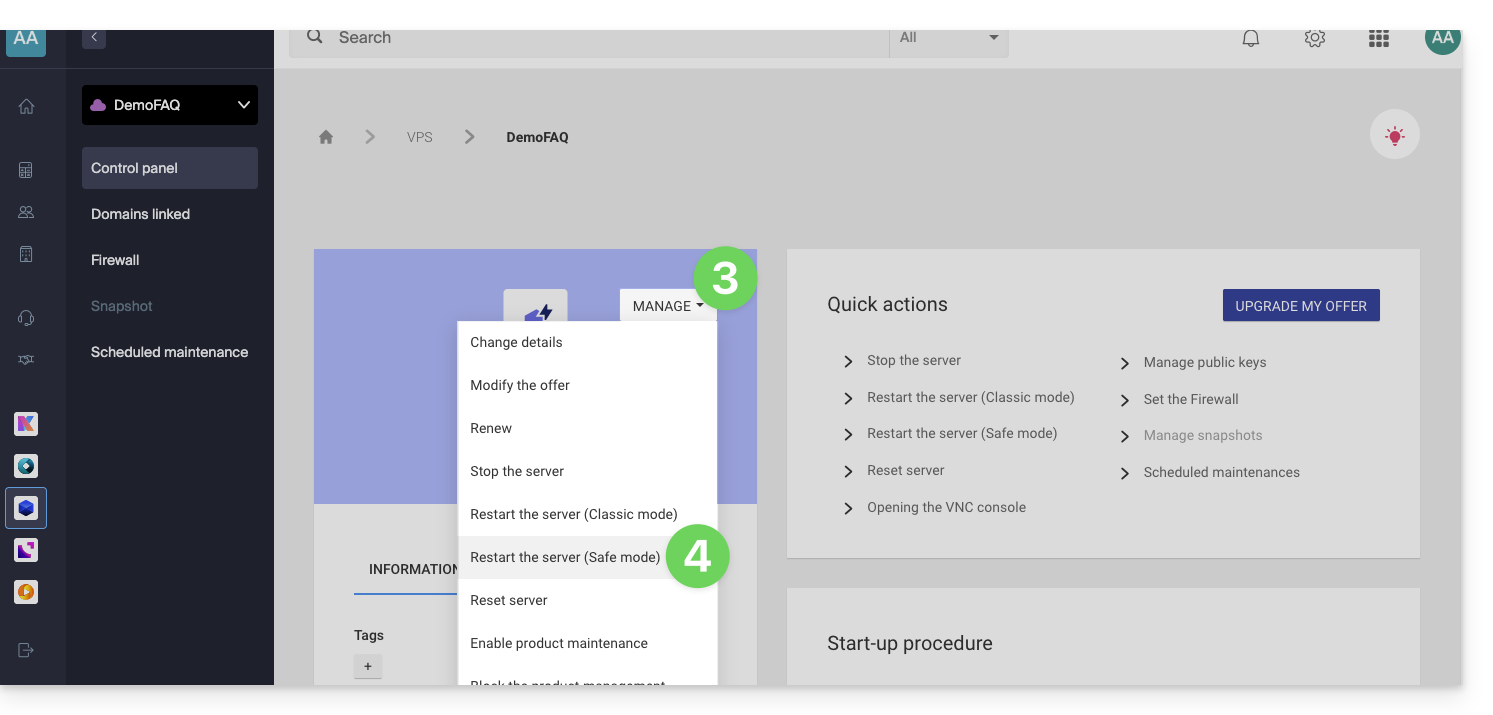
Please note: your data disk is not accessible when your Cloud VPS / VPS Lite is in safe mode; only the system disk is accessible.
Perform operations
Once safe mode is active, access your Cloud via SSH, either with your SSH key or with the temporary password available in the interface.
Once connected, switch to the root user:
sudo -iThen, list the available partitions (replace ov-abcd with your hostname):
[root@ov-abcd ~]# lsblk
NAME    MAJ:MIN RM  SIZE RO TYPE MOUNTPOINT
vda     253:0    0    8G  0 disk
└─vda1  253:1    0    8G  0 part /
vdb     253:16   0   20G  0 disk
└─vdb1  253:17   0   20G  0 part
vdb corresponds to the disk of your cloud (your usual system to repair).
To access it in write mode, you must mount it:
[root@ov-abcd ~]# mount /dev/vdb1 /mnt/You can then modify the files on your disk:
[root@ov-abcd ~]# ls /mnt/
bin  boot  dev  etc  home  lib  lib64  lost+found  media  mnt  opt  proc  root  run  sbin  srv  sys  tmp  usr  var
Depending on the operating system of your cloud, you can also perform a chroot to work directly in your usual environment:
[root@ov-abcd ~]# chroot /mnt/
root@ov-abcd:/# export PATH="$PATH:/usr/sbin:/sbin:/bin"
root@ov-abcd:/# ls
Once you have made the necessary changes, disable safe mode from the Manager to restart your cloud on the original disk.
Link to this FAQ: https://faq.infomaniak.com/1106
Has this FAQ been helpful?