Base de conhecimento
1000 perguntas frequentes, 500 tutoriais e vídeos explicativos. Aqui, você encontra apenas soluções!
Criar um blog com o Site Creator
Este guia explica como adicionar e configurar um módulo de blog no seu site criado com o Site Creator da Infomaniak.
Introdução
- Não existe uma funcionalidade que permita a gestão de múltiplos utilizadores na secção Blog (nem no Site Creator).
- Vários utilizadores da mesma Organização que tenham acesso ao Site Creator (através da sua autorização de acesso ao alojamento web, por exemplo) poderão publicar no blog, mas a identidade do autor permanecerá a mesma para todos.
- Não existe a possibilidade de escrever e deixar páginas inteiras do blog em modo “rascunho”.
Começar um blog no Site Creator
Pré-requisitos
- Aceder ao Site Creator:
- Clique aqui para aceder à gestão do seu produto no Manager Infomaniak (precisa de ajuda?).
- Clique diretamente no nome atribuído ao Site Creator em questão.
- Clique no botão Editar o meu site para iniciar o editor:
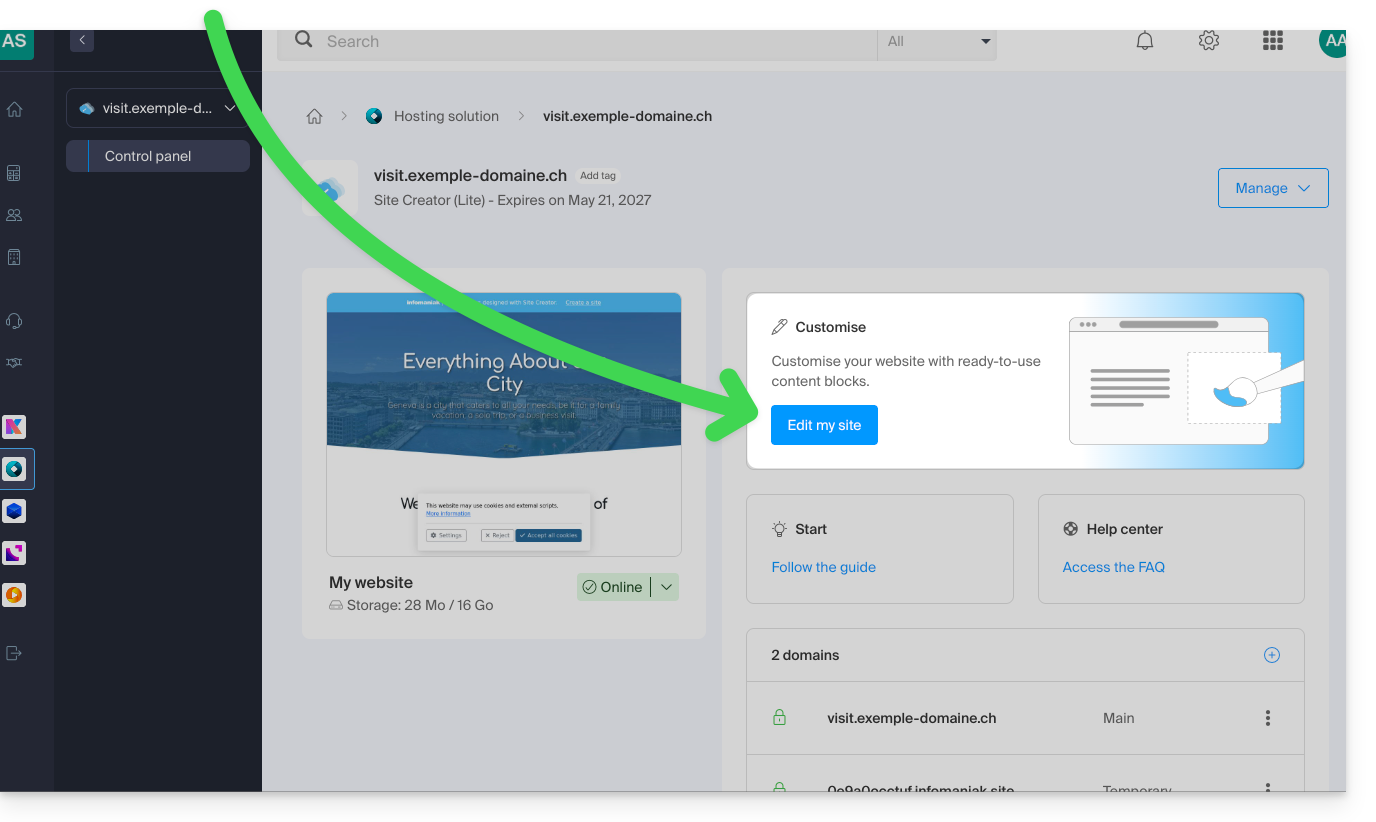
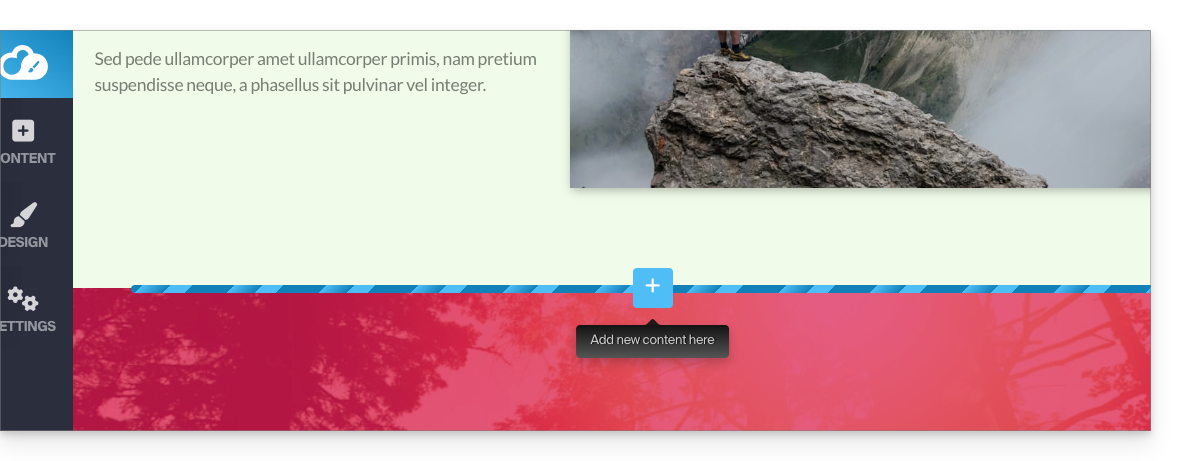
Depois de estar no Site Creator, na página onde pretende inserir os seus futuros artigos de blog:
- Clique no botão + localizado abaixo de um bloco já inserido:
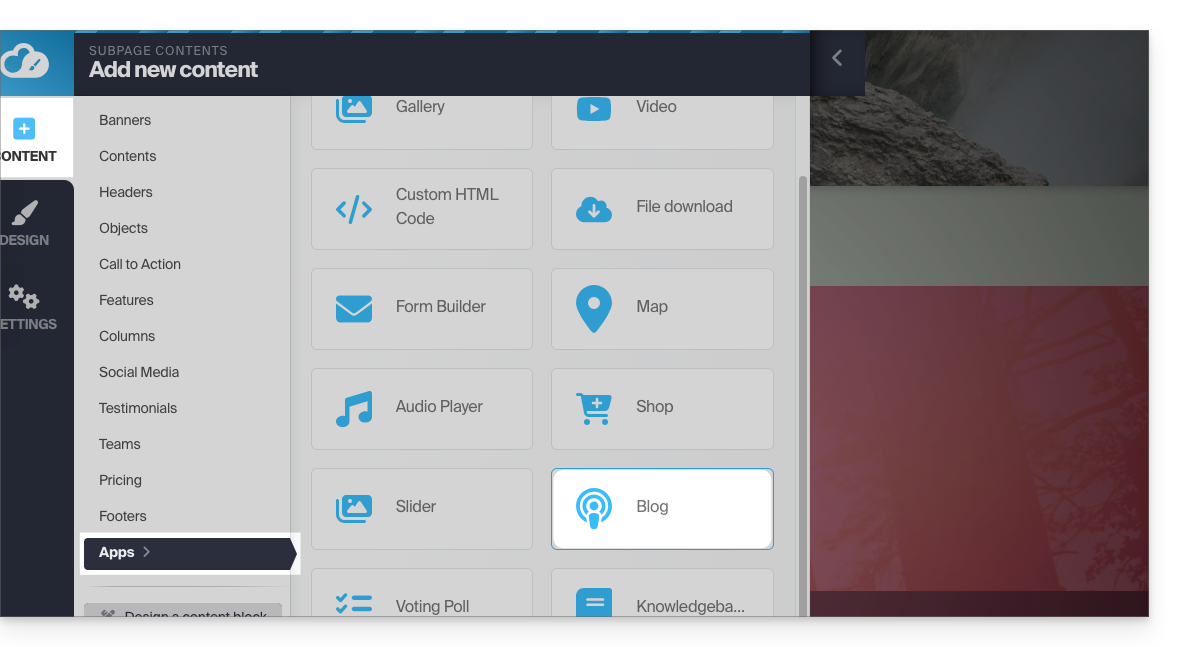
- Clique em Aplicações (na guia Conteúdo que se abriu quando você clicou para adicionar o bloco visual).
- Clique no módulo Blog:
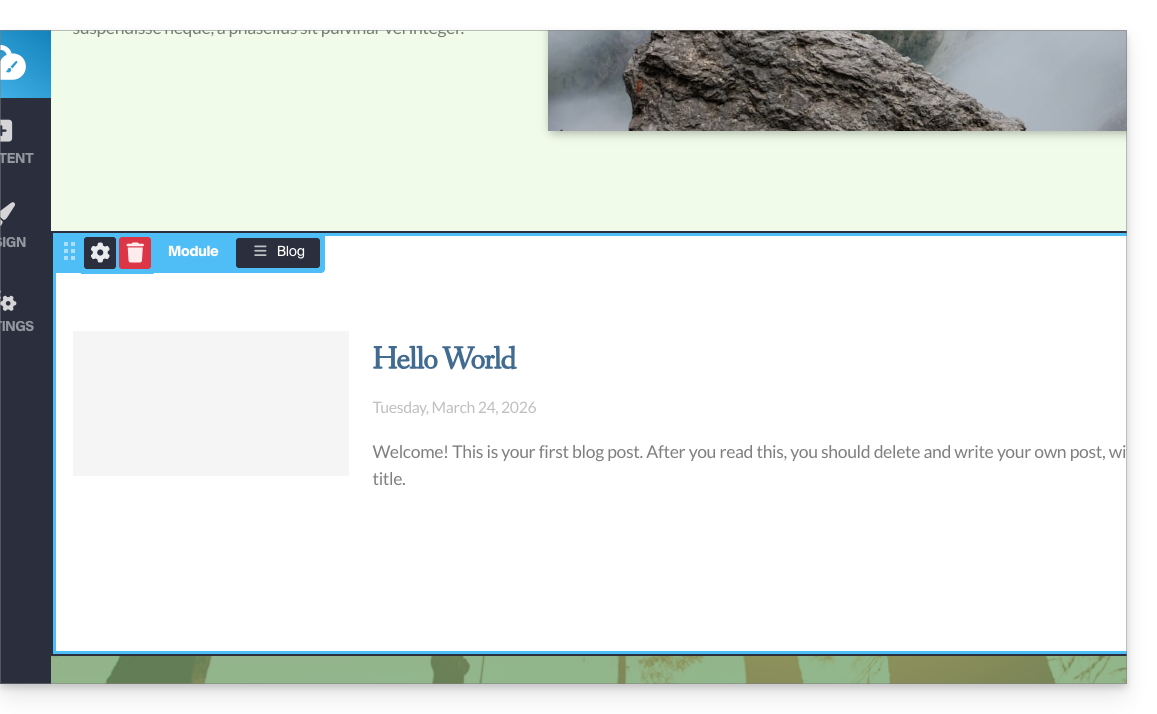
- Se esta for a primeira vez que insere este módulo, verá o seguinte bloco visual com um exemplo do primeiro artigo publicado (vá para o ponto 4 abaixo):
- Se já testou o módulo Blog anteriormente e o removeu das suas páginas, verá o seguinte:
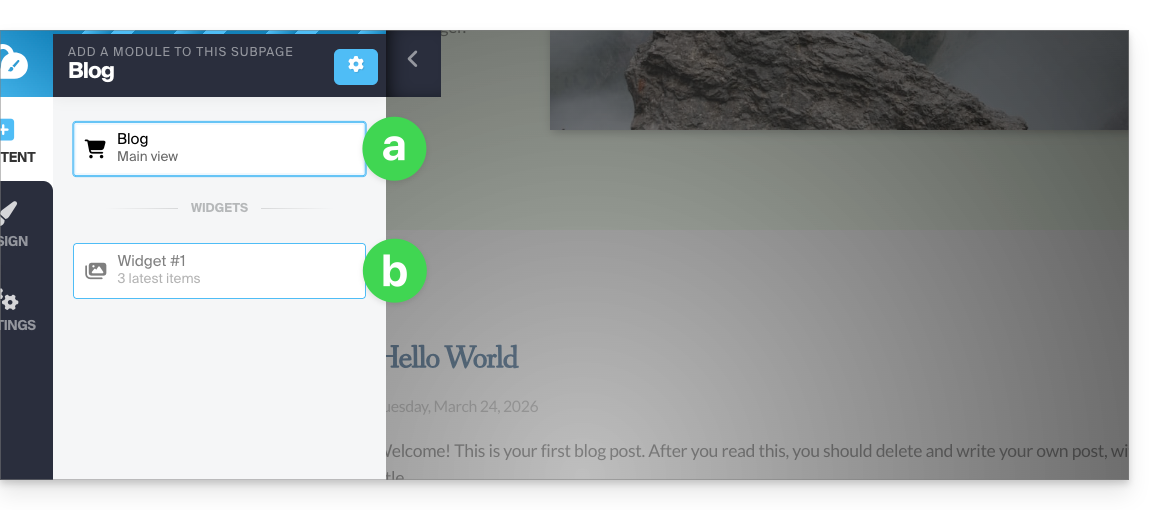
- Clique na primeira opção para inserir o bloco principal.
- Clique na segunda opção para exibir um bloco com os 3 últimos artigos publicadosapenas se já tiver um bloco principal inserido noutro local do site.
- Se esta for a primeira vez que insere este módulo, verá o seguinte bloco visual com um exemplo do primeiro artigo publicado (vá para o ponto 4 abaixo):
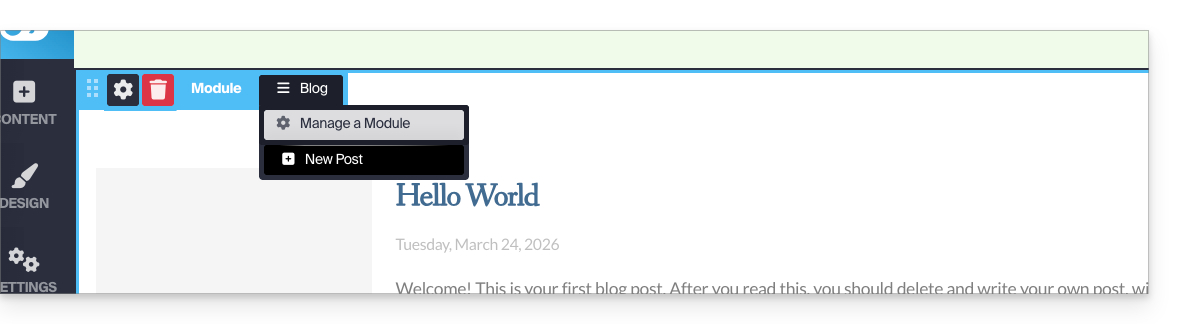
- Depois de inserir o módulo Blog, passe o cursor sobre o bloco e clique no botão de menu com três linhas horizontais ☰ Blog e, em seguida, em Novo artigo para inserir um artigo em branco:
Publicar conteúdo utilizando inteligência artificial
Para redigir conteúdo e, se necessário, aprimorar seus textos, é possível obter ajuda da inteligência artificial Euria, como acontece em outras páginas do Site Creator. Consulte este outro guia sobre o modelo utilizado pelo assistente de redação e as responsabilidades de cada um:
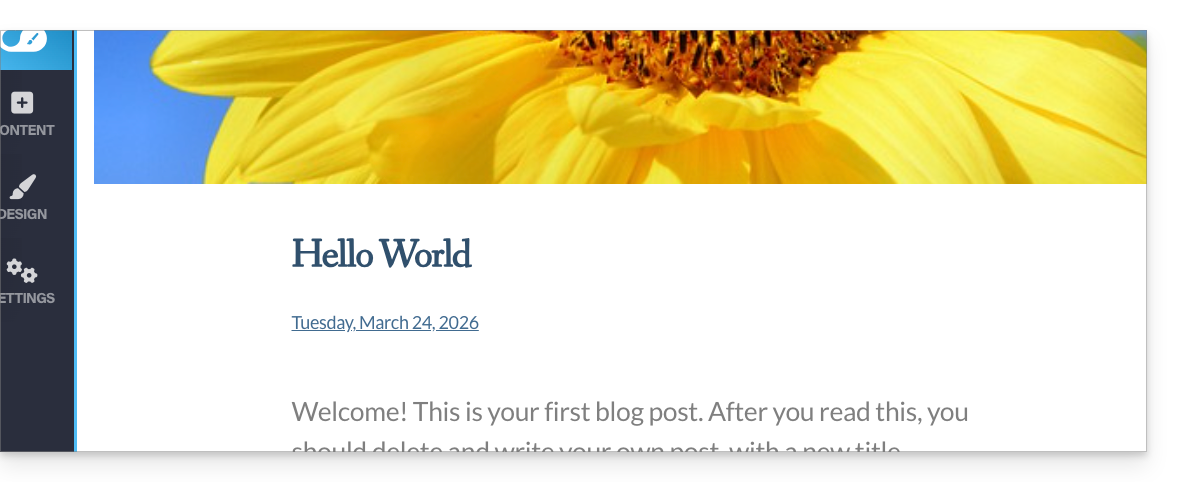
- Escolha uma imagem para o banner, insira um título, um subtítulo opcional e o corpo do artigo com diferentes formatações:
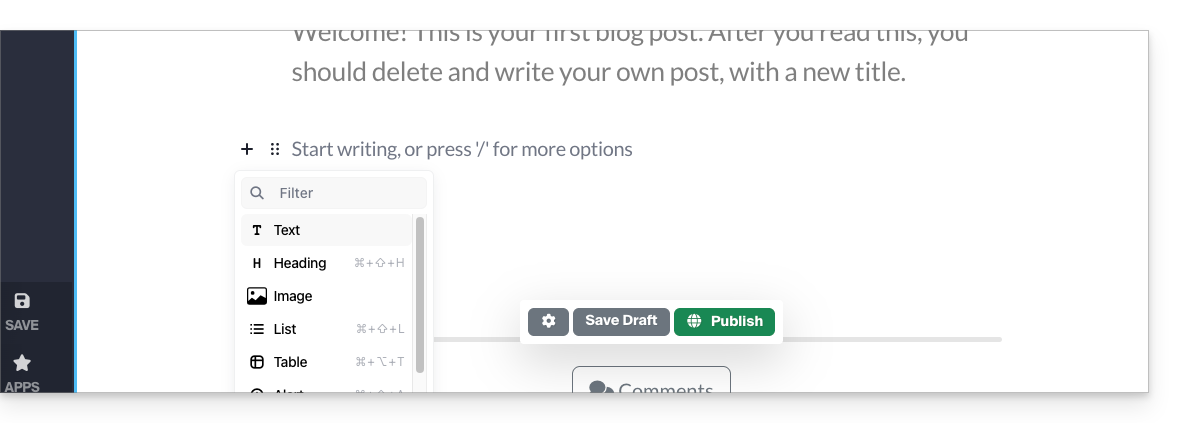
- Pressione o sinal + no texto do artigo ou a tecla Tab do seu teclado:
- Selecione o conteúdo e clique nele para exibir uma barra de ferramentas de formatação de texto.
- Nesta barra de ferramentas, acesse as funcionalidades oferecidas pela IA (tradução, reformulação, correção, etc.):
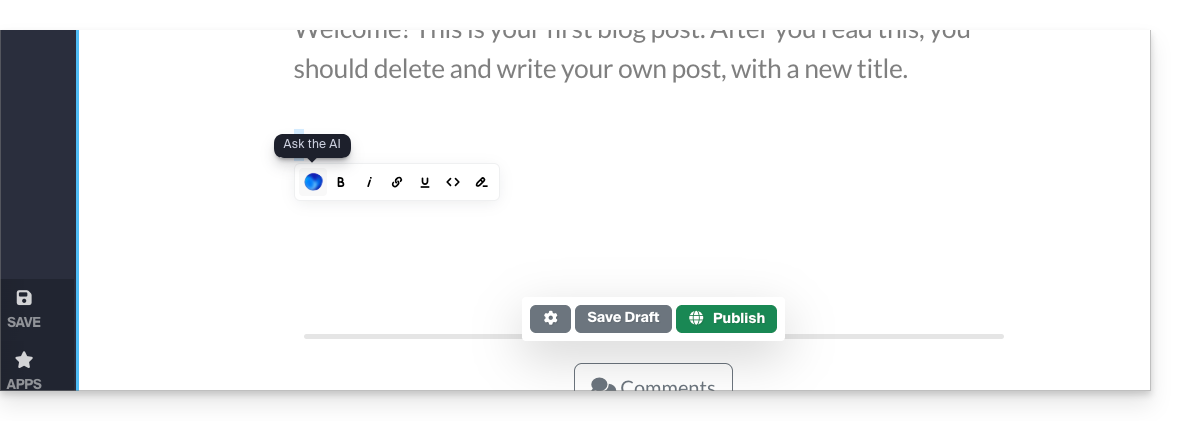
- Publique clicando no botão Publicar (ou salve o rascunho para mais tarde).
Editar o blog
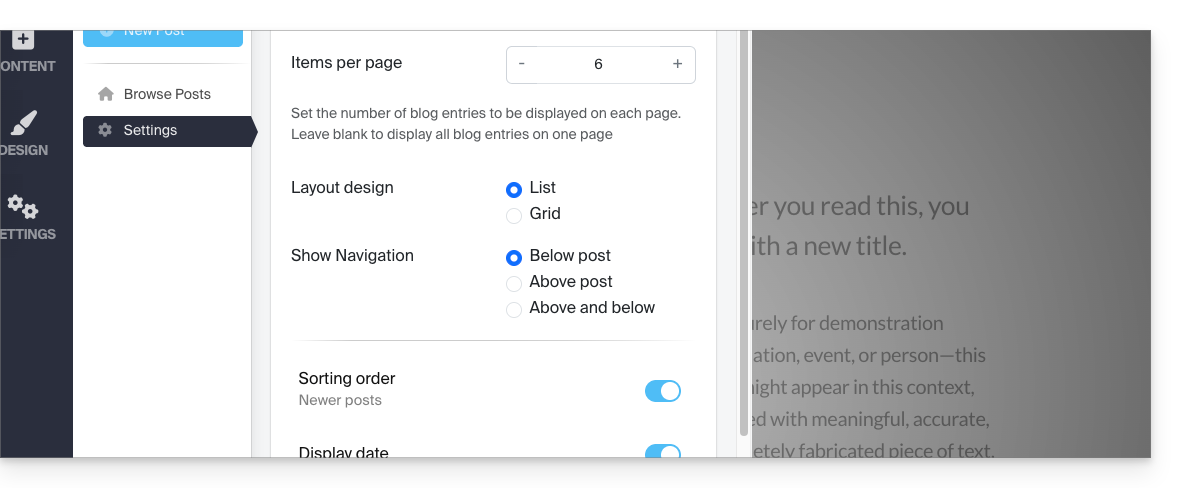
Para ativar os comentários, as notificações por e-mail, a exibição em formato de lista e a ordenação dos mesmos, etc.:
- Clique em Aplicações no menu lateral esquerdo.
- Clique em Blog.
- Clique em Configurações e ajuste suas preferências, não se esquecendo de salvar na parte inferior da página:
Editar artigos do blog
Não importa onde você esteja ao editar seu site, basta ir ao menu Aplicações no canto inferior esquerdo e clicar em Blog: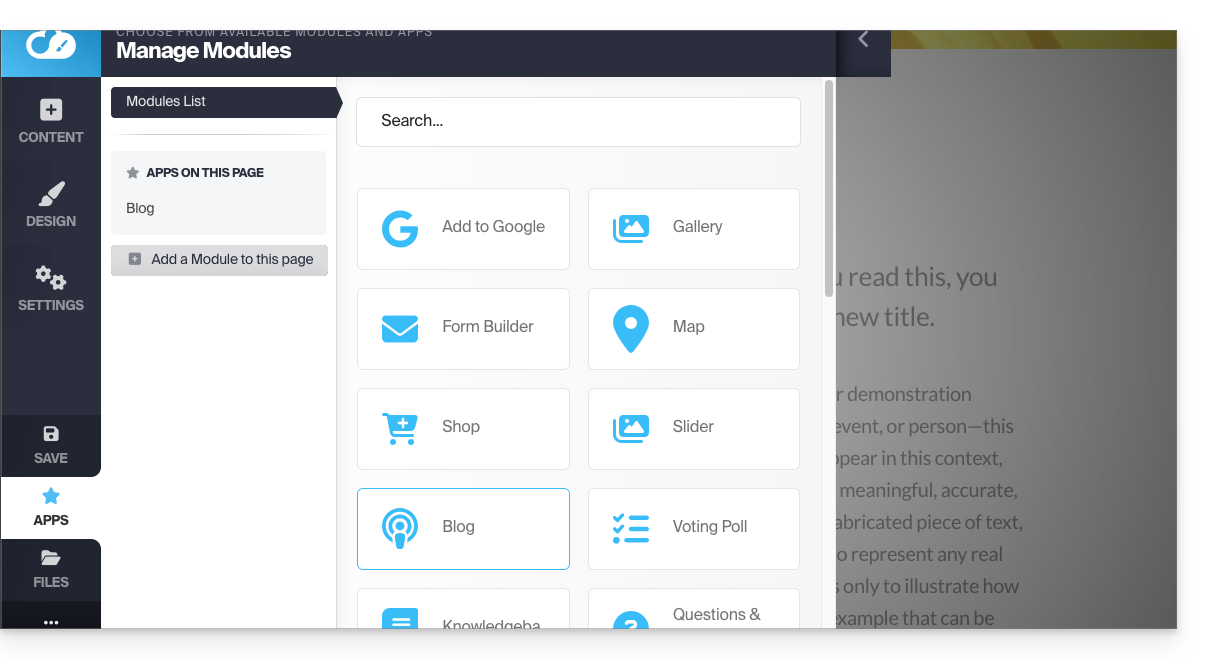
Para editar o conteúdo do seu artigo, clique em Gerenciar artigos no menu lateral esquerdo e, em seguida, passe o mouse sobre o artigo e clique no ícone de lápis ✎: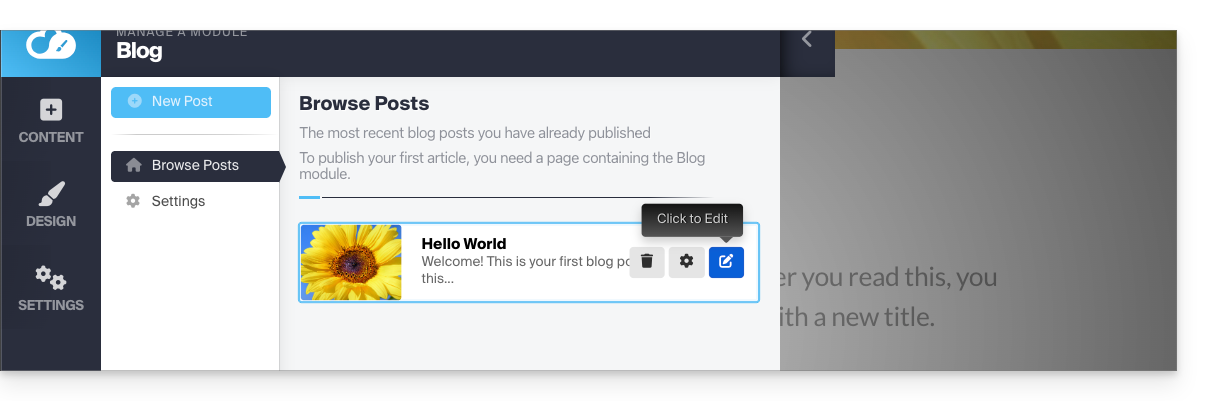
Para configurar (veja abaixo) um dos artigos, passe o mouse sobre ele e clique no ícone de engrenagem: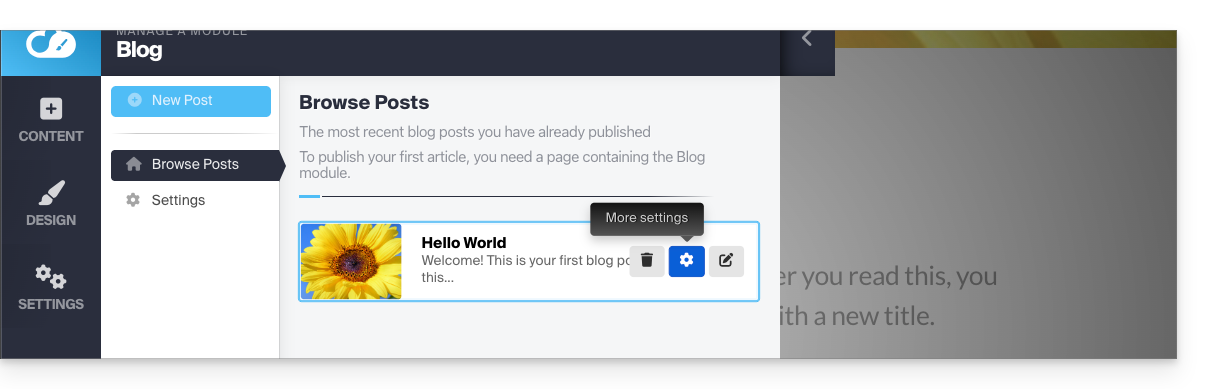
Etiquetar, arquivar ou definir uma data de expiração para um artigo
Um artigo de blog pode desaparecer da sua lista de artigos, seja definindo uma data de expiração para ele, seja arquivando-o imediatamente. Também é possível adicionar uma etiqueta que será clicável para o visitante e facilitará a navegação entre os artigos: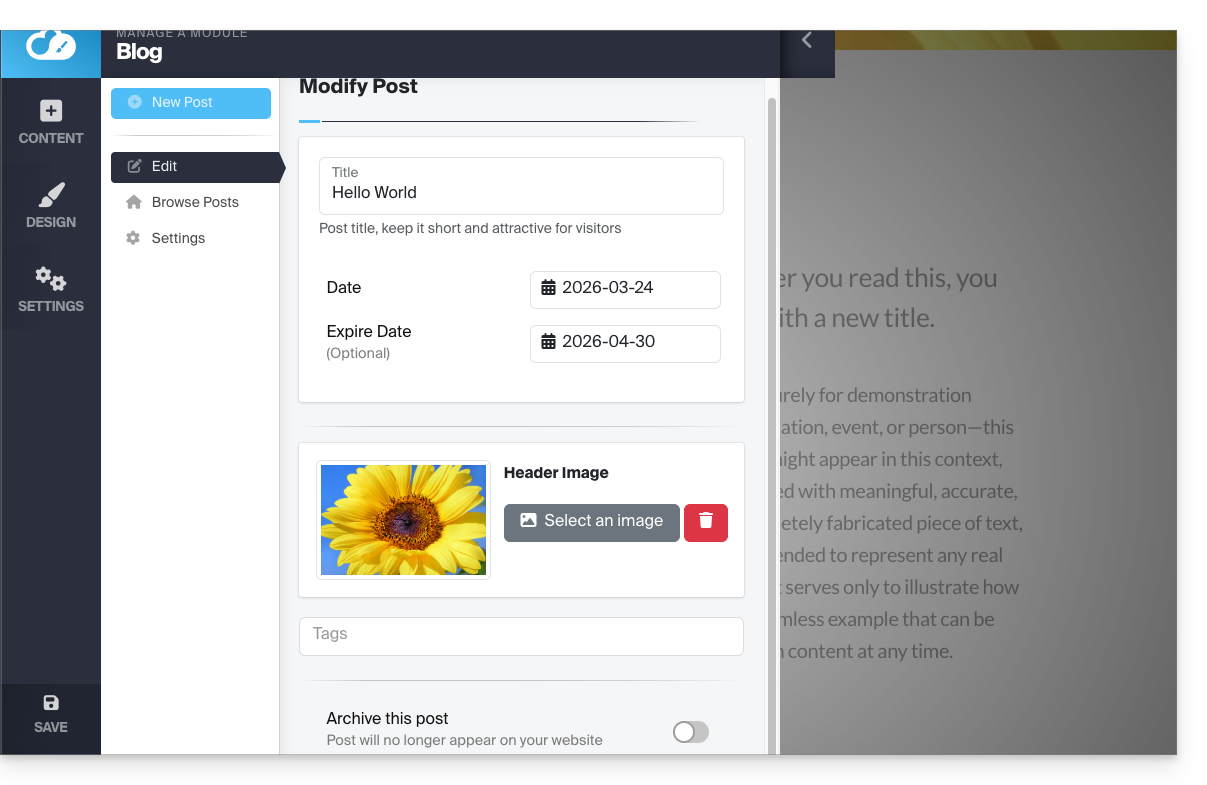
Não se esqueça de guardar as alterações na parte inferior da página.
Data dos artigos
Por padrão, os novos artigos do blog serão adicionados com a data de "hoje", mas é possível modificá-la:
- Passe o mouse sobre o link da data e clique nele (diretamente no artigo):
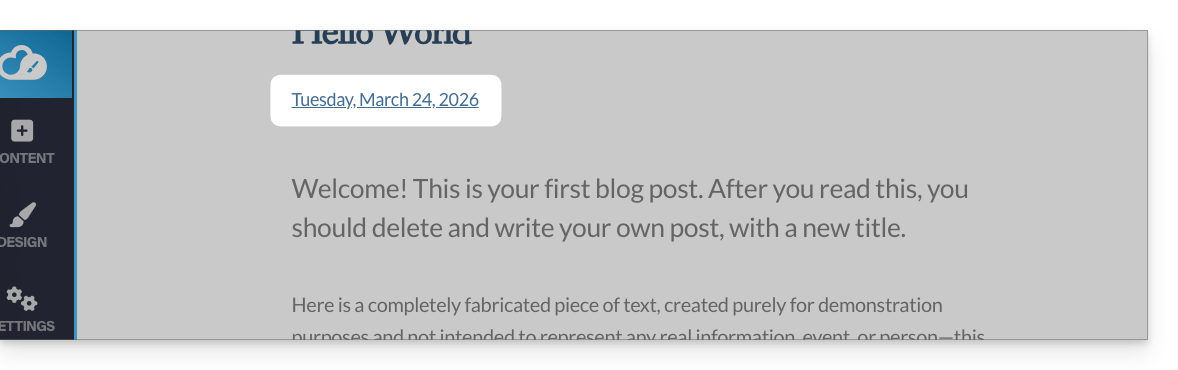
- Escolha uma nova data.
Link para esta FAQ: https://faq.infomaniak.com/2726
Esta seção de perguntas frequentes foi útil?